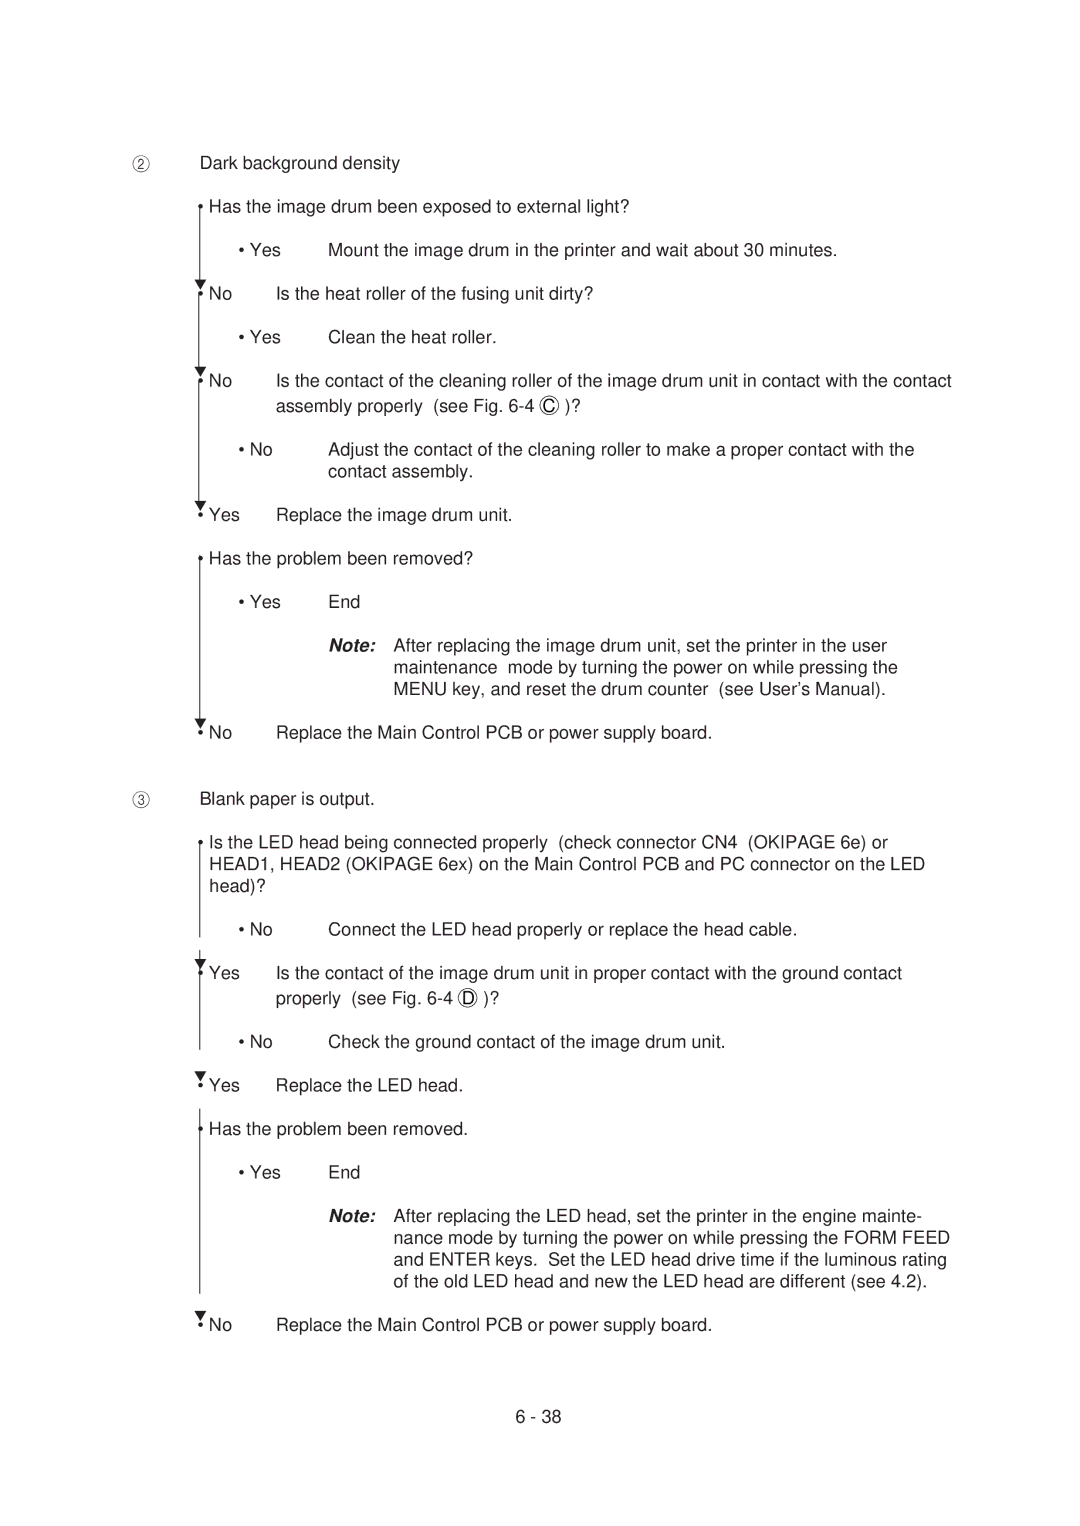
2Dark background density
•Has the image drum been exposed to external light?
| • Yes | Mount the image drum in the printer and wait about 30 minutes. |
▼ | Is the heat roller of the fusing unit dirty? | |
• No | ||
| • Yes | Clean the heat roller. |
▼
• No
Is the contact of the cleaning roller of the image drum unit in contact with the contact assembly properly (see Fig.
• No | Adjust the contact of the cleaning roller to make a proper contact with the |
| contact assembly. |
▼ | Replace the image drum unit. |
• Yes |
•Has the problem been removed?
•Yes End
| Note: After replacing the image drum unit, set the printer in the user |
| maintenance mode by turning the power on while pressing the |
| MENU key, and reset the drum counter (see User’s Manual). |
▼ | Replace the Main Control PCB or power supply board. |
• No |
3Blank paper is output.
•Is the LED head being connected properly (check connector CN4 (OKIPAGE 6e) or HEAD1, HEAD2 (OKIPAGE 6ex) on the Main Control PCB and PC connector on the LED head)?
• No | Connect the LED head properly or replace the head cable. |
▼ | Is the contact of the image drum unit in proper contact with the ground contact |
• Yes | |
| properly (see Fig. |
• No | Check the ground contact of the image drum unit. |
▼ | Replace the LED head. |
• Yes |
•Has the problem been removed.
•Yes End
| Note: After replacing the LED head, set the printer in the engine mainte- |
| nance mode by turning the power on while pressing the FORM FEED |
| and ENTER keys. Set the LED head drive time if the luminous rating |
| of the old LED head and new the LED head are different (see 4.2). |
▼ | Replace the Main Control PCB or power supply board. |
• No |
6 - 38
