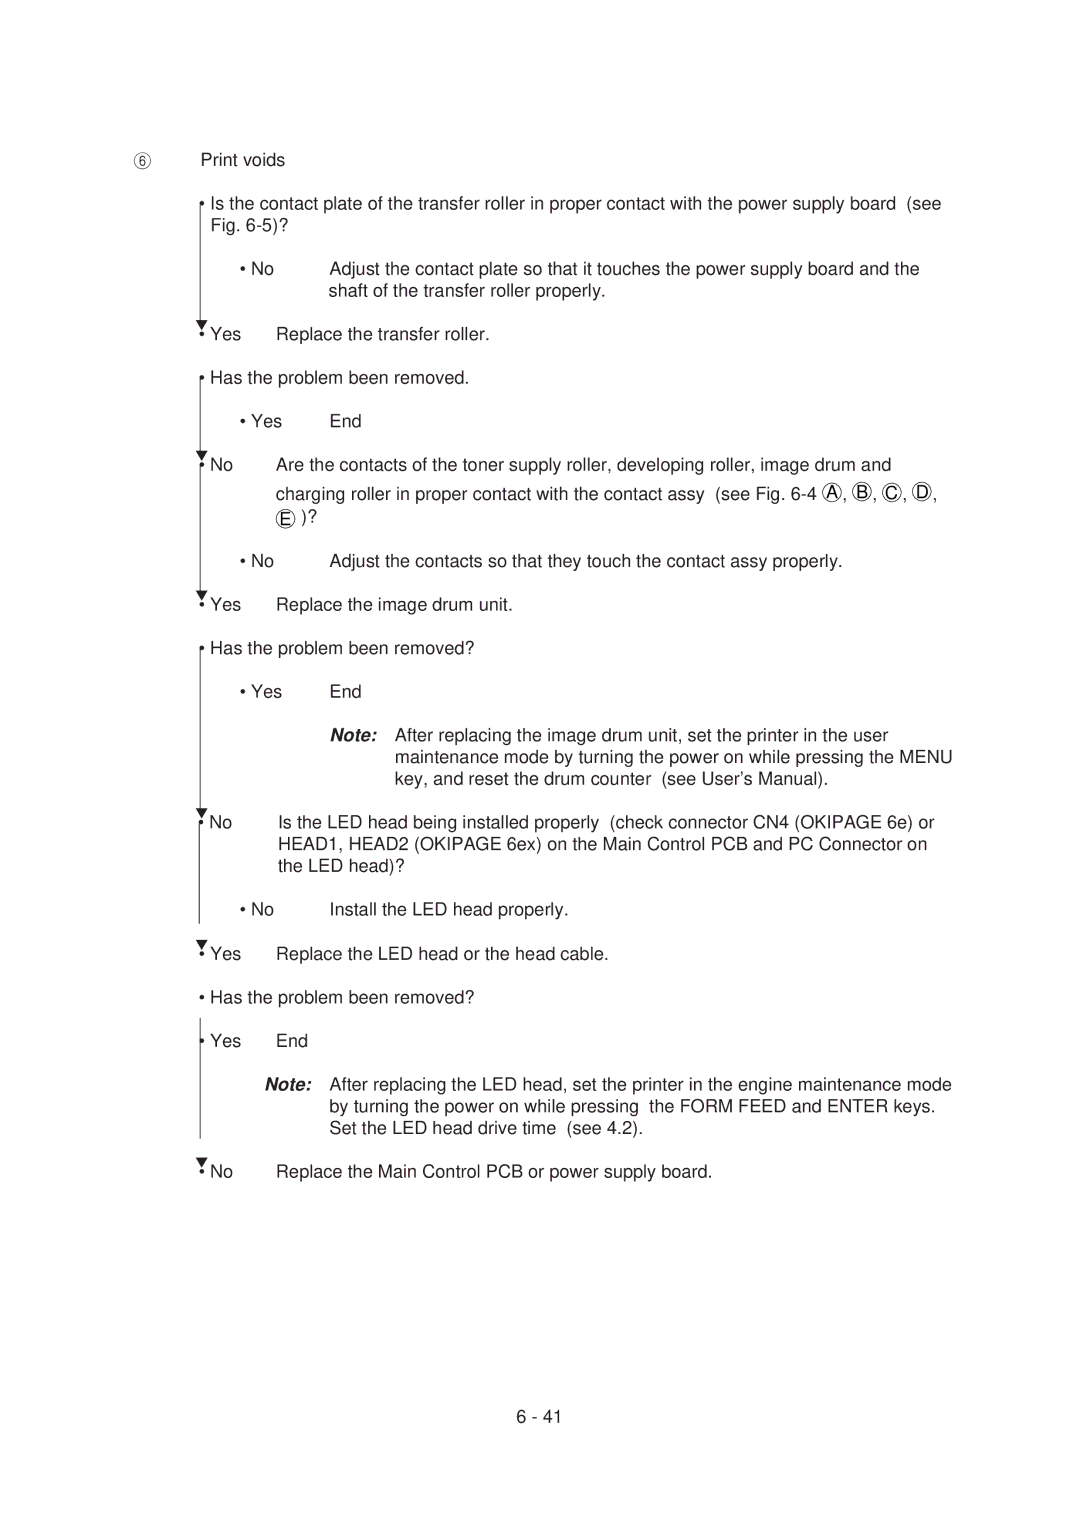
6Print voids
•Is the contact plate of the transfer roller in proper contact with the power supply board (see Fig.
• No | Adjust the contact plate so that it touches the power supply board and the |
| shaft of the transfer roller properly. |
▼ | Replace the transfer roller. |
• Yes |
•Has the problem been removed.
•Yes End
▼
• No
• No
▼
• Yes
Are the contacts of the toner supply roller, developing roller, image drum and
charging roller in proper contact with the contact assy (see Fig.
Adjust the contacts so that they touch the contact assy properly.
Replace the image drum unit.
•Has the problem been removed?
•Yes End
Note: After replacing the image drum unit, set the printer in the user maintenance mode by turning the power on while pressing the MENU key, and reset the drum counter (see User’s Manual).
▼
• No
• No
▼
• Yes
Is the LED head being installed properly (check connector CN4 (OKIPAGE 6e) or HEAD1, HEAD2 (OKIPAGE 6ex) on the Main Control PCB and PC Connector on the LED head)?
Install the LED head properly.
Replace the LED head or the head cable.
• Has the problem been removed?
• Yes
▼
• No
End
Note: After replacing the LED head, set the printer in the engine maintenance mode by turning the power on while pressing the FORM FEED and ENTER keys. Set the LED head drive time (see 4.2).
Replace the Main Control PCB or power supply board.
6 - 41
