3. Telephone
9Press {>} or {j}.
LTo register other entries, repeat steps 2 to 9.
10Press {ih}.
3.6.2 Erasing a hot key
1Press and hold the desired hot key (1 to 9).
2Press {>}.
L“CLEAR” will be displayed.
3Press {>}.
4Press {e} or {v} repeatedly to select “YES”.
5Press {>} or {j}.
6Press {ih}.
Note:
LThe number erased from a hot key will not be deleted from the phonebook. To erase from the phonebook, see page 30.
3.6.3Making a phone call using a hot key
Important:
LTo prevent battery consumption, be sure to press {ih} if a busy tone sounds when/after using the handset.
1Press and hold the desired hot key (1 to 9). L You can view other hot key registrations
by pressing {e} or {v}.
2Press {C}.
LThe unit will start dialling automatically.
3.7Storing names and telephone numbers into the navigator directory
Up to 100 telephone numbers can be stored in the base unit’s navigator directory for quick access.
LYou can also send faxes using the navigator directory (page 36).
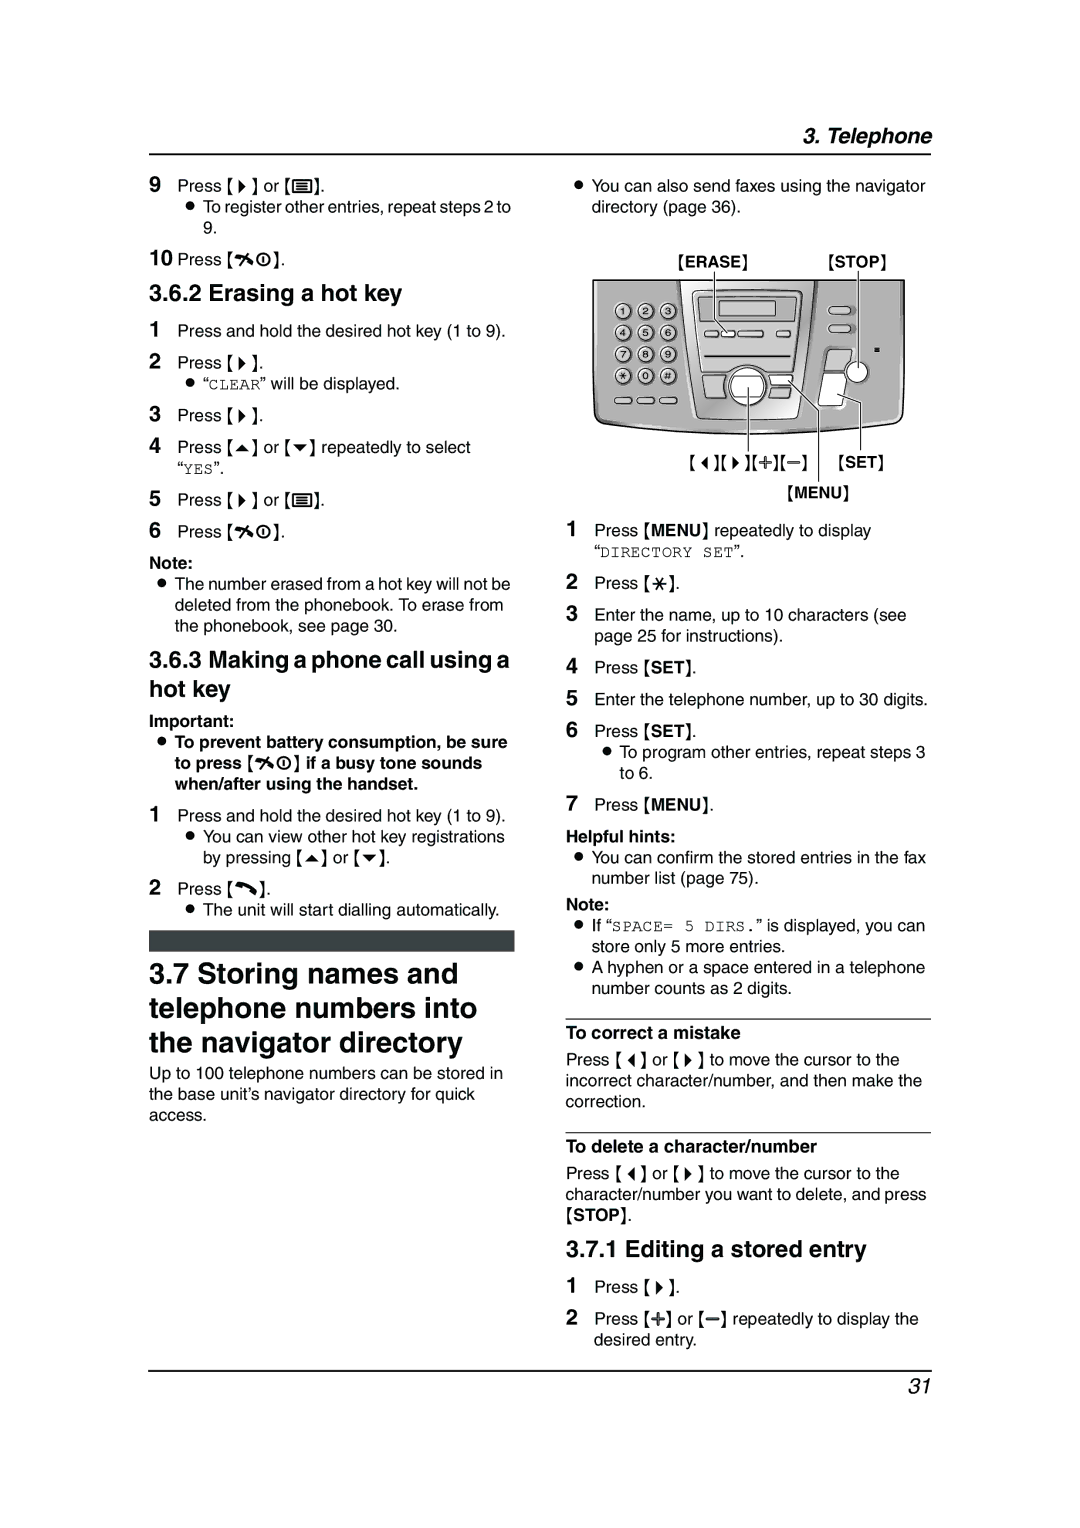
{ERASE} {STOP}
{<}{>}{A}{B} {SET}
{MENU}
1Press {MENU} repeatedly to display “DIRECTORY SET”.
2Press {*}.
3Enter the name, up to 10 characters (see page 25 for instructions).
4Press {SET}.
5Enter the telephone number, up to 30 digits.
6Press {SET}.
LTo program other entries, repeat steps 3 to 6.
7Press {MENU}.
Helpful hints:
LYou can confirm the stored entries in the fax number list (page 75).
Note:
L If “SPACE= 5 DIRS.” is displayed, you can store only 5 more entries.
LA hyphen or a space entered in a telephone number counts as 2 digits.
To correct a mistake
Press {<} or {>} to move the cursor to the incorrect character/number, and then make the correction.
To delete a character/number
Press {<} or {>} to move the cursor to the character/number you want to delete, and press {STOP}.
3.7.1 Editing a stored entry
1Press {>}.
2Press {A} or {B} repeatedly to display the desired entry.
31
