Print Module Insertion and Removal
CAUTION: Turn off the power to the printer before removing or inserting the print module. Hot swap of the print module has been built into the design. However, a dirty connector from ink etc could prevent it from protecting the head. Therefore, we recommend that all print module removal and replacement be done with the power off.
NOTE: An ink cartridge must not be present in the print station before a print module can be installed or removed. The print module(s) must be in the parked position.
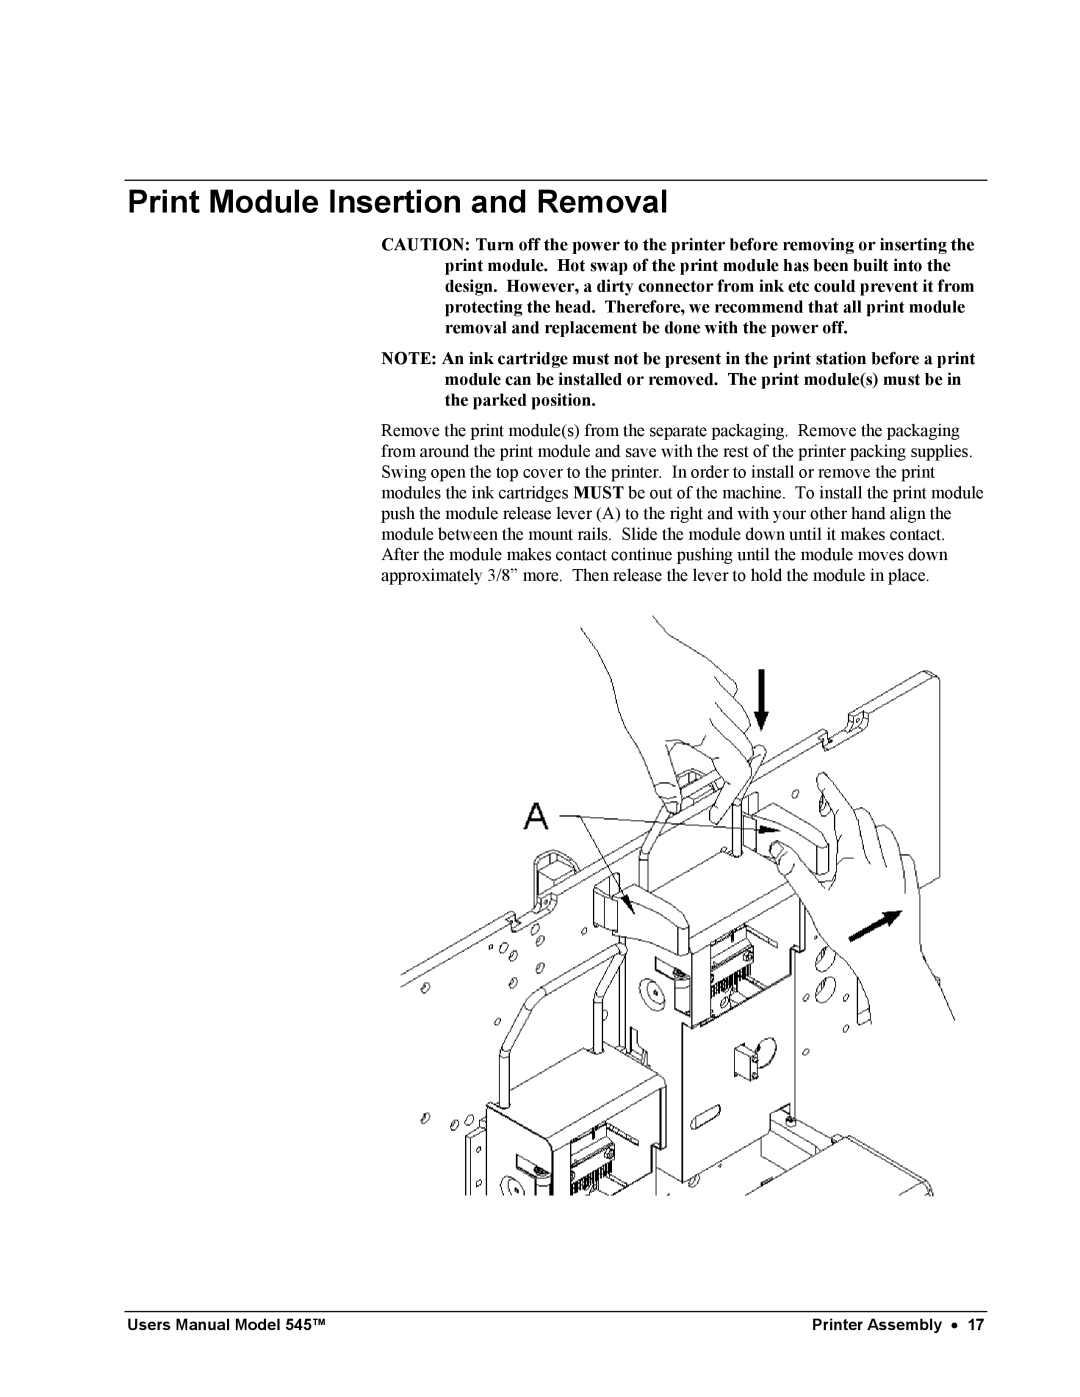
Remove the print module(s) from the separate packaging. Remove the packaging from around the print module and save with the rest of the printer packing supplies. Swing open the top cover to the printer. In order to install or remove the print modules the ink cartridges MUST be out of the machine. To install the print module push the module release lever (A) to the right and with your other hand align the module between the mount rails. Slide the module down until it makes contact. After the module makes contact continue pushing until the module moves down approximately 3/8” more. Then release the lever to hold the module in place.
Users Manual Model 545™ | Printer Assembly • 17 |
