Printer Operation / Adjustments
Installing and Removing Ink Cartridges
CAUTION: NEVER INSERT YOUR HAND IN THE INK CARTRIDGE SLOTS AS THE PRINT MODULE NEEDLES ARE UNPROTECTED WHILE THE PRINT MODULES ARE IN THE PRINTER.
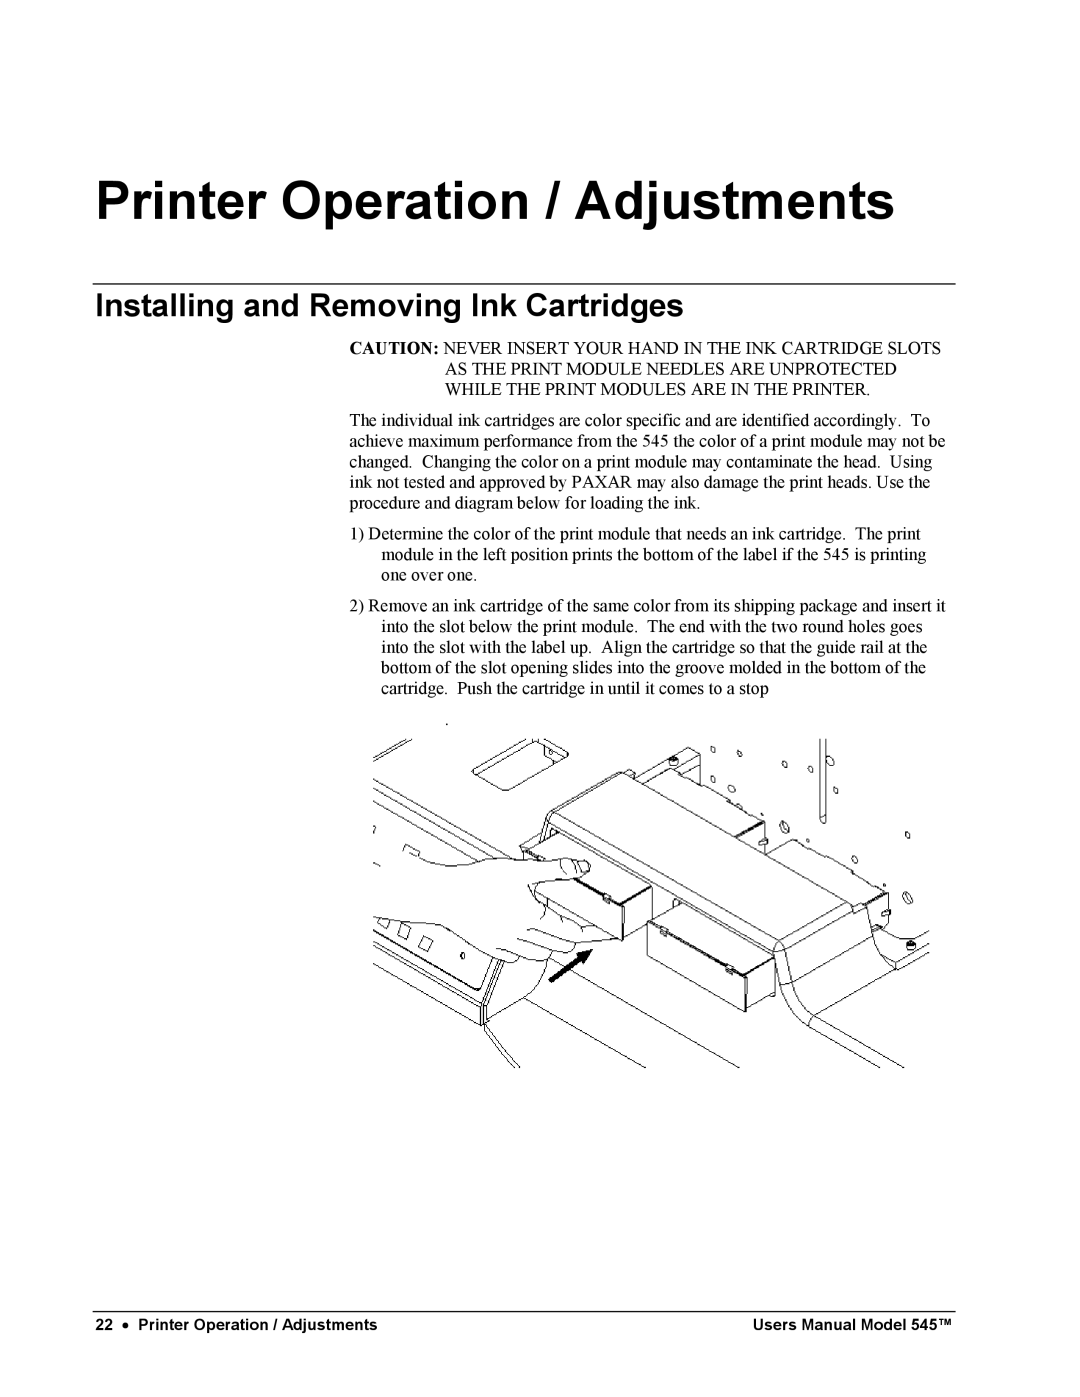
The individual ink cartridges are color specific and are identified accordingly. To achieve maximum performance from the 545 the color of a print module may not be changed. Changing the color on a print module may contaminate the head. Using ink not tested and approved by PAXAR may also damage the print heads. Use the procedure and diagram below for loading the ink.
1)Determine the color of the print module that needs an ink cartridge. The print module in the left position prints the bottom of the label if the 545 is printing one over one.
2)Remove an ink cartridge of the same color from its shipping package and insert it into the slot below the print module. The end with the two round holes goes into the slot with the label up. Align the cartridge so that the guide rail at the bottom of the slot opening slides into the groove molded in the bottom of the cartridge. Push the cartridge in until it comes to a stop
.
22 • Printer Operation / Adjustments | Users Manual Model 545™ |