ADVANCED OPERATIONS/DEMARCHES EVOLUEES

SPECIAL DISC JOCKEY TECHNIQUES

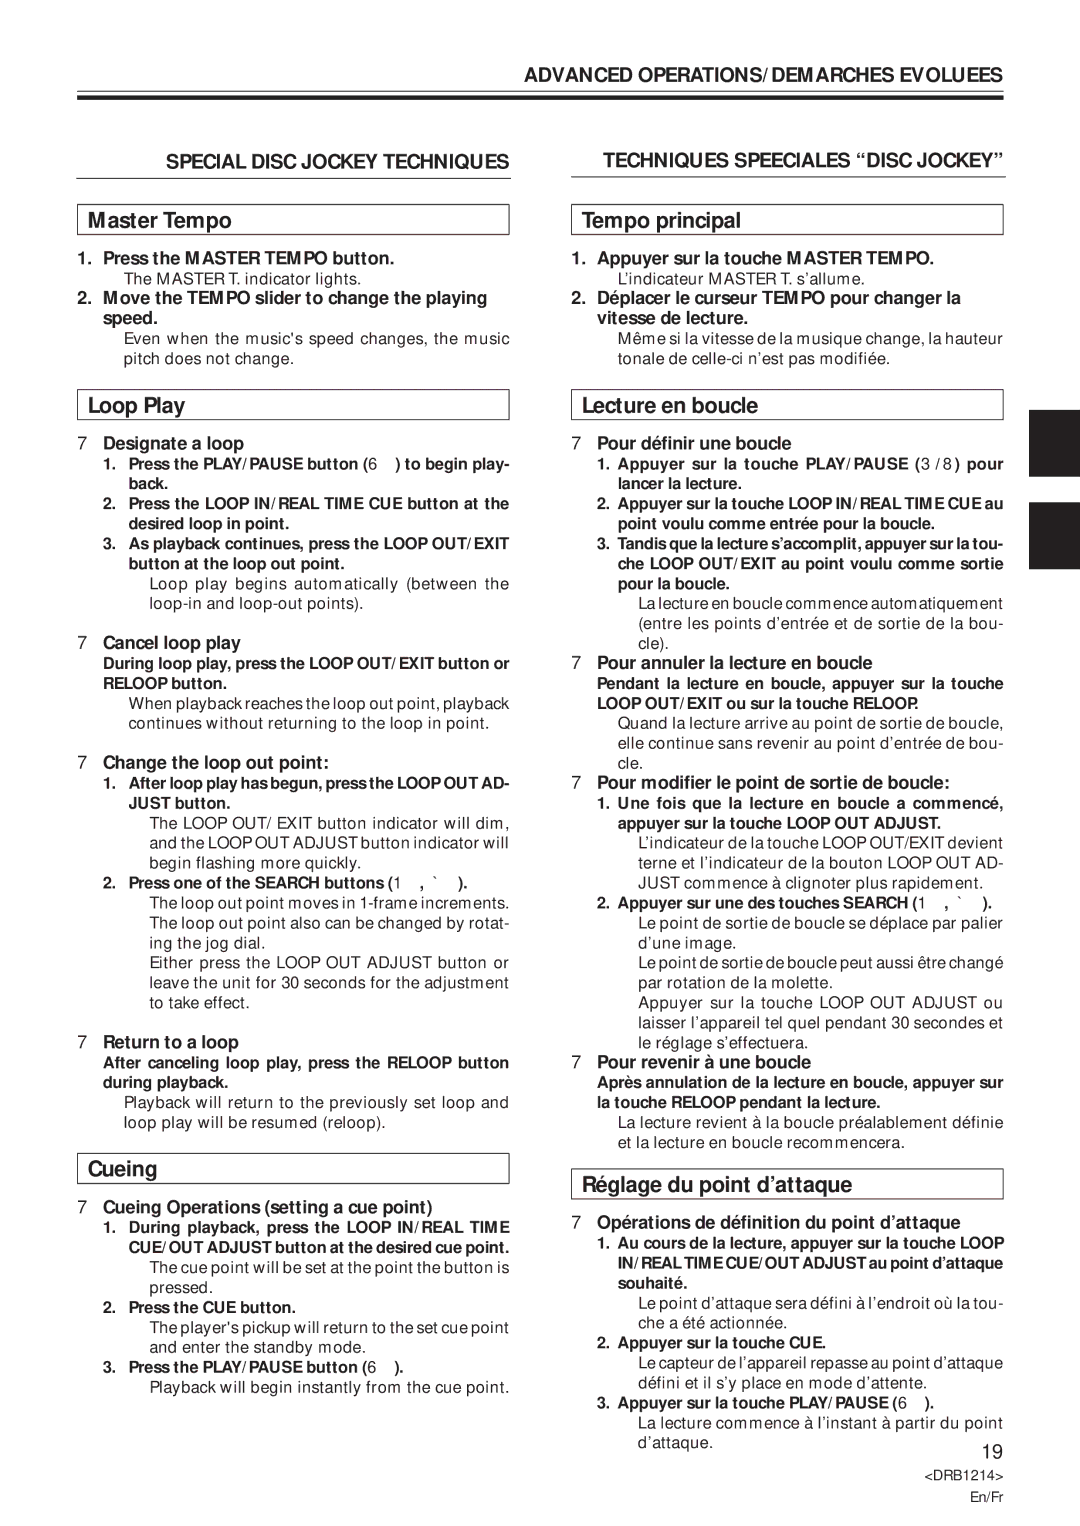
Master Tempo

1.Press the MASTER TEMPO button.

ÖThe MASTER T. indicator lights.

2.Move the TEMPO slider to change the playing speed.

ÖEven when the music's speed changes, the music pitch does not change.

Loop Play

7Designate a loop

1.Press the PLAY/PAUSE button (6) to begin play- back.

2.Press the LOOP IN/REAL TIME CUE button at the desired loop in point.

3.As playback continues, press the LOOP OUT/EXIT button at the loop out point.

ÖLoop play begins automatically (between the loop-in and loop-out points).

7Cancel loop play

During loop play, press the LOOP OUT/EXIT button or RELOOP button.

Ö When playback reaches the loop out point, playback continues without returning to the loop in point.

7Change the loop out point:

1.After loop play has begun, press the LOOP OUT AD- JUST button.

ÖThe LOOP OUT/ EXIT button indicator will dim, and the LOOP OUT ADJUST button indicator will begin flashing more quickly.

2. Press one of the SEARCH buttons (1, Á).

ÖThe loop out point moves in 1-frame increments.

ÖThe loop out point also can be changed by rotat- ing the jog dial.

ÖEither press the LOOP OUT ADJUST button or leave the unit for 30 seconds for the adjustment to take effect.

7Return to a loop

After canceling loop play, press the RELOOP button during playback.

ÖPlayback will return to the previously set loop and loop play will be resumed (reloop).

Cueing

7Cueing Operations (setting a cue point)

1.During playback, press the LOOP IN/REAL TIME CUE/OUT ADJUST button at the desired cue point.

ÖThe cue point will be set at the point the button is pressed.

2.Press the CUE button.

ÖThe player's pickup will return to the set cue point and enter the standby mode.

3.Press the PLAY/PAUSE button (6).

ÖPlayback will begin instantly from the cue point.

TECHNIQUES SPEECIALES “DISC JOCKEY”

Tempo principal

1.Appuyer sur la touche MASTER TEMPO.

ÖL’indicateur MASTER T. s’allume.

2.Déplacer le curseur TEMPO pour changer la vitesse de lecture.

ÖMême si la vitesse de la musique change, la hauteur tonale de celle-ci n’est pas modifiée.

Lecture en boucle

7Pour définir une boucle

1.Appuyer sur la touche PLAY/PAUSE (3/8) pour lancer la lecture.

2.Appuyer sur la touche LOOP IN/REAL TIME CUE au point voulu comme entrée pour la boucle.

3.Tandis que la lecture s’accomplit, appuyer sur la tou- che LOOP OUT/EXIT au point voulu comme sortie pour la boucle.

ÖLa lecture en boucle commence automatiquement (entre les points d’entrée et de sortie de la bou- cle).

7Pour annuler la lecture en boucle

Pendant la lecture en boucle, appuyer sur la touche LOOP OUT/EXIT ou sur la touche RELOOP.

Ö Quand la lecture arrive au point de sortie de boucle, elle continue sans revenir au point d’entrée de bou- cle.

7Pour modifier le point de sortie de boucle:

1.Une fois que la lecture en boucle a commencé, appuyer sur la touche LOOP OUT ADJUST.

ÖL’indicateur de la touche LOOP OUT/EXIT devient terne et l’indicateur de la bouton LOOP OUT AD-

JUST commence à clignoter plus rapidement. 2. Appuyer sur une des touches SEARCH (1, Á).

ÖLe point de sortie de boucle se déplace par palier d’une image.

ÖLe point de sortie de boucle peut aussi être changé par rotation de la molette.

ÖAppuyer sur la touche LOOP OUT ADJUST ou laisser l’appareil tel quel pendant 30 secondes et

le réglage s’effectuera.

7Pour revenir à une boucle

Après annulation de la lecture en boucle, appuyer sur la touche RELOOP pendant la lecture.

ÖLa lecture revient à la boucle préalablement définie et la lecture en boucle recommencera.

Réglage du point d’attaque

7Opérations de définition du point d’attaque

1.Au cours de la lecture, appuyer sur la touche LOOP IN/REAL TIME CUE/OUT ADJUST au point d’attaque souhaité.

ÖLe point d’attaque sera défini à l’endroit où la tou- che a été actionnée.

2.Appuyer sur la touche CUE.

ÖLe capteur de l’appareil repasse au point d’attaque défini et il s’y place en mode d’attente.

3.Appuyer sur la touche PLAY/PAUSE (6).

ÖLa lecture commence à l’instant à partir du point

d’attaque.19

<DRB1214>

En/Fr

Page 19
Image 19
Pioneer CDJ-500S Master Tempo, Loop Play, Cueing, Tempo principal, Lecture en boucle, Réglage du point d’attaque

CDJ-500S specifications

The Pioneer CDJ-500S is a significant model in the evolution of digital DJing, launched in the late 1990s. This compact CD player is revered for its innovative features and user-friendly design, making it a noteworthy tool in the arsenal of many DJs. The CDJ-500S was one of the first CD players to effectively blend the convenience of digital formats with the tactile feel of traditional turntables.

One of the standout features of the CDJ-500S is its ability to handle both CD and CD-R media, allowing DJs to use a variety of formats for their sets. The player is equipped with a direct drive mechanism that provides stability and precision, essential for seamless mixing. The auto-cue function significantly enhances the DJing experience by enabling easy track navigation. DJs can quickly find the start of a track, ensuring smooth transitions during live performances.

The CDJ-500S also features an expansive LCD display that provides essential information including track time, playback status, and BPM, enhancing the user’s ability to monitor track progress easily. Its intuitive control layout includes pitch control for adjusting the tempo, allowing users to beat-match tracks effortlessly. The player supports pitch ranges of ±8%, ±16%, and even ±100% for extreme control, catering to a variety of mixing styles.

Another remarkable technology employed in the CDJ-500S is the seamless loop function, enabling DJs to create tight loops on the fly. This feature allows artists to experiment with repeating sections, crafting unique moments during their performances. The player includes an onboard memory function that can store cues and loops, allowing for immediate recall during a live set.

In terms of connectivity, the CDJ-500S provides standard audio outputs, allowing for easy integration into any mixing setup. Additionally, it incorporates a headphone output with a cueing function, enabling DJs to pre-listen to tracks before transitioning them into the mix.

The Pioneer CDJ-500S has earned its place in DJ history due to its robust build, reliability, and innovative features. Although newer models have since surpassed it, the CDJ-500S remains a beloved choice for those who appreciate its blend of simplicity and functionality, proving that it laid the groundwork for the advanced CDJs we see today.

Overall, the CDJ-500S is a testament to Pioneer’s commitment to pushing the boundaries of DJ technology and set a new standard for digital mixing.