|
| Raynav 300 GPS Plotter | ||
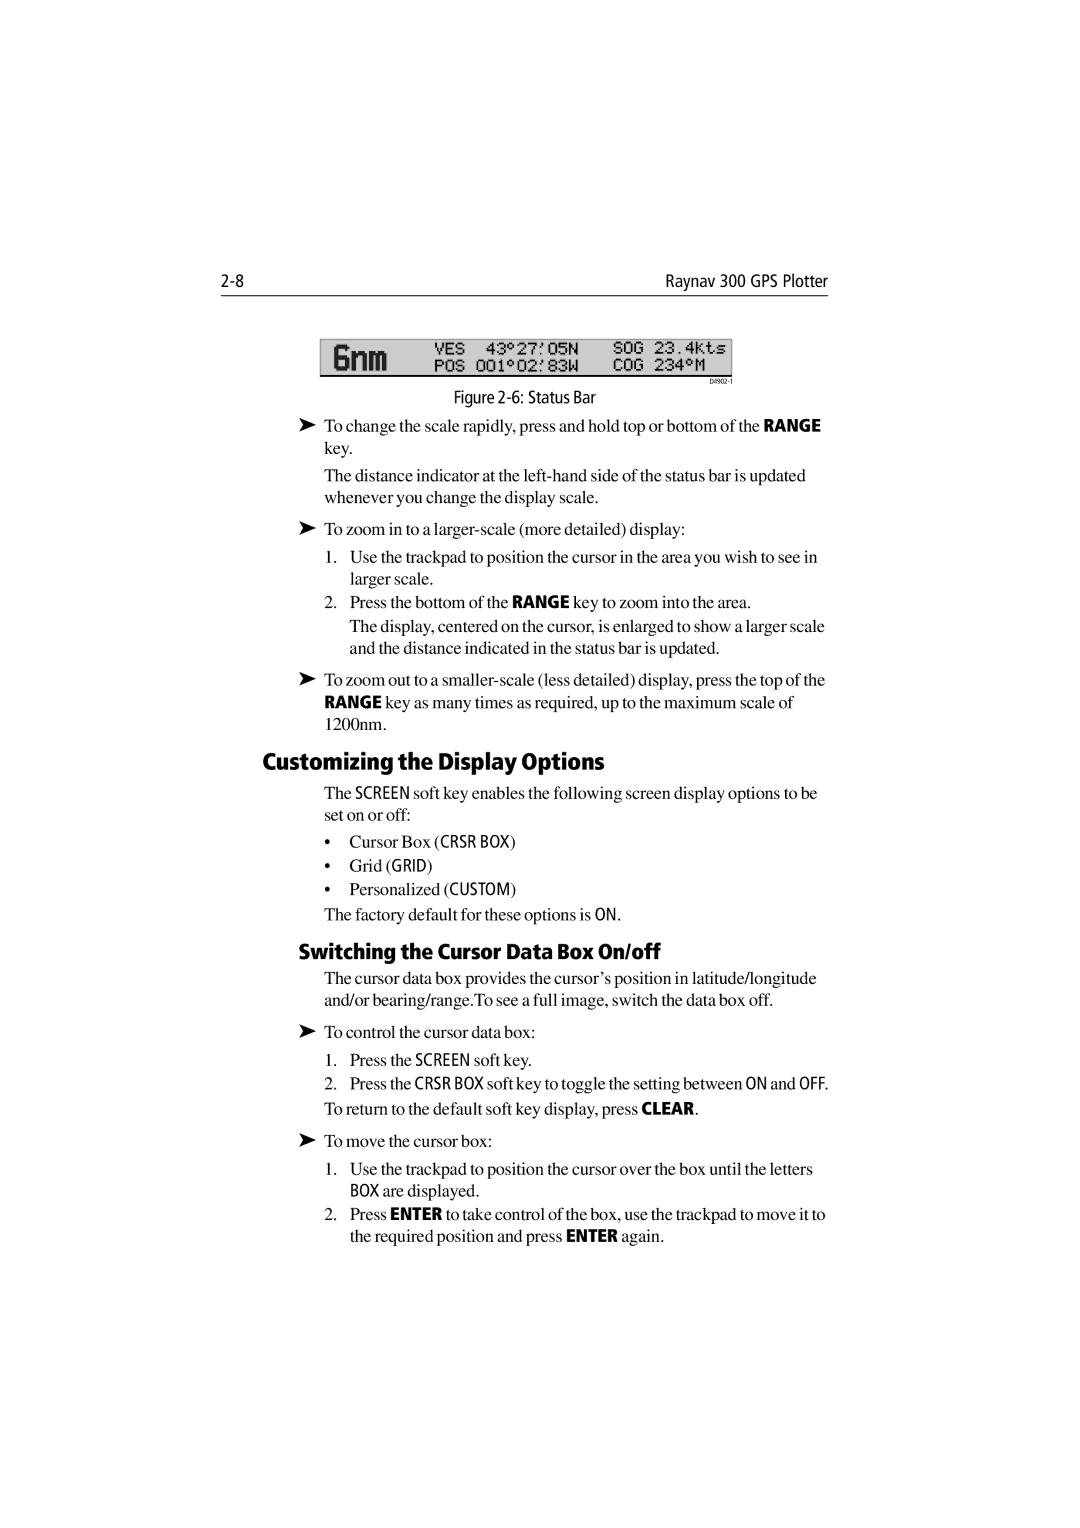
| 6nm | VES 43°27^05N | SOG 23.4kts | |
| POS 001°02^83W | COG 234°M |
| |
|
|
| ||
Figure 2-6: Status Bar
➤To change the scale rapidly, press and hold top or bottom of the RANGE key.
The distance indicator at the
➤To zoom in to a
1.Use the trackpad to position the cursor in the area you wish to see in larger scale.
2.Press the bottom of the RANGE key to zoom into the area.
The display, centered on the cursor, is enlarged to show a larger scale and the distance indicated in the status bar is updated.
➤To zoom out to a
Customizing the Display Options
The SCREEN soft key enables the following screen display options to be set on or off:
•Cursor Box (CRSR BOX)
•Grid (GRID)
•Personalized (CUSTOM)
The factory default for these options is ON.
Switching the Cursor Data Box On/off
The cursor data box provides the cursor’s position in latitude/longitude and/or bearing/range.To see a full image, switch the data box off.
➤To control the cursor data box:
1.Press the SCREEN soft key.
2.Press the CRSR BOX soft key to toggle the setting between ON and OFF.
To return to the default soft key display, press CLEAR.
➤To move the cursor box:
1.Use the trackpad to position the cursor over the box until the letters BOX are displayed.
2.Press ENTER to take control of the box, use the trackpad to move it to the required position and press ENTER again.