Prelim Pages |
|
|
|
|
|
|
|
|
|
|
|
|
|
| v | |
135˚E | 150˚E | 165˚E | 180˚ | 165˚W | 150˚W | 135˚W | 120˚W | 105˚W | 90˚W | 75˚W | 60˚W | 45˚W | 30˚W | 15˚W | 0˚ | 15˚E |
75˚N |
|
|
|
|
|
|
|
|
|
|
|
|
|
|
|
|
60˚N |
|
|
|
|
|
|
|
|
|
|
|
|
|
|
|
|
45˚N |
|
|
|
|
|
|
|
|
|
|
|
|
|
|
|
|
30˚N |
|
|
|
|
|
|
|
|
|
|
|
|
|
|
|
|
15˚N |
|
|
|
|
|
|
|
|
|
|
|
|
|
|
|
|
0˚ |
|
|
|
|
|
|
|
|
|
|
|
|
|
|
|
|
15˚S |
|
|
|
|
|
|
|
|
|
|
|
|
|
|
|
|
|
|
|
|
|
|
|
|
|
|
|
|
|
|
|
| |
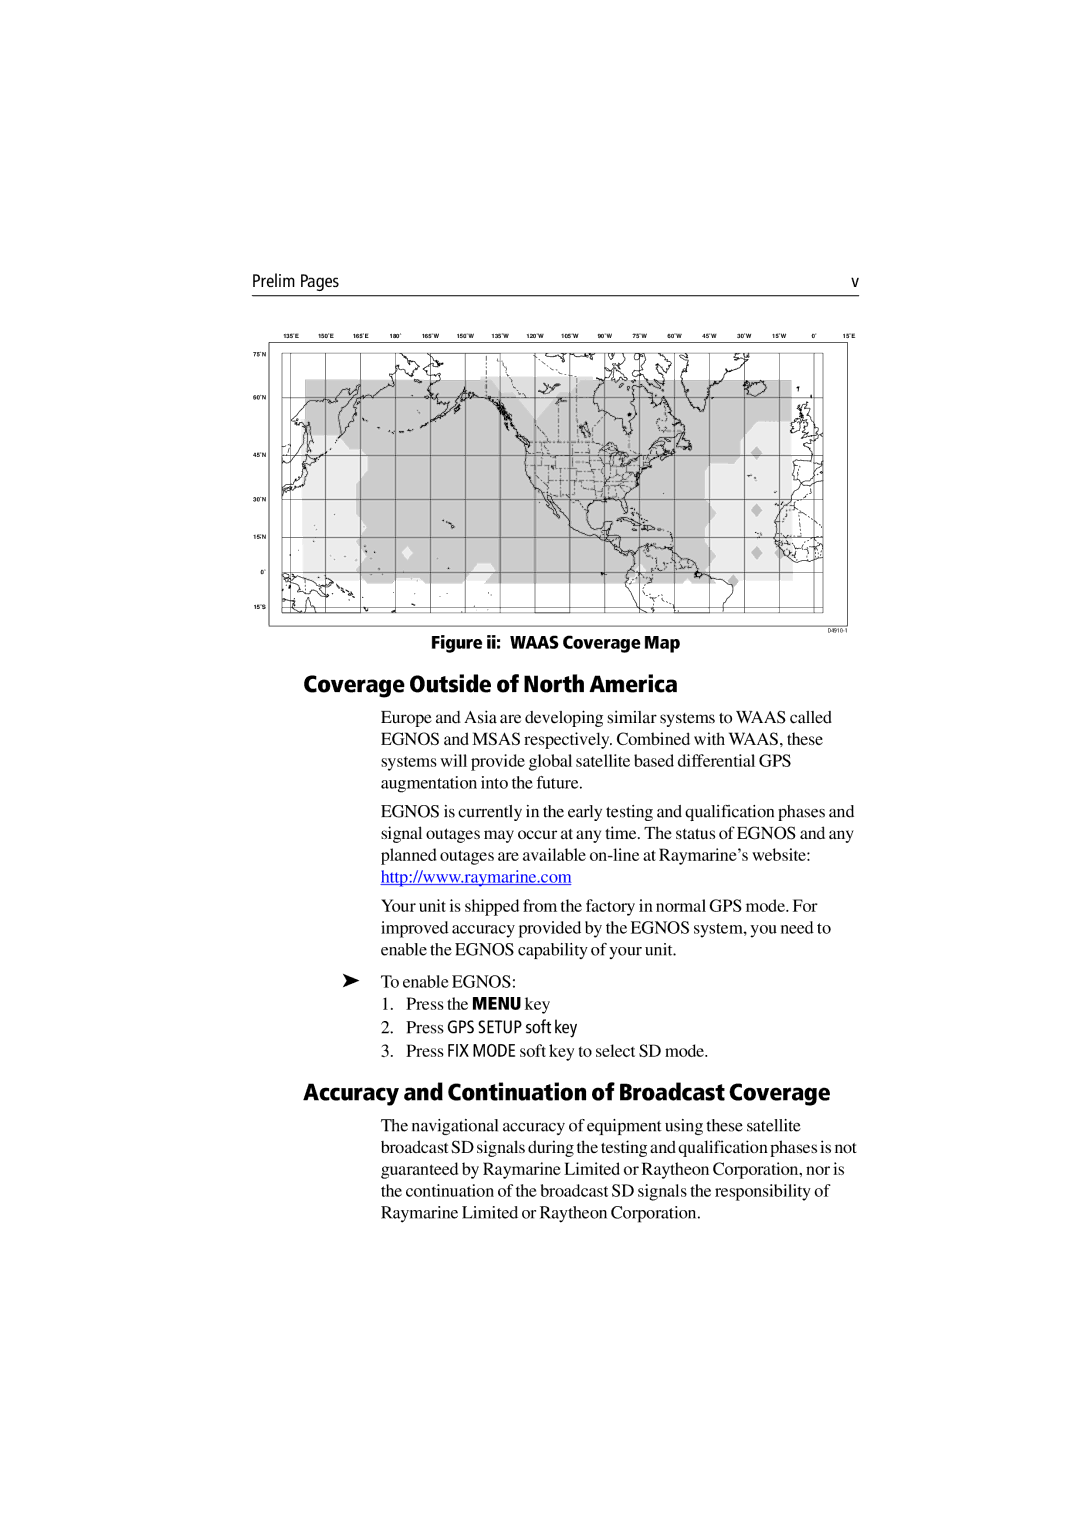
Figure ii: WAAS Coverage Map
Coverage Outside of North America
Europe and Asia are developing similar systems to WAAS called EGNOS and MSAS respectively. Combined with WAAS, these systems will provide global satellite based differential GPS augmentation into the future.
EGNOS is currently in the early testing and qualification phases and signal outages may occur at any time. The status of EGNOS and any planned outages are available
Your unit is shipped from the factory in normal GPS mode. For improved accuracy provided by the EGNOS system, you need to enable the EGNOS capability of your unit.
➤To enable EGNOS:
1.Press the MENU key
2.Press GPS SETUP soft key
3.Press FIX MODE soft key to select SD mode.
Accuracy and Continuation of Broadcast Coverage
The navigational accuracy of equipment using these satellite broadcast SD signals during the testing and qualification phases is not guaranteed by Raymarine Limited or Raytheon Corporation, nor is the continuation of the broadcast SD signals the responsibility of Raymarine Limited or Raytheon Corporation.