Raynav 300 GPS Plotter |
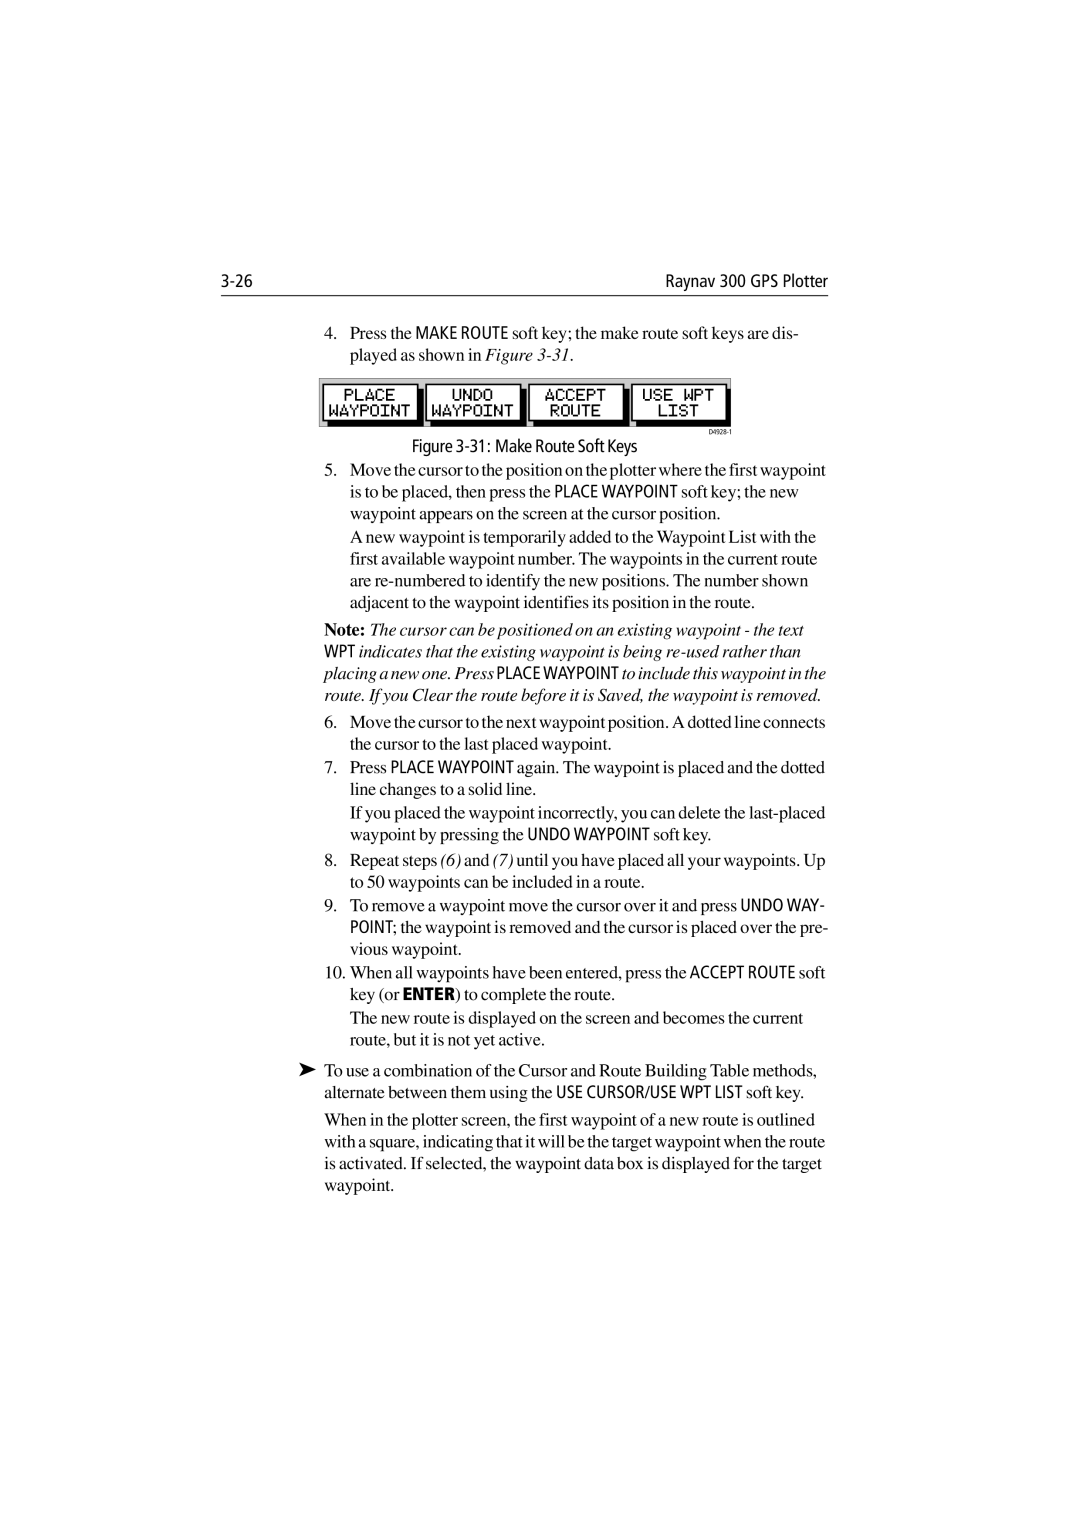
4.Press the MAKE ROUTE soft key; the make route soft keys are dis- played as shown in Figure
| PLACE |
|
| UNDO |
|
| ACCEPT |
|
| USE WPT |
| WAYPOINT |
|
| WAYPOINT |
|
| ROUTE |
|
| LIST |
Figure 3-31: Make Route Soft Keys
5.Move the cursor to the position on the plotter where the first waypoint is to be placed, then press the PLACE WAYPOINT soft key; the new waypoint appears on the screen at the cursor position.
A new waypoint is temporarily added to the Waypoint List with the first available waypoint number. The waypoints in the current route are
Note: The cursor can be positioned on an existing waypoint - the text WPT indicates that the existing waypoint is being
6.Move the cursor to the next waypoint position. A dotted line connects the cursor to the last placed waypoint.
7.Press PLACE WAYPOINT again. The waypoint is placed and the dotted line changes to a solid line.
If you placed the waypoint incorrectly, you can delete the
8.Repeat steps (6) and (7) until you have placed all your waypoints. Up to 50 waypoints can be included in a route.
9.To remove a waypoint move the cursor over it and press UNDO WAY- POINT; the waypoint is removed and the cursor is placed over the pre- vious waypoint.
10.When all waypoints have been entered, press the ACCEPT ROUTE soft key (or ENTER) to complete the route.
The new route is displayed on the screen and becomes the current route, but it is not yet active.
➤To use a combination of the Cursor and Route Building Table methods, alternate between them using the USE CURSOR/USE WPT LIST soft key.
When in the plotter screen, the first waypoint of a new route is outlined with a square, indicating that it will be the target waypoint when the route is activated. If selected, the waypoint data box is displayed for the target waypoint.