Printer/Scanner Unit Type
Page
Table of Contents
Setting Up the Printer Driver
Printer Features
Iii
Appendix
165
Manuals for This Machine
Manuals for DeskTopBinder Lite
Other manuals
How to Read This Manual
Symbols
Page
Energy Saver key
Control Panel
User Tools/Counter key
Clear/Stop key
Display Panel
FOnline / Offline
Paper Tray Status indicators
Job Reset
Error Log
Form Feed
Press Enter for Login User Name
User Authentication
Login Using the Control Panel
Press Enter for Login Password
Press the User Tools/Counter key Press ο Logout
Logoff Using the Control Panel
Login Using a Printer Driver
Press Yes
Connect the USB 2.0 interface ca- ble to the USB port
Connecting the Machine
Requirements
Connect the other end to the USB port on the host computer
Parallel Connection
Ieee 1394 Scsi print Connection
Turn on the main power switch
Connecting to the Ethernet Interface
Turn on the computer Turn off the main power switch
Indicator green
Setting Paper on the Bypass Tray
For details about setting paper
Select the paper size
Adjust the paper guides to the pa- per size
Open the bypass tray
Setting Custom Size Paper
Press Paper Type Bypass tray
Setting Thick Paper or OHP Transparencies
Press Horizontal
Select OHP or Thick Paper
Click Install
Quick Install
Click Quick Install
Click Finish
Preparing the Machine
Network Connection
Using This Machine as the Windows Printing port
Confirming the Connection Method
Windows 95
Windows Server
Windows
Windows XP
Windows NT
Using as a network printer
Local Connection
Click SmartDeviceMonitor for Client/Admin
Using the SmartDeviceMonitor for Client Port
Installing SmartDeviceMonitor for Client
Click Next
Installing the PCL or Rpcs Printer Driver TCP/IP
Click PCL/RPCS Printer Drivers
Select the machine model you want to use
Click Continue
Click Finish in the installation completion dialog box
Select the printer you want to use, and then click OK
Installing the PCL or Rpcs Printer Driver IPP
Click Detailed Settings to make necessary settings
Click Cancel to close the Port Configuration dialog box
Windows 2000 / Windows NT
Click Port, and then click Add
Using the Standard TCP/IP Port
Installing the PCL or Rpcs Printer Driver
Click Standard TCP/IP Port, and then click OK
Installation start dialog box reappears
Using the LPR Port
Port is added
Using as a Windows Network Printer
Browse for Printer window
Using as a NetWare Print Server / Remote Printer
Printers window, open the printer properties
Click OK to close the printer properties dialog box
Banner
Printing after Resetting the Printer
Form Feed
\DRIVERS\USBPRINT\WIN98ME
Click Next
Rpcs
Page
Check the printer driver location, and then click OK
Turn on the power of the computer
Windows XP, Windows Server 2003 USB
Click Next Click Finish
Check the printer driver location, and then click Next
Click Continue Click Finish
Troubleshooting for Using USB
Printing with Parallel Connection
Deleting Stored Print Files
Press the user ID whose file you want to print
Printing from List Per User ID
On the Printer screen, press Print Jobs
Press Job List Per User ID
Select the desired print job type, and then press Yes
Printing All Print Jobs
Press Print All Jobs
Press Yes
Viewing a list of spool jobs on the display panel
Setting Spool Printing
Spool Printing
Viewing/Deleting spool jobs in Web Image Monitor
Press Continue
Print Using a Selected Tray
Form Feed
100
Press Yes to cancel the print job
Canceling Form Feed
Press Reset
101
Press Reset Current Job or Reset All Jobs
Canceling a Print Job
Windows Canceling a Print Job
Double-click the printer icon on the Windows task tray
103
Press the desired job list
Checking the Error Log
Press Error Log
104
Press Details
105
106
Covers
Cover Sheet
Front and Back Covers
107
108
Inserting a slip sheet between OHP transparencies
Slip Sheet
Inserting a slip sheet between each
109
110
111
Chaptering
No slip sheets
Inserting chapter slip sheets
112
User Defined Pages
113
Rotating Collate
Collate
Collate
Shift Collate
115
Printing with the Finisher
116
117
Staple
Staple Position
Stapling Precautions
118
119
120
Punch
Punch Position
Punching Precautions
121
122
Printer Features Menu
123
124
125
Adjusting Printer Features
Press the User Tools/Counter key on the control panel
Printer Features Parameters
List / Test Print
PCL Menu
Interpreting the configuration System Reference
Paper Input System
PS Menu
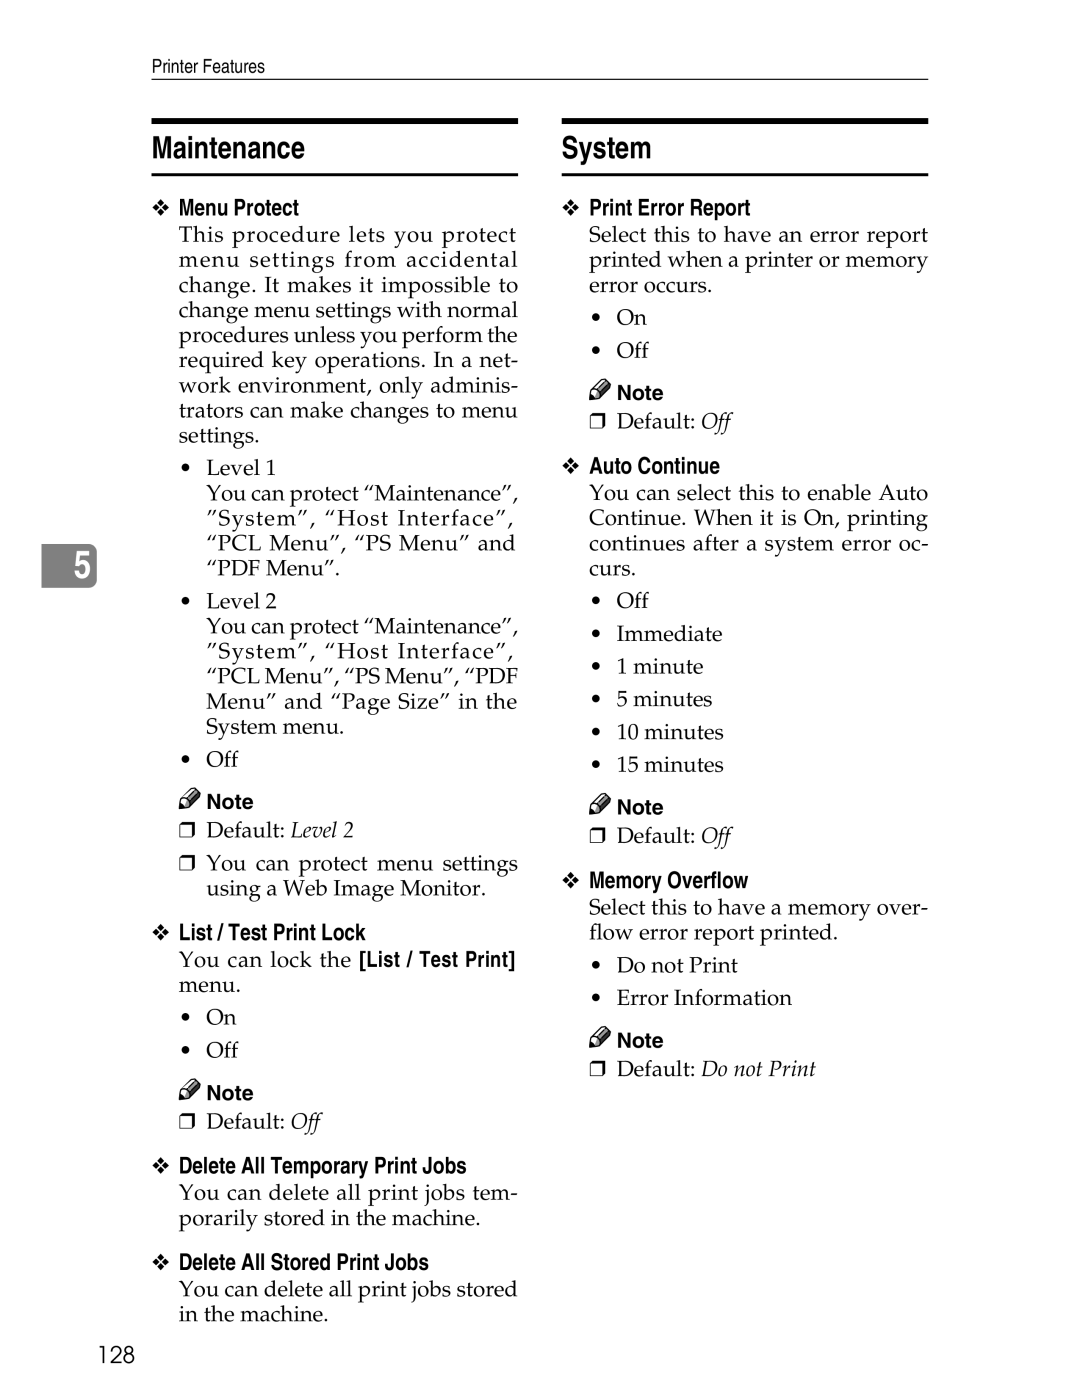
Maintenance
System
Memory Usage
Job Separation
Auto Delete Temporary Print Jobs
Duplex
Sub Paper Size
Blank Page Print
Printer Language
Edge Smoothing
Default Printer Language
Letterhead Setting
Bypass Tray Setting Priority
Tray Switching
Host Interface PCL Menu
Point Size
Symbol Set
Resolution
Font Pitch
134
PS Menu
Data Format
Accessing the Document Server
135
136
137
Mainframe
Functions
138
List of the Setting Items
Web Image Monitor
List of the Setting Items
139
Telnet
140
Unix
141
Settings that can be used with PostScript
142
Software and Utilities Included on the CD
Printer Drivers for This Printer
Click Browse This CD-ROM
Adobe PostScript Printer Drivers and PPD files
PCL printer drivers
Rpcs printer driver
PPD files
Available functions
SmartDeviceMonitor for Admin
File path
146
SmartDeviceMonitor for Client
147
148
Status messages
Troubleshooting
Error & Status Messages on the Display Panel
Alert messages
150
Machine Does Not Print
151
152
ROM
153
Interface cable
Network connection
Other Printing Problems
154
155
PostScript
156
PCL 5e
157
158
System Settings Parallel Connection
160
Precautions when using Windows Server
Precautions When Using the Terminal Server Mode
Specifications
161
Options
Connectable number of devices on a bus
Power supply
Transmission mode
Allowed cable hops on a bus
164
Bluetooth Interface Unit Type
PostScript 3 Unit Type
Index
165
166
167
168
EN USA
Page
EN USA B783-7512


 Note

 Note

 Note

 Note

 Note