3RECORD SET
3 Turn the shuttle dial clockwise.
4 Press the [EXIT] button.
The setting procedure is ended and the display returns to the normal screen.
EXIT
When the normal recording area or the alarm recording area become full
Make a new “AREA FULL RESET” setting for “NORMAL RECORDING AREA” and “ALARM RECORDING AREA” on the <RECORDING AREA SET> screen.(JP.59)
Setting normal recording
Use the following procedure to make normal recording settings for recording quality, audio recording, and recording rate. Alternatively, a program number set using “PROGRAM REC SET” can be specified to set these parameters.
1 Press the [MENU] button.
The MENU indicator lights up and the <MAIN MENU> is displayed.
MENU
2 Turn the jog dial to select “2. RECORD SET”, and then turn the shuttle dial clockwise.
The <RECORD SET> screen is displayed.
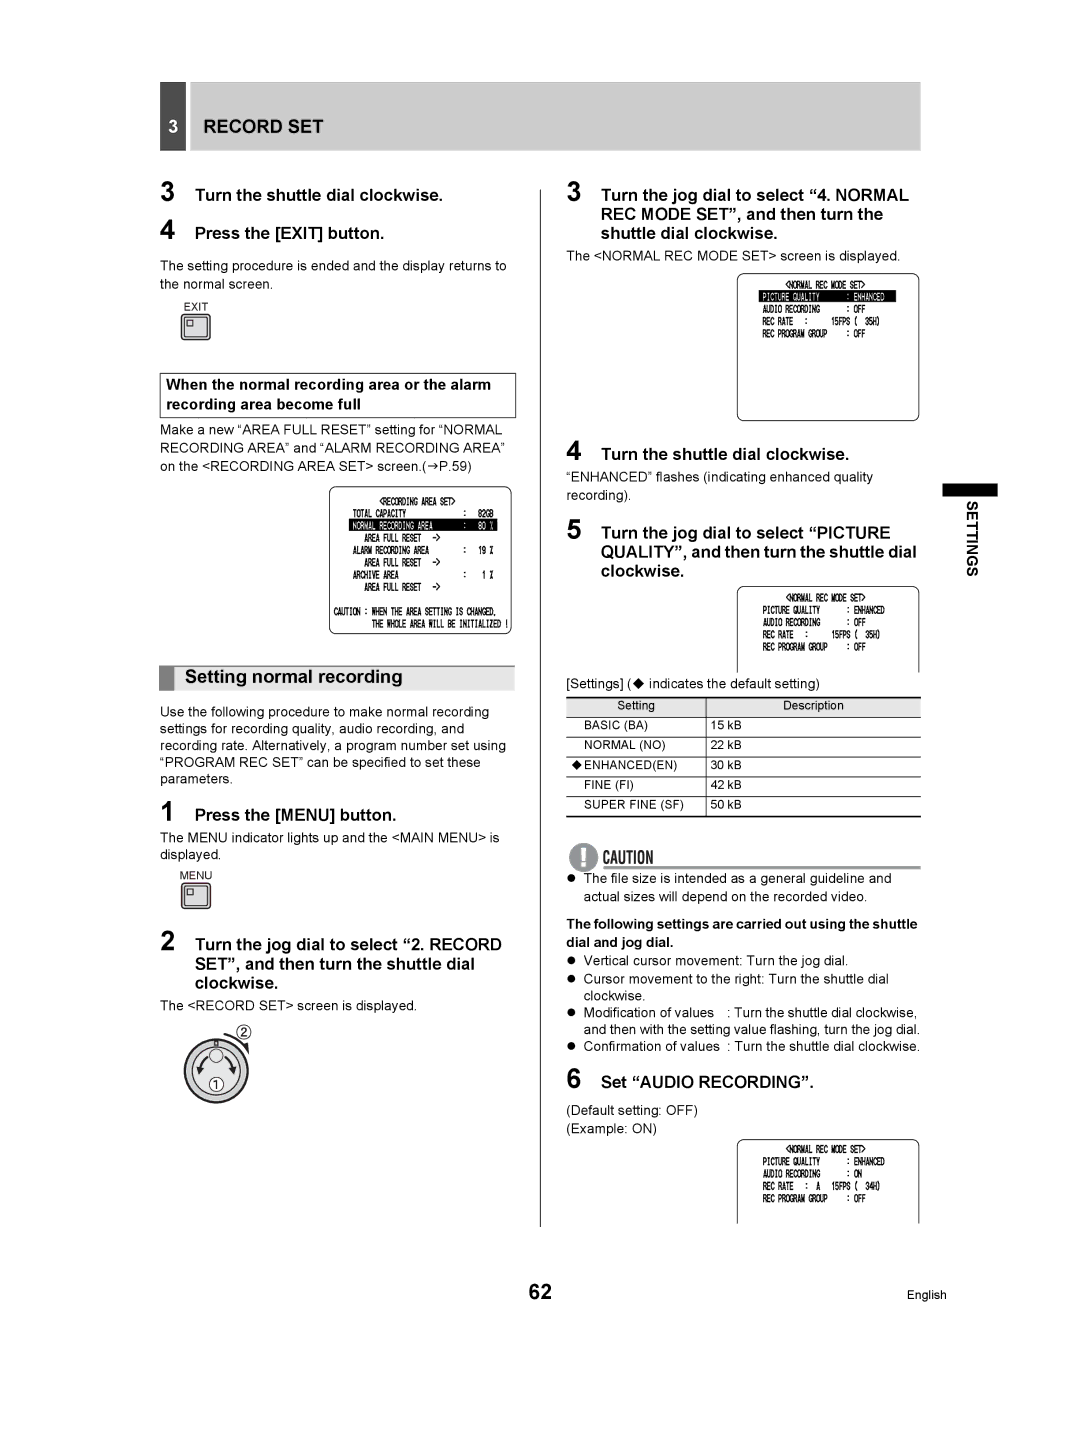
3 Turn the jog dial to select “4. NORMAL REC MODE SET”, and then turn the shuttle dial clockwise.
The <NORMAL REC MODE SET> screen is displayed.
4 Turn the shuttle dial clockwise.
“ENHANCED” flashes (indicating enhanced quality recording).
5 | clockwise. | SETTINGS |
Turn the jog dial to select “PICTURE |
|
QUALITY”, and then turn the shuttle dial
[Settings] ( indicates the default setting)
Setting | Description |
BASIC (BA) | 15 kB |
|
|
NORMAL (NO) | 22 kB |
|
|
ENHANCED(EN) | 30 kB |
|
|
FINE (FI) | 42 kB |
|
|
SUPER FINE (SF) | 50 kB |
|
|
zThe file size is intended as a general guideline and actual sizes will depend on the recorded video.
The following settings are carried out using the shuttle dial and jog dial.
zVertical cursor movement: Turn the jog dial.
zCursor movement to the right: Turn the shuttle dial
clockwise.
z Modification of values : Turn the shuttle dial clockwise, and then with the setting value flashing, turn the jog dial.
zConfirmation of values : Turn the shuttle dial clockwise.
6 Set “AUDIO RECORDING”.
(Default setting: OFF)
(Example: ON)
62 | English |
