8.Adjustthespacingofthetractorunitsby slidingthemalongthebar,using the clamp lever at the back of each unit to release and lock them in position.Whenthe clamplever is up, theunit is released,and whenit is down,the unit is locked.
9.Nowclosethetractorcovers,againmakingsurethatthe paperholesare alignedwiththepinson thetractorunits.Iftheyarenot al;fied properly,
youwillhaveproblemswithpaperfeeding,possiblyresultingin tearing andjamming of the paper.
10.Turnon thepowerusingtheswitchlocatedatthefrontof theprinter.The printer will beep, indicatingthat the paper is not yet fully loaded.The orange POWER indicatorwill also flash to confirmthis.
11.Nowpressthe c s.pd~c, >button.The paperwillbe fed and adjusted past the printhead to a positionready for printing.
12.If youwantto setthepaperto a differentposition,setthe
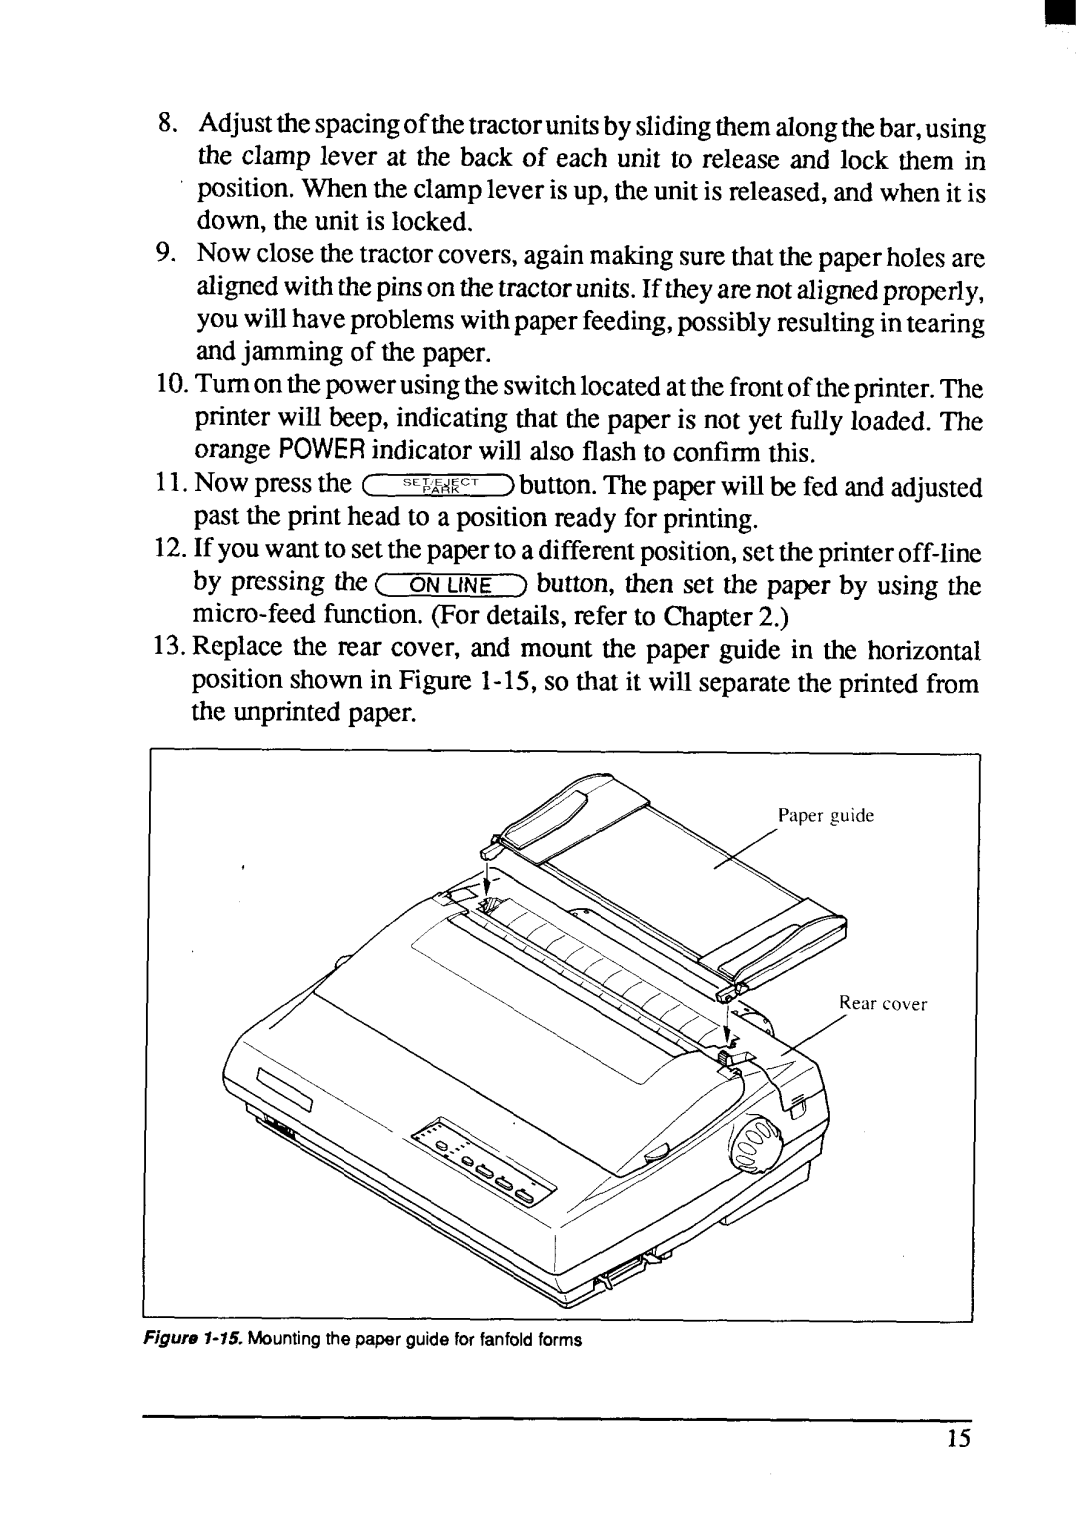
13.Replace the rear cover, and mount the paper guide in the horizontal positionshownin Figure
I
cover
Figure 1-15. Mounting the papar guide for fanfold forms
15