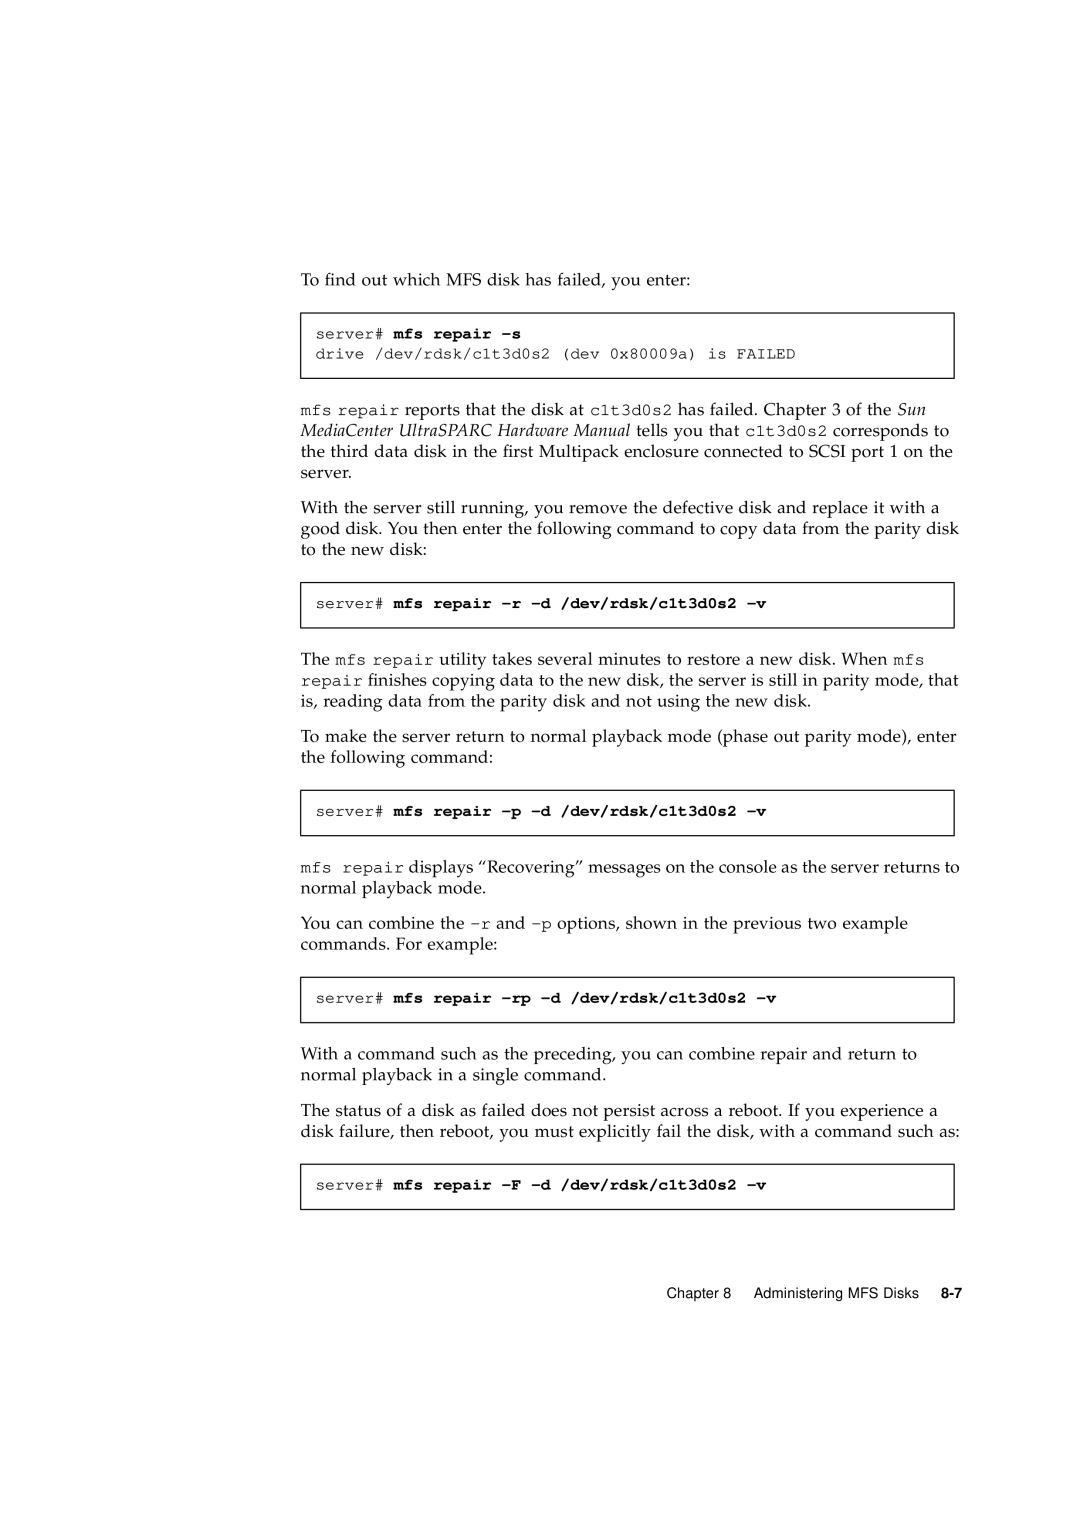
To find out which MFS disk has failed, you enter:
server# mfs repair
drive /dev/rdsk/c1t3d0s2 (dev 0x80009a) is FAILED
mfs repair reports that the disk at c1t3d0s2 has failed. Chapter 3 of the Sun MediaCenter UltraSPARC Hardware Manual tells you that c1t3d0s2 corresponds to the third data disk in the first Multipack enclosure connected to SCSI port 1 on the server.
With the server still running, you remove the defective disk and replace it with a good disk. You then enter the following command to copy data from the parity disk to the new disk:
server# mfs repair
The mfs repair utility takes several minutes to restore a new disk. When mfs repair finishes copying data to the new disk, the server is still in parity mode, that is, reading data from the parity disk and not using the new disk.
To make the server return to normal playback mode (phase out parity mode), enter the following command:
server# mfs repair
mfs repair displays “Recovering” messages on the console as the server returns to normal playback mode.
You can combine the
server# mfs repair
With a command such as the preceding, you can combine repair and return to normal playback in a single command.
The status of a disk as failed does not persist across a reboot. If you experience a disk failure, then reboot, you must explicitly fail the disk, with a command such as:
server# mfs repair
Chapter 8 Administering MFS Disks
