Phaser Color Laser Printer
Page
Phaser 560 Color Laser Printer Warranty
Users safety summary
Symbols as marked on product
Terms in manual Caution
Terms on product Caution
Vorsicht
For Users in Norway
Contents
Viii Phaser 560 Color Laser Printer
Printing Basics
Printing Beyond the Basics
Caring for Your Printer
Troubleshooting
Using the Front Panel
Index
Regulatory Information and Specifications
Supplies, Accessories, and Expanding Your Printing System
Page
Chapter
Features
Feature Description
Introduction
PhaserLink software
Information roadmap
Quick Reference Guide
Consumables Instruction Sheets
Diskettes
PhaserShare manuals
World Wide Web
Page
Setting up the printer
At a glance
Setting up the printer
What you get with your printer
9698-02
Optional accessories
Accessories box
Registering your printer
Removing the packing material
Installing the optional Lower Tray Assembly
Installing the toner cartridges
9698-07
Preparing the imaging unit
Setting up the output tray
Insert the Quick Reference Guide
Adding paper or transparencies
Remove the Paper tray
Tray Media Type Size
Types and sizes of media trays
Multi-Purpose Feeder
Loading media
9008-14
If you have a single media tray
If you have a Lower Tray Assembly
Install a media tray into each of the three slots
Connecting the printer
Printer ports
Parallel
Turning on the printer
What happens at power-up
When the printer is ready for operation
Selecting a language for the front panel
Making a demonstration print
Setting the Energy Star Timeout
These are the basic steps for software installation
PC/Windows software
Overview
Yes
Installing printer software for Windows
Easy Installation Custom Installation
PhaserPrint Plug-in for Photoshop
Drivers/PPDs
Manufacturers/Printers dialog box, click Have Disk
Installing printer software for Windows NT
Installing Printer Software
Easy Install Custom Install
Installing Printer Software
Easy Installation
Tektronix Printer Driver
Go on to the setup instructions refer to the next
Select the printer’s port, click OK
Click OK in the next dialog box
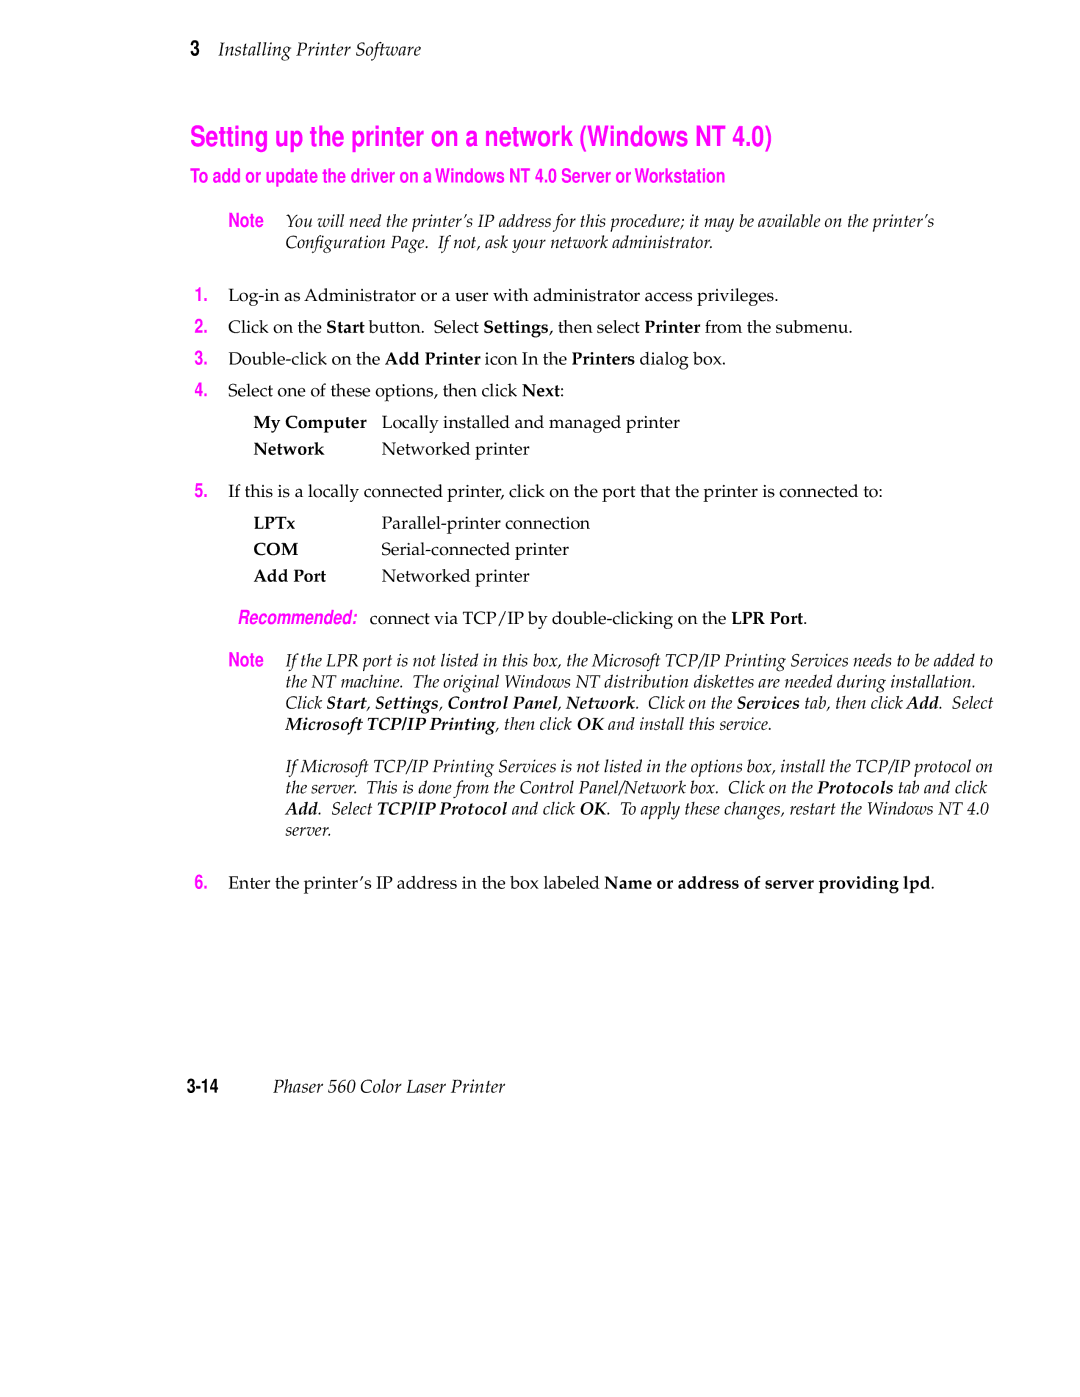
Setting up the printer on a network Windows NT 3.5
TCP/IP connection
AppleTalk connection
Setting up the printer on a network Windows NT
COM
Shared
Easy Install
Custom Install
Macintosh software
Overview for MacOS platforms
Custom Install or Easy Install?
Install
For Custom Install
Installing printer software for Macintosh
For Easy Install
Setting up the Phaser 560 printer driver
Setting up the Apple LaserWriter 8 printer driver
TKP560P1.PPD
Setting up the Phaser 560 GX printer driver
Downloadable printer utility files
PhaserPrint for Unix software demo
Workstation software
Printing Basics
Printing from a PC
Print features quick reference Windows printer drivers
Printing Basics
Print features quick reference Windows printer drivers contd
Using the AdobePS 4 driver with Windows
Details
Paper
Graphics
PostScript
Download header with each print job
Selecting printer options from the Control Panel
Using the Windows NT 4.0 PostScript driver
Print command options in an application
Setup options in an application
Select Paper Size and Source
Using the Windows NT 3.5 and 3.51 PostScript driver
Using the Tektronix printer driver for Windows
Job Control
Using the Adobe PostScript driver for Windows
Features
Setting the timeouts
To access the timeout settings
To change the timeout settings
Windows
Using the printer’s front panel
Printing from a Macintosh
Supported Macintosh printer drivers
Downloading utility files
Print features quick reference Macintosh printer drivers
Feature Driver name Phaser Apple LaserWriter Phaser 560 GX
Quick Collate
Using the Phaser 560 printer driver
Using the Multi-Purpose Feeder
Select media size
Select printer-specific options
Using the Apple LaserWriter 8 printer driver
Selecting printing options
Using the Phaser 560 GX printer driver
Printing with a desktop printer
Unix workstations
Printing from a workstation
Overview
For more information
Workstation Operating System
Print features
Printing from specific applications
General hints and tips
Through a supported printer driver recommended
Print features quick reference Printer’s front panel
Print features quick reference Printer’s front panel contd
Print-quality modes
Color corrections
Swop
Output Order
Output Order Face Up
Output Order Face Down
Hints
Fonts
Resident typefaces PostScript
9317-10
Macintosh fonts
Resident typefaces PCL5
Downloading fonts
Printer languages PostScript, HP-GL, PCL5
Size Media Type
All about media
Media sizes
Margins and print area
Margins Media Size Print area Top Bottom Sides
Media types
Selecting a media type
Media trays
Selecting a media tray by location
Loading plain paper
Loading letterhead paper
Loading transparencies
Hints for making transparencies
Specialty media
Using the Multi-Purpose Feeder
Standard media
Setting media thickness
Thin Medium Thick
Inserting the media
Multi-Purpose Manual Feed see Step
Selecting the Multi-Purpose Feeder
Front panel selection
Loading specialty media in the Multi-Purpose Feeder
Transparencies
3 4 5 6
Letterhead
Glossy Coated Paper and Card stock
Glossy Coated
9698-117
Envelopes
Your application
A supported printer driver
Make the following selections
Labels
Minimum
Printing Basics
Tektronix Fabric Transfer Media
Flip Horizontal
Printer Defaults menu
Duplex printing
Making selections in the driver
Making selections in the front panel
Face Up
Tray
Listed under Multi-Purpose Feeder
Multi-Purpose
Now face down
Page
Printing Beyond the Basics
Special printing features
Controlling color density
Color Reference
CyanColor
Adjust cyan+1
Color Reference
Calibrate Colors menu selections
Menu item What it does How it works
Using the Quick Collate option
Phaser 560 Quick Collate
➊ 4 sets of pages 1, 2,
➋ 4 copies ➌ 4 sets of pages 5
Quick Collate and the Check Print option
Collation hints and tips Output order
Increasing the collation capacity
Previewing with Check Print
Press the Menu button. The following message appears
Phaser 560 driver
Phaser 560 GX driver
LaserWriter 8 driver
Windows 95 PostScript driver
Options
Automatic tray switching
Image Smoothing
Getting job information
Working with color
General guidelines
Color corrections making the best selection
TekColor corrections
Deciding which color correction to use
Color correction solutions
Printing objective or problem Color correction to use
Turning off all color corrections
Color correction descriptions
General all-purpose printing
Printing the brightest colors and a truer blue
Simulating display screen colors
Euroscale Press
Closely match printing press colors
Commercial Press
Using the printer’s current color defaults
Using simple color conversions
If your Phaser 560 printer is shared on a network
If you are using an unsupported driver
Special considerations
Application color corrections
Printing and using the color sampler charts
Printing color sampler charts
Color Sampler Charts
Charts on the CD-ROM
Color sampler chart files
PANT560.PS
Caring for Your Printer
Overview
User-replaceable components
When to replace components
Transfer Kitreplace
Resource Information provided How to access
Consumable life information
Replacing the components
Toner cartridges
Diagnosing print quality
Replacing a toner cartridge
Replacing
Imaging unit
Imaging kit
Fuser
Replacing the Fuser
Fuser Roll
Replacing the Fuser Roll
Transfer kit
Replacing the Transfer Kit
Main Charge Grid
Front panel Messages Diagnosing print quality
Occasional cleaning
Cleaning the paper-pick and paper-feed rollers
Use the blue handles to pull out the paper feeder
If you have a Lower Tray Assembly
9698-58
Cleaning other rollers
Cleaning the sensor
9698-64
Prepare the media trays
Power off
Repacking the printer
Remove and discard the Transfer Kit
Prepare the Imaging Unit
Remove the toner cartridges
Secure the doors and output tray
9698-69
Repack the printer
Returning the printer to Tektronix
Page
Printer support and service
If you need help
Receiving email update notices
Type of service contd How to access contd Details contd
Using the automated fax systems
Country Numbers
PhaserLink
Symptoms and solutions
Diagnostic tools
Quick reference table
Maintaining print quality
Troubleshooting and print quality quick reference
Symptom Possible Causes Solution
Troubleshooting and print quality quick reference contd
Waiting for media
Troubleshooting and print quality quick reference contd
To fix the problem
To avoid the problem
Troubleshooting and print quality quick reference contd
12Phaser 560 Color Laser Printer
Fuser is worn out
Dark and wavy vertical
Printer Error ##
If you can’t make a print
If you can’t make a print contd
Media problems
Mode COM19600,N,8,1,P
Media problems contd
Problems with image size and position
Print quality problems
SymptomSolution
Print quality problems contd
Printing hints
Application hints
Tektronix supplies and software
Getting the largest printed picture
Improving print speed
Relative port speed
Fastest print time
If Image Smoothing is activated
All users
Macintosh and Windows users
Windows 3.1 users
Unix workstation users
Select Use PostScript Level 2 features
Windows 95 users
PostScript printing errors
Macintosh users
Using a PostScript error handler
Fixing timeout problems in Windows
From Windows
Printed colors are not what you expected
General
Using the Tektronix halftone screens
Printing Pantone Colors
Choose Download PostScript File from the Utilities menu
PC and workstation users
Selecting page sizes in Windows applications
34Phaser 560 Color Laser Printer
Fonts printing incorrectly from Windows
Getting printer configuration information
If the LaserWriter Utility does not work AppleTalk
Sharing the printer on a network
Driver, utility files, and front panel interactions
Startup page prints even though it is disabled
Message Description
If your printer has a Lower Tray Assembly installed
Media hints and tips
Media handling
Double-sided printing
Clearing a media jam
Jam at a
Jam at B
Jam at C
Jam at C contd
Jam at D
Jam at D contd
Jam at E
Jam at Multi-Purpose Feeder
Front panel
Front panel indicators
Indicator Blinking Off
Mode Front Panel Buttons
Front panel buttons
Mode Front Panel Buttons
Line b
Two-line display
Line a
Printer information
Info Button 2 Capability
Protected mode for the front panel menu
Phaser 560 Menu Map
Front panel menu map
Printing Help Pages
Press the Printbutton to print the desired
Enabling and disabling the Startup
Startup Menu
Page
Tektronix Printer and Tektronix supplies Made For Each Other
Customizing your printer
Order number Description Supplies
Supplies and accessories
Phaser 560 Printer Supplies
Phaser 560 Accessories
Accessories Order Number Description
Cleaning supplies
Manuals
Printer interface cables and adapters
Order number Description Connectors and cable length
Interface cables and adapters
Upgrade kits
Expanding your printing system
Description
Order number
Extended Features upgrade
Memory upgrade
Memory configurations for the Phaser 560 printer
Advantages of adding memory
Memory Total Performance / Benefit
Order number Description
PhaserShare network cards
Benefits of networking the printer
Phaser Copystation accessory
Lower Tray Assembly
PhaserPrint for Unix
Scsi hard disk
Regulatory Information Specifications
Declaration of conformity for 220-230 VAC equipment
FCC Class B device for 100-120 VAC equipment
Material Safety Data Sheets
Msds for Toner
Exposure Control Personal Protection
Physical And Chemical Properties
Stability And Reactivity
Toxicological Information
Specifications
Dimensions with Lower Tray Assembly
Weight of Lower Tray Assembly
Safety and emissions standards
Printing speed
Check Print
Chooser
Automatic
Commercial Press
Swop Press Use Printer Setting
Color Density Samples ordering 9-3using
Fast Color print mode Fast Monochrome print mode
Extended Features
With Extended Features
Index-3
Index-4Phaser 560 Color Laser Printer
Index-5
10-5
No Color Correction
Extended Features 4-28 printer languages
Presentation print mode
Image Smoothing
Index-7
Quick Collate option
Printing menu
Simulate Display color correction
Index-9
Use Printer Setting color correction description
Index-11
PostScript tab
Device Options tab Graphics tab Paper tab