6. DIAG. TEST OPERATION
6.1 OUTLINE OF THE DIAG. TEST OPERATION
6. DIAG. TEST OPERATION
6.1 OUTLINE OF THE DIAG. TEST OPERATION
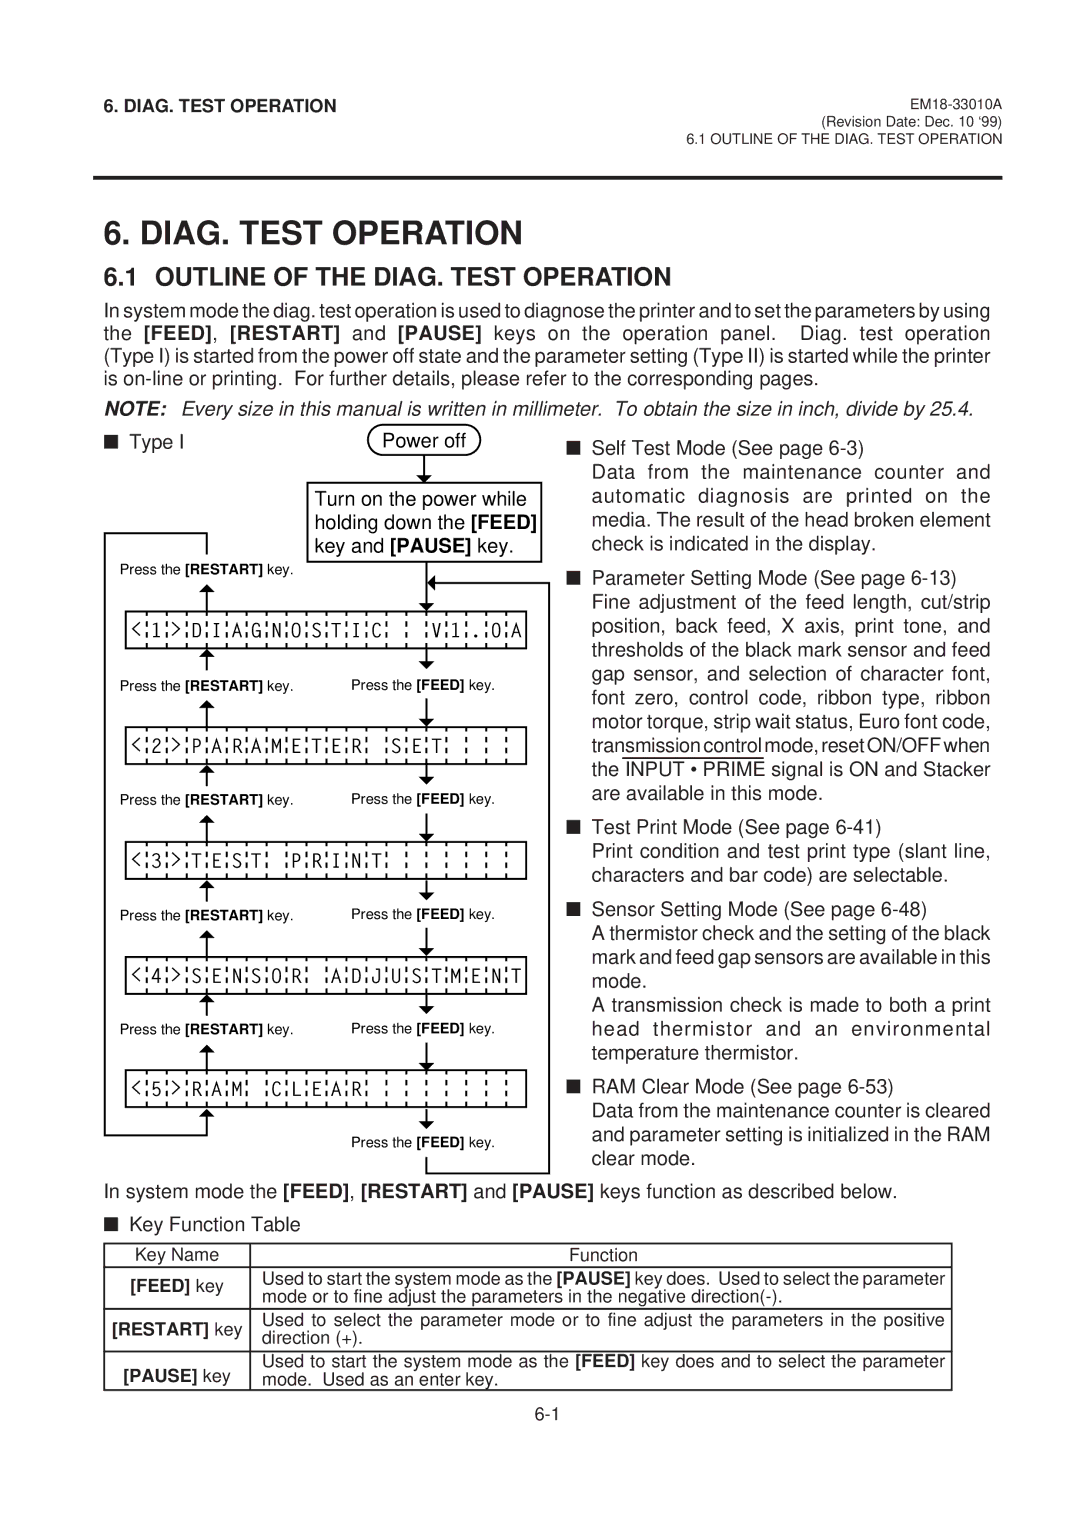
In system mode the diag. test operation is used to diagnose the printer and to set the parameters by using the [FEED], [RESTART] and [PAUSE] keys on the operation panel. Diag. test operation (Type I) is started from the power off state and the parameter setting (Type II) is started while the printer is
NOTE: Every size in this manual is written in millimeter. To obtain the size in inch, divide by 25.4.
■ Type I | Power off |
Turn on the power while holding down the [FEED] key and [PAUSE] key.
Press the [RESTART] key.
|
|
|
|
|
| < 1 > D I A G N O S T I C | V 1 . 0 A | ||
|
|
|
| |
|
|
|
|
|
|
|
|
|
|
|
|
| Press the [FEED] key. | |
Press the [RESTART] key. | ||||
|
|
| ||
|
|
|
| |
|
|
|
|
|
|
|
| ||
| < 2 > P A R A M E T E R S E T | |||
|
|
|
| |
|
|
|
|
|
|
|
|
|
|
|
|
| Press the [FEED] key. | |
Press the [RESTART] key. | ||||
|
|
|
| |
|
|
|
| |
|
|
|
|
|
|
|
|
| |
| < 3 > T E S T P R I N T |
| ||
|
|
|
| |
|
|
|
|
|
|
|
|
|
|
|
|
| Press the [FEED] key. | |
Press the [RESTART] key. | ||||
|
|
| ||
|
|
|
| |
|
|
|
|
|
|
|
| ||
| < 4 > S E N S O R A D J U S T M E N T | |||
|
|
|
| |
|
|
|
|
|
|
|
|
|
|
|
|
| Press the [FEED] key. | |
Press the [RESTART] key. | ||||
< 5 > R A M C L E A R
Press the [FEED] key.
■Self Test Mode (See page
Data from the maintenance counter and automatic diagnosis are printed on the media. The result of the head broken element check is indicated in the display.
■Parameter Setting Mode (See page
■Test Print Mode (See page
Print condition and test print type (slant line, characters and bar code) are selectable.
■Sensor Setting Mode (See page
A thermistor check and the setting of the black mark and feed gap sensors are available in this mode.
A transmission check is made to both a print head thermistor and an environmental temperature thermistor.
■RAM Clear Mode (See page
Data from the maintenance counter is cleared and parameter setting is initialized in the RAM clear mode.
In system mode the [FEED], [RESTART] and [PAUSE] keys function as described below.
■Key Function Table
Key Name | Function | |
[FEED] key | Used to start the system mode as the [PAUSE] key does. Used to select the parameter | |
mode or to fine adjust the parameters in the negative | ||
| ||
[RESTART] key | Used to select the parameter mode or to fine adjust the parameters in the positive | |
direction (+). | ||
| ||
[PAUSE] key | Used to start the system mode as the [FEED] key does and to select the parameter | |
mode. Used as an enter key. | ||
|
