6. DIAG. TEST OPERATION
6.2 SELF TEST MODE
6.2.3Head Broken Element Check
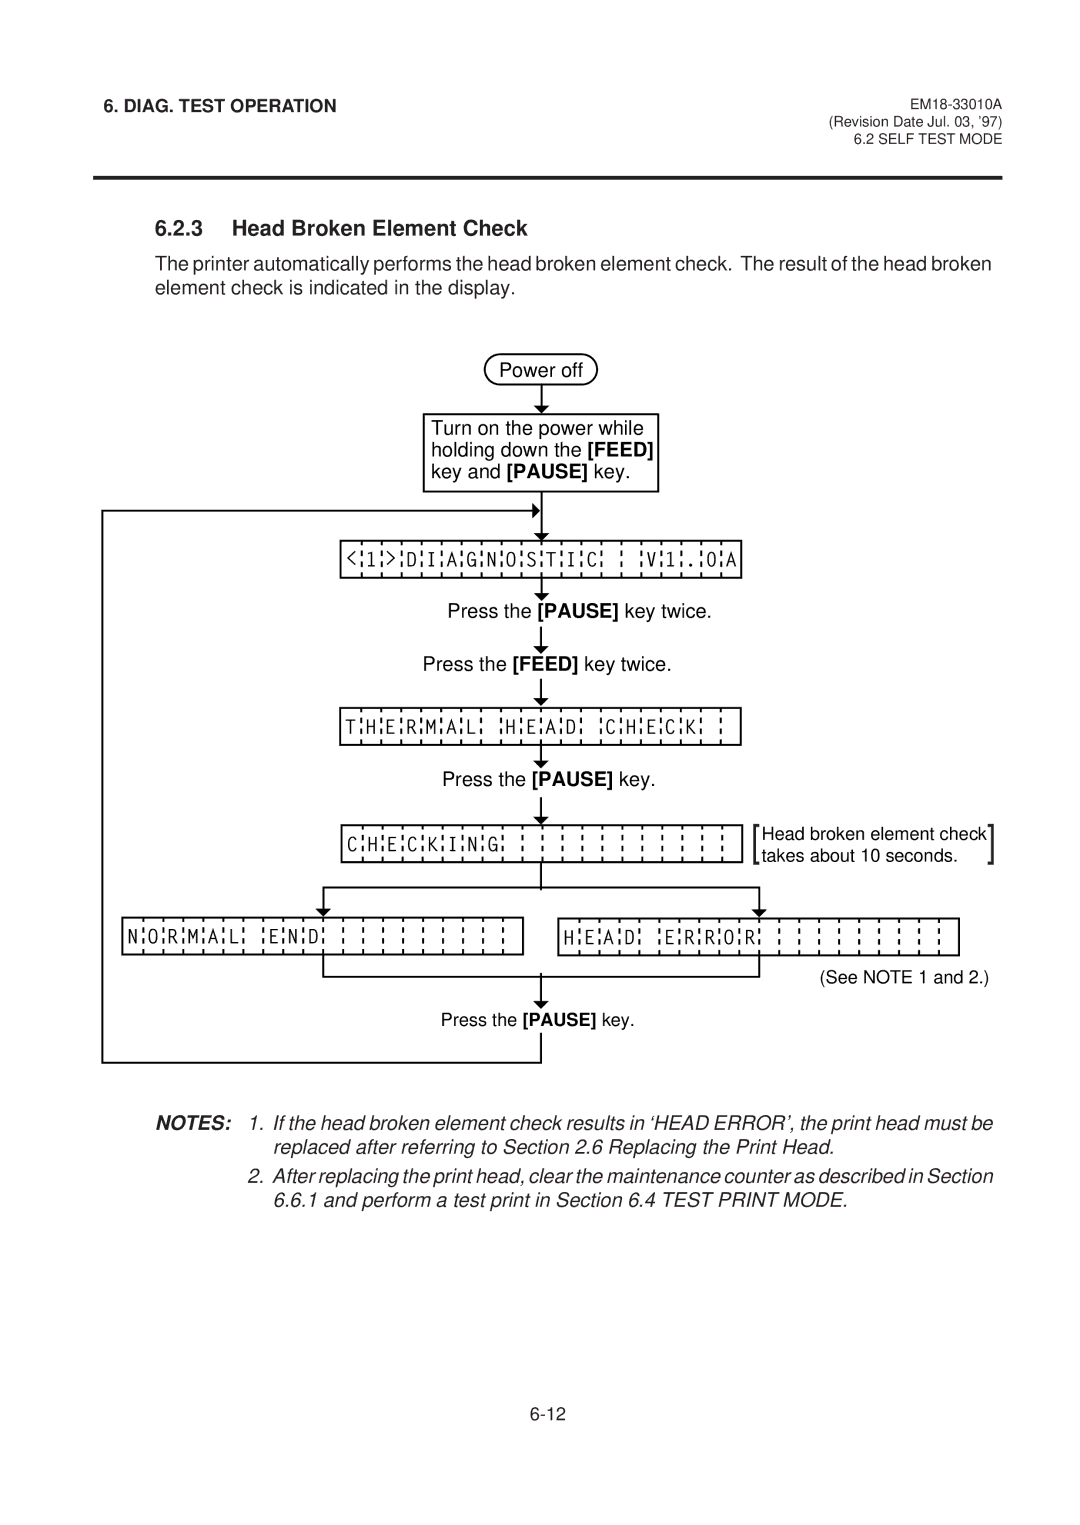
The printer automatically performs the head broken element check. The result of the head broken element check is indicated in the display.
Power off
Turn on the power while holding down the [FEED] key and [PAUSE] key.
< 1 > D I A G N O S T I C | V 1 . 0 A |
Press the [PAUSE] key twice.
Press the [FEED] key twice.
T H E R M A L H E A D C H E C K
Press the [PAUSE] key.
C H E C K I N G
[Head broken element check] takes about 10 seconds.
N O R M A L E N D
H E A D E R R O R
(See NOTE 1 and 2.)
Press the [PAUSE] key.
NOTES: 1. If the head broken element check results in ‘HEAD ERROR’, the print head must be replaced after referring to Section 2.6 Replacing the Print Head.
2.After replacing the print head, clear the maintenance counter as described in Section 6.6.1 and perform a test print in Section 6.4 TEST PRINT MODE.