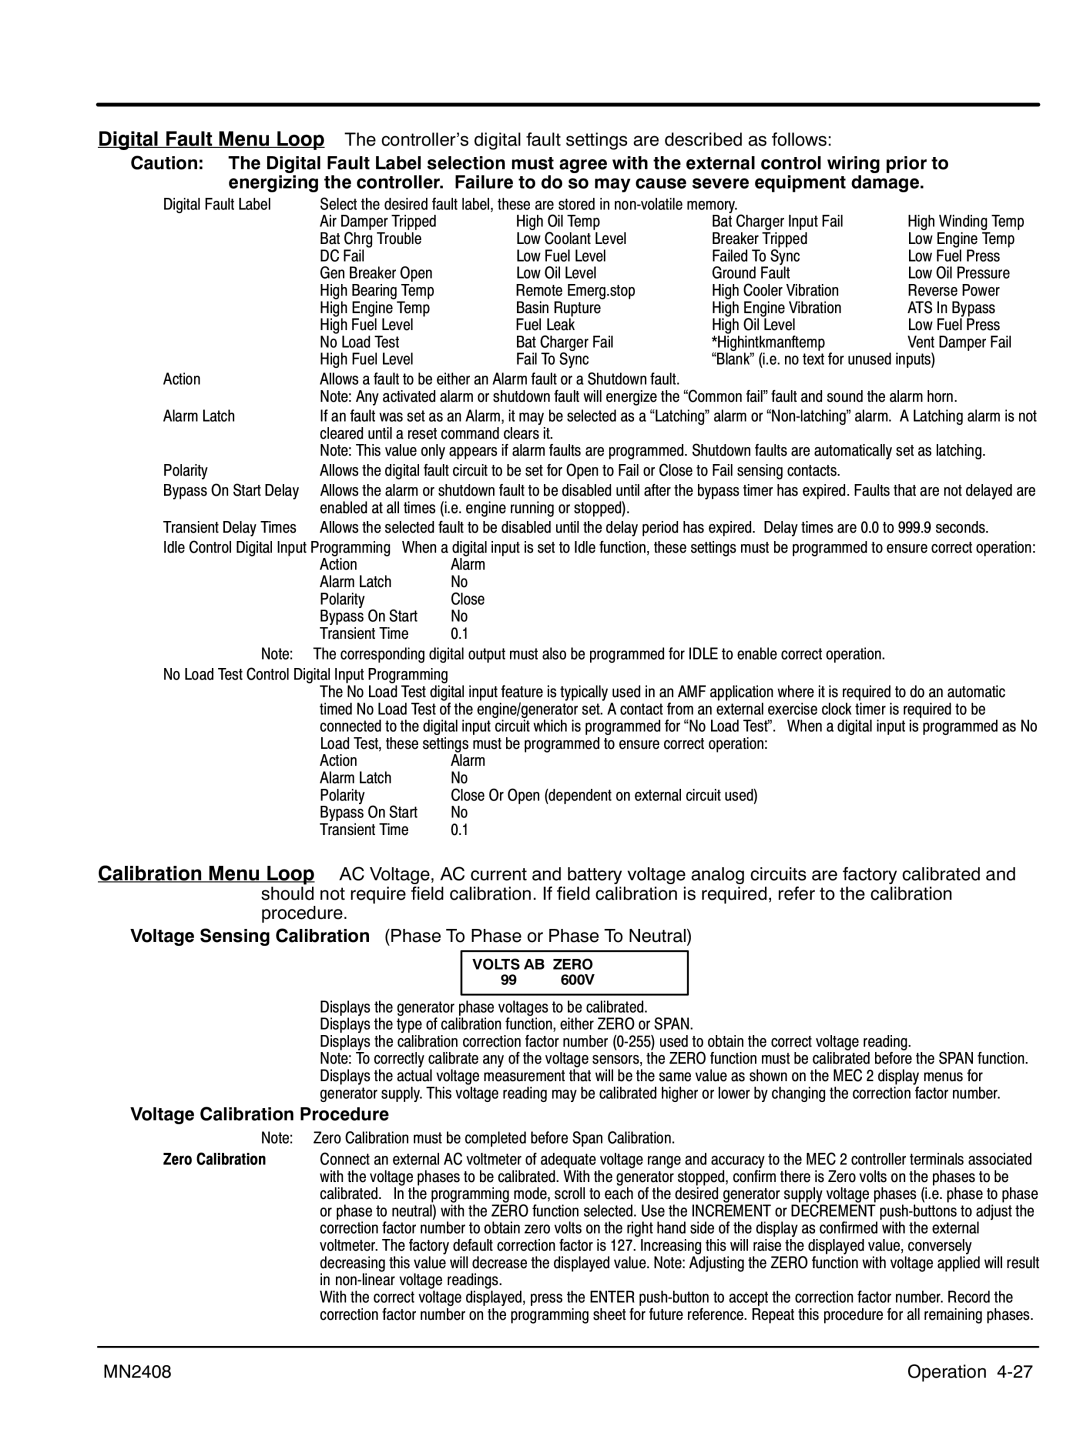
Digital Fault Menu Loop The controller's digital fault settings are described as follows:
Caution: The Digital Fault Label selection must agree with the external control wiring prior to energizing the controller. Failure to do so may cause severe equipment damage.
Digital Fault Label | Select the desired fault label, these are stored in |
| ||
| Air Damper Tripped | High Oil Temp | Bat Charger Input Fail | High Winding Temp |
| Bat Chrg Trouble | Low Coolant Level | Breaker Tripped | Low Engine Temp |
| DC Fail | Low Fuel Level | Failed To Sync | Low Fuel Press |
| Gen Breaker Open | Low Oil Level | Ground Fault | Low Oil Pressure |
| High Bearing Temp | Remote Emerg.stop | High Cooler Vibration | Reverse Power |
| High Engine Temp | Basin Rupture | High Engine Vibration | ATS In Bypass |
| High Fuel Level | Fuel Leak | High Oil Level | Low Fuel Press |
| No Load Test | Bat Charger Fail | *Highintkmanftemp | Vent Damper Fail |
| High Fuel Level | Fail To Sync | “Blank” (i.e. no text for unused inputs) | |
Action | Allows a fault to be either an Alarm fault or a Shutdown fault. |
|
| |
| Note: Any activated alarm or shutdown fault will energize the “Common fail” fault and sound the alarm horn. | |||
Alarm Latch | If an fault was set as an Alarm, it may be selected as a “Latching” alarm or | |||
| cleared until a reset command clears it. |
|
| |
| Note: This value only appears if alarm faults are programmed. Shutdown faults are automatically set as latching. | |||
Polarity | Allows the digital fault circuit to be set for Open to Fail or Close to Fail sensing contacts. |
| ||
Bypass On Start Delay | Allows the alarm or shutdown fault to be disabled until after the bypass timer has expired. Faults that are not delayed are | |||
| enabled at all times (i.e. engine running or stopped). |
|
| |
Transient Delay Times | Allows the selected fault to be disabled until the delay period has expired. Delay times are 0.0 to 999.9 seconds. | |||
Idle Control Digital Input Programming When a digital input is set to Idle function, these settings must be programmed to ensure correct operation:
Action | Alarm |
Alarm Latch | No |
Polarity | Close |
Bypass On Start | No |
Transient Time | 0.1 |
Note: The corresponding digital output must also be programmed for IDLE to enable correct operation.
No Load Test Control Digital Input Programming
The No Load Test digital input feature is typically used in an AMF application where it is required to do an automatic timed No Load Test of the engine/generator set. A contact from an external exercise clock timer is required to be connected to the digital input circuit which is programmed for “No Load Test”. When a digital input is programmed as No Load Test, these settings must be programmed to ensure correct operation:
Action | Alarm |
Alarm Latch | No |
Polarity | Close Or Open (dependent on external circuit used) |
Bypass On Start | No |
Transient Time | 0.1 |
Calibration Menu Loop AC Voltage, AC current and battery voltage analog circuits are factory calibrated and should not require field calibration. If field calibration is required, refer to the calibration procedure.
Voltage Sensing Calibration (Phase To Phase or Phase To Neutral)
VOLTS AB ZERO
99 600V
Displays the generator phase voltages to be calibrated. Displays the type of calibration function, either ZERO or SPAN.
Displays the calibration correction factor number
Note: To correctly calibrate any of the voltage sensors, the ZERO function must be calibrated before the SPAN function. Displays the actual voltage measurement that will be the same value as shown on the MEC 2 display menus for generator supply. This voltage reading may be calibrated higher or lower by changing the correction factor number.
Voltage Calibration Procedure
Note: | Zero Calibration must be completed before Span Calibration. |
Zero Calibration | Connect an external AC voltmeter of adequate voltage range and accuracy to the MEC 2 controller terminals associated |
| with the voltage phases to be calibrated. With the generator stopped, confirm there is Zero volts on the phases to be |
| calibrated. In the programming mode, scroll to each of the desired generator supply voltage phases (i.e. phase to phase |
| or phase to neutral) with the ZERO function selected. Use the INCREMENT or DECREMENT |
| correction factor number to obtain zero volts on the right hand side of the display as confirmed with the external |
| voltmeter. The factory default correction factor is 127. Increasing this will raise the displayed value, conversely |
| decreasing this value will decrease the displayed value. Note: Adjusting the ZERO function with voltage applied will result |
| in |
| With the correct voltage displayed, press the ENTER |
| correction factor number on the programming sheet for future reference. Repeat this procedure for all remaining phases. |
MN2408 | Operation 4‐27 |
