View Restriction Tool
2: Changing Settings from the View Restriction Preview Frame
To Make Settings...
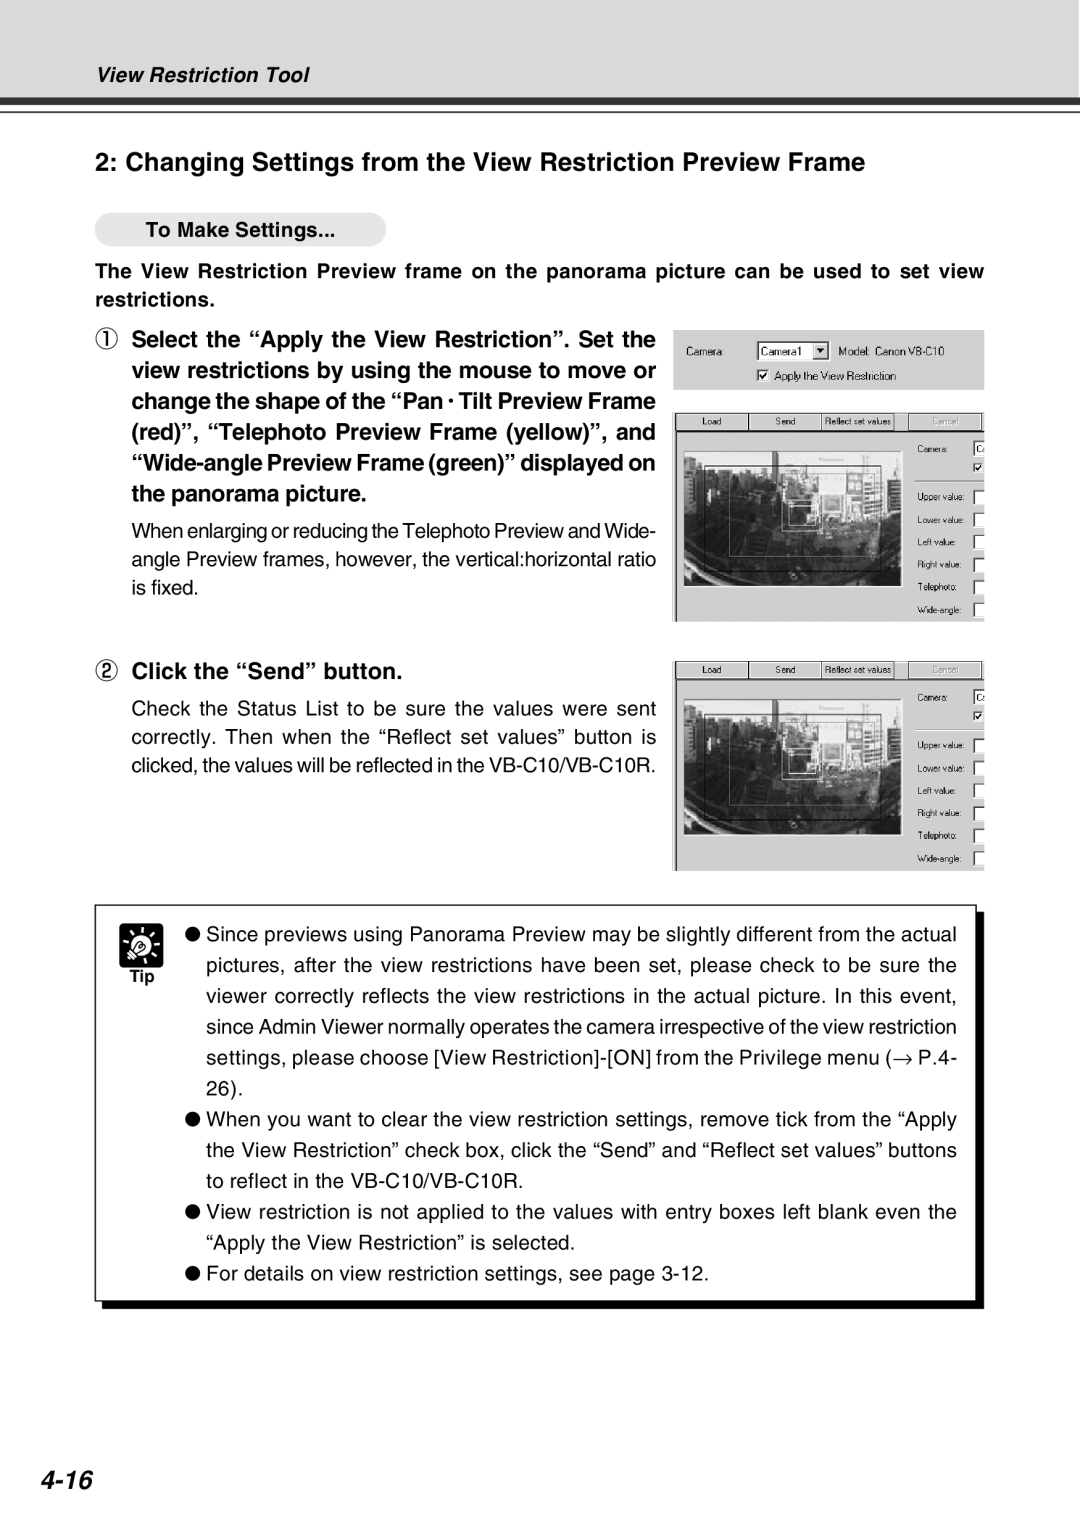
The View Restriction Preview frame on the panorama picture can be used to set view restrictions.
1Select the “Apply the View Restriction”. Set the view restrictions by using the mouse to move or change the shape of the “Pan • Tilt Preview Frame (red)”, “Telephoto Preview Frame (yellow)”, and
When enlarging or reducing the Telephoto Preview and Wide- angle Preview frames, however, the vertical:horizontal ratio is fixed.
2Click the “Send” button.
Check the Status List to be sure the values were sent correctly. Then when the “Reflect set values” button is clicked, the values will be reflected in the
● Since previews using Panorama Preview may be slightly different from the actual
Tip
pictures, after the view restrictions have been set, please check to be sure the
viewer correctly reflects the view restrictions in the actual picture. In this event, since Admin Viewer normally operates the camera irrespective of the view restriction settings, please choose [View
●When you want to clear the view restriction settings, remove tick from the “Apply the View Restriction” check box, click the “Send” and “Reflect set values” buttons to reflect in the
●View restriction is not applied to the values with entry boxes left blank even the “Apply the View Restriction” is selected.
●For details on view restriction settings, see page
