Job Accounting
4 | Press S or T to select the ID- |
| code to delete and press [Enter]. |
Delete: End
11111111 : 123.456
22222222 : 000.234
| A confirmation screen displays. |
| Press S or T to select Yes and |
| press [Enter]. |
| To delete another account, repeat |
| the procedure. |
5 | On completion, press S or T to |
| select End and press [Enter]. |
Delete?
Yes
No
Delete:
End
22222222 : 000.234
33333333 : 006.101
Changing Limit of Use
1
2 Press S or T to select Edit Job Accounting and press [Enter].
3 | Press S or T to select Change |
| limit in use and press [Enter]. |
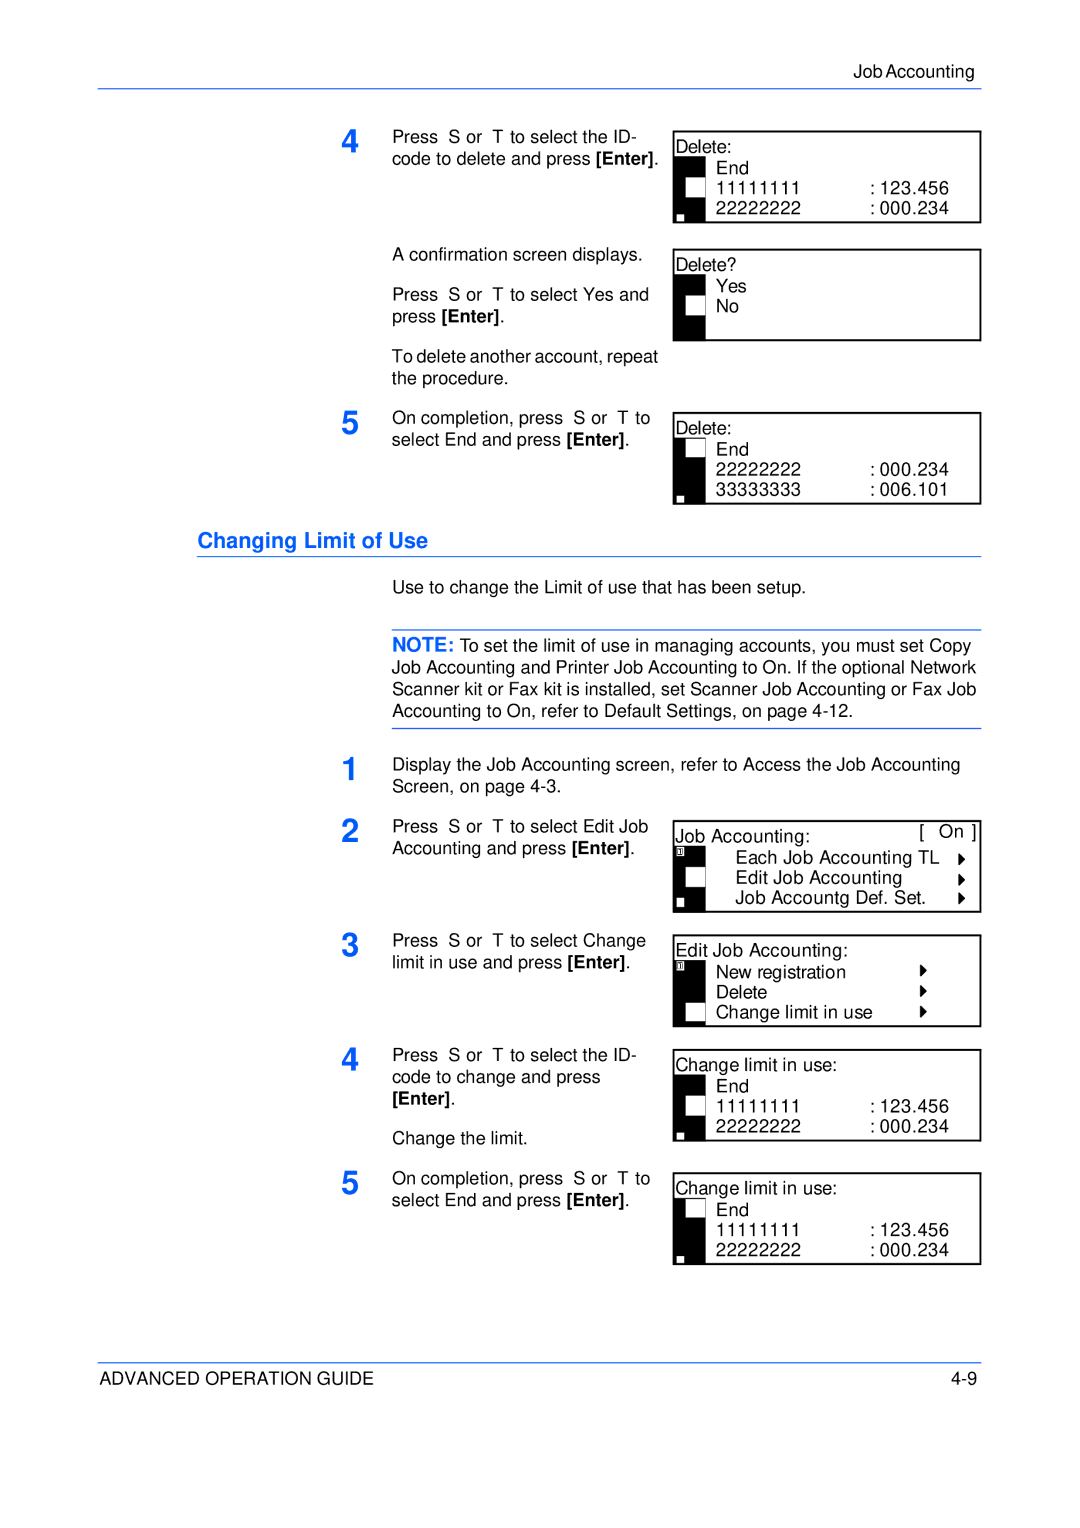
4 | Press S or T to select the ID- |
code to change and press | |
| [Enter]. |
| Change the limit. |
5 | On completion, press S or T to |
| select End and press [Enter]. |
Job Accounting: | [ On ] |
Each Job Accounting TL
Edit Job Accounting
Job Accountg Def. Set.
Edit Job Accounting:
New registration
Delete
Change limit in use
Change limit in use: End
11111111 : 123.456
22222222 : 000.234
Change limit in use:
End
11111111 : 123.456
22222222 : 000.234
ADVANCED OPERATION GUIDE |