Front I/O, Power Switch Assembly
Description | Spare part number |
|
|
Front I/O and power switch assembly | |
|
|
The front I/O and power switch/LEDs are one assembly, attached to the front of the chassis. Push the assembly into the chassis to remove.
1.Prepare the computer for disassembly (Preparation for Disassembly on page 37).
2.Remove the access panel (Computer Access Panel on page 39).
3.Remove the front bezel (Front Bezel on page 40).
4.Remove the chassis fan (Front Fan Assembly on page 70).
5.Rotate the drive cage to its upright position.
6.Disconnect the four cables from the system board as follows:
●Yellow connector labeled FRONT USB1
●Green connector labeled FRONT USB2
●Blue connector labeled FRONT AUD
●Black connector labeled PB/LED
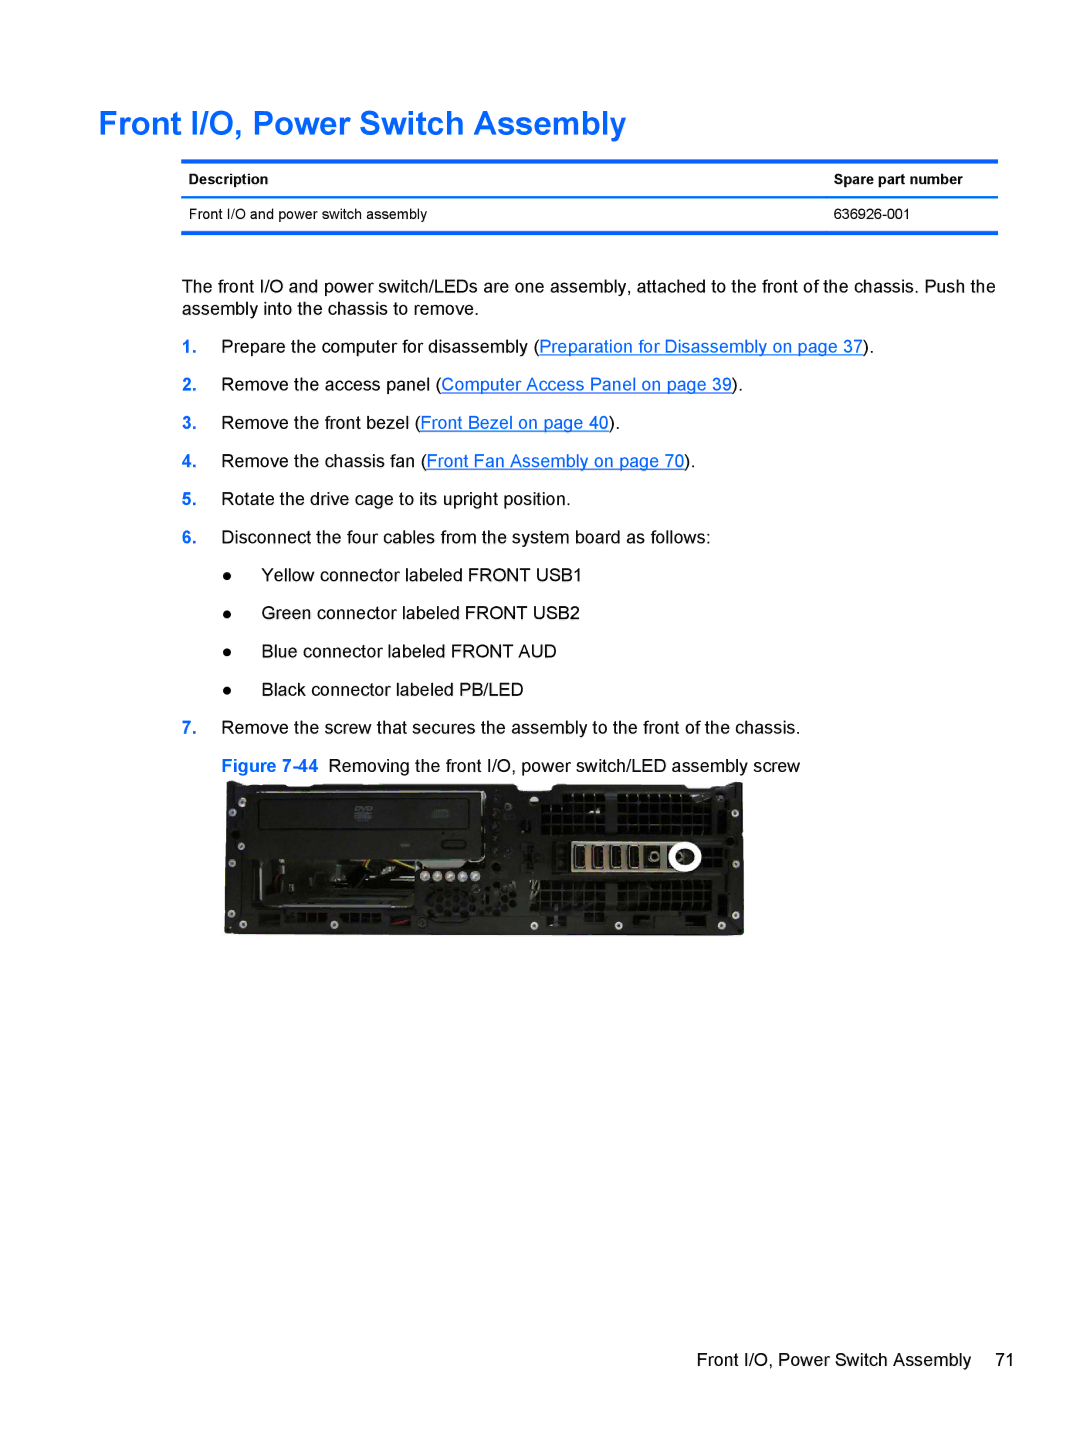
7.Remove the screw that secures the assembly to the front of the chassis. Figure
Front I/O, Power Switch Assembly 71