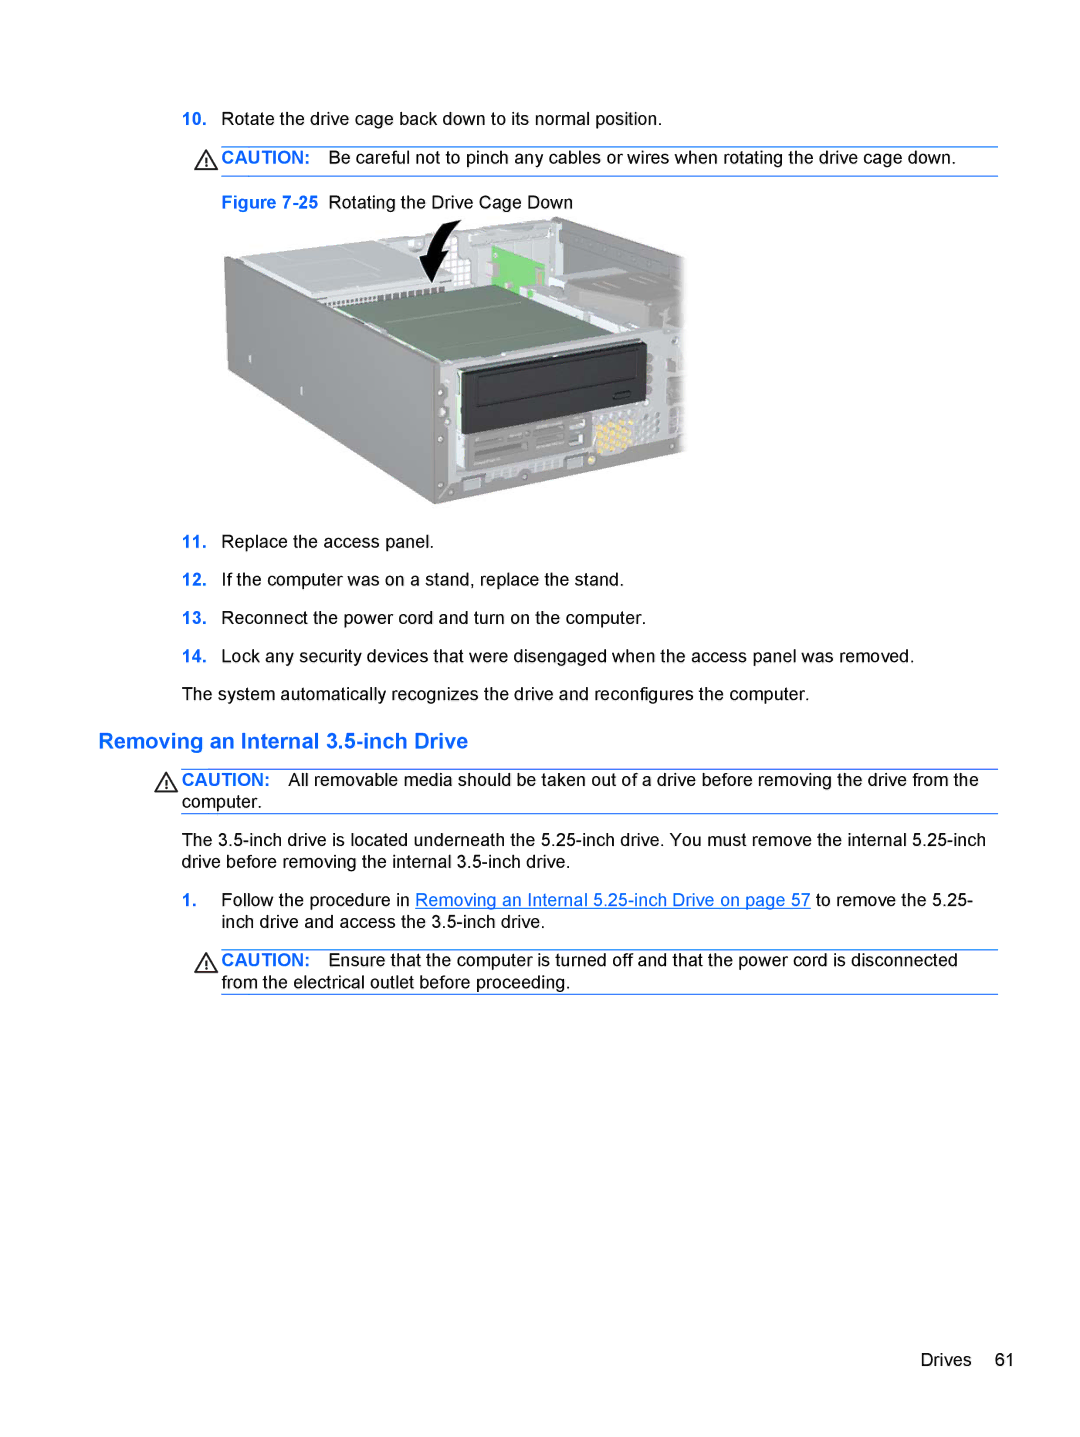
10.Rotate the drive cage back down to its normal position.
![]() CAUTION: Be careful not to pinch any cables or wires when rotating the drive cage down.
CAUTION: Be careful not to pinch any cables or wires when rotating the drive cage down.
Figure 7-25 Rotating the Drive Cage Down
11.Replace the access panel.
12.If the computer was on a stand, replace the stand.
13.Reconnect the power cord and turn on the computer.
14.Lock any security devices that were disengaged when the access panel was removed. The system automatically recognizes the drive and reconfigures the computer.
Removing an Internal 3.5-inch Drive
CAUTION: All removable media should be taken out of a drive before removing the drive from the computer.
The
1.Follow the procedure in Removing an Internal
CAUTION: Ensure that the computer is turned off and that the power cord is disconnected from the electrical outlet before proceeding.
Drives 61
