![]()
![]()
![]()
![]() NOTE: If you are replacing the primary hard drive, you must remove the four silver and blue
NOTE: If you are replacing the primary hard drive, you must remove the four silver and blue
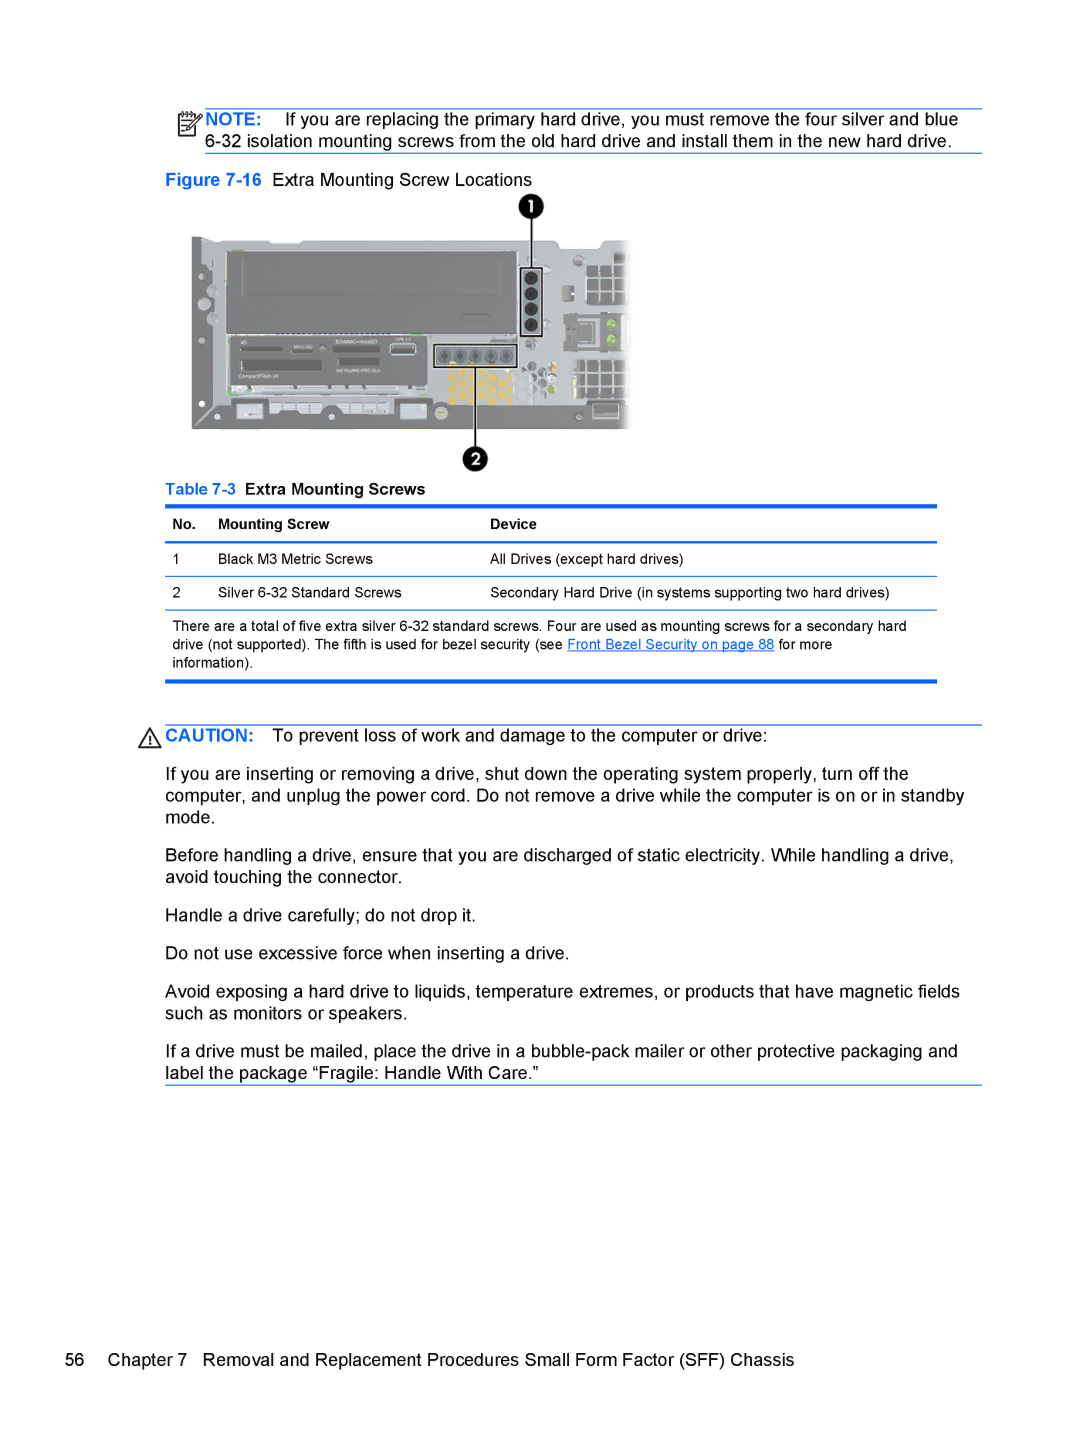
Figure 7-16 Extra Mounting Screw Locations
Table 7-3 Extra Mounting Screws
No. | Mounting Screw | Device |
|
|
|
1 | Black M3 Metric Screws | All Drives (except hard drives) |
|
|
|
2 | Silver | Secondary Hard Drive (in systems supporting two hard drives) |
There are a total of five extra silver
![]() CAUTION: To prevent loss of work and damage to the computer or drive:
CAUTION: To prevent loss of work and damage to the computer or drive:
If you are inserting or removing a drive, shut down the operating system properly, turn off the computer, and unplug the power cord. Do not remove a drive while the computer is on or in standby mode.
Before handling a drive, ensure that you are discharged of static electricity. While handling a drive, avoid touching the connector.
Handle a drive carefully; do not drop it.
Do not use excessive force when inserting a drive.
Avoid exposing a hard drive to liquids, temperature extremes, or products that have magnetic fields such as monitors or speakers.
If a drive must be mailed, place the drive in a
56 Chapter 7 Removal and Replacement Procedures Small Form Factor (SFF) Chassis