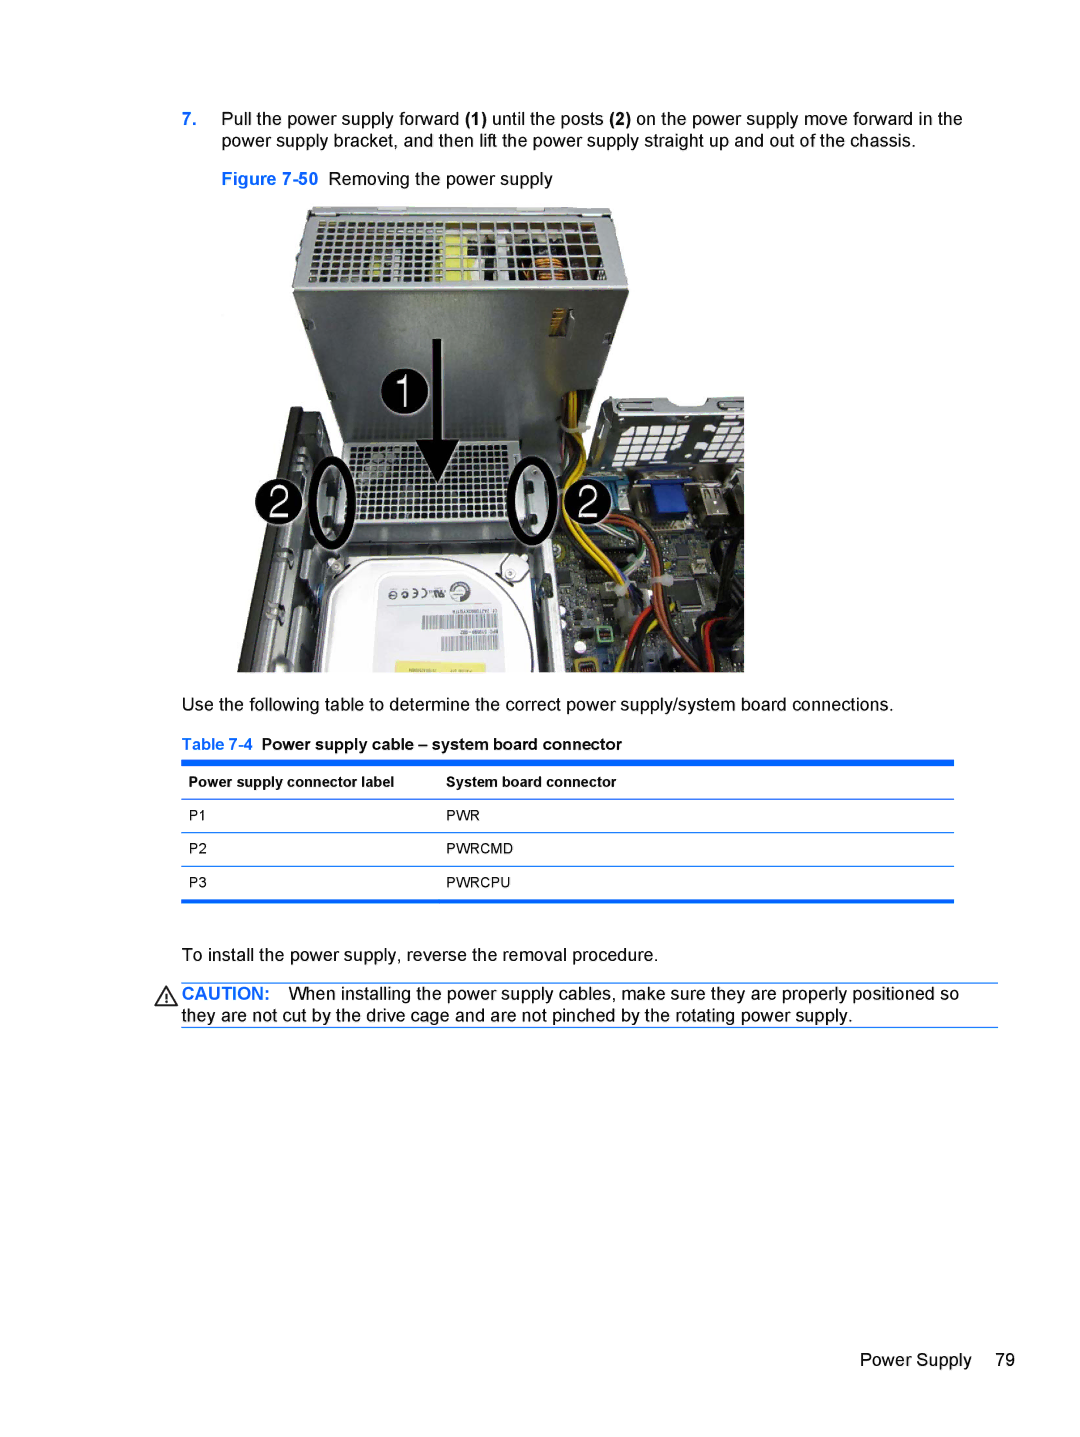
7.Pull the power supply forward (1) until the posts (2) on the power supply move forward in the power supply bracket, and then lift the power supply straight up and out of the chassis.
Figure 7-50 Removing the power supply
Use the following table to determine the correct power supply/system board connections.
Table 7-4 Power supply cable – system board connector
Power supply connector label | System board connector |
|
|
P1 | PWR |
|
|
P2 | PWRCMD |
|
|
P3 | PWRCPU |
|
|
To install the power supply, reverse the removal procedure.
CAUTION: When installing the power supply cables, make sure they are properly positioned so they are not cut by the drive cage and are not pinched by the rotating power supply.
Power Supply 79
