8. Set the Date and Time
The camera has a clock that records the date and time at which you take each picture. You can also choose to have the date and time imprinted on the image (see page 81).
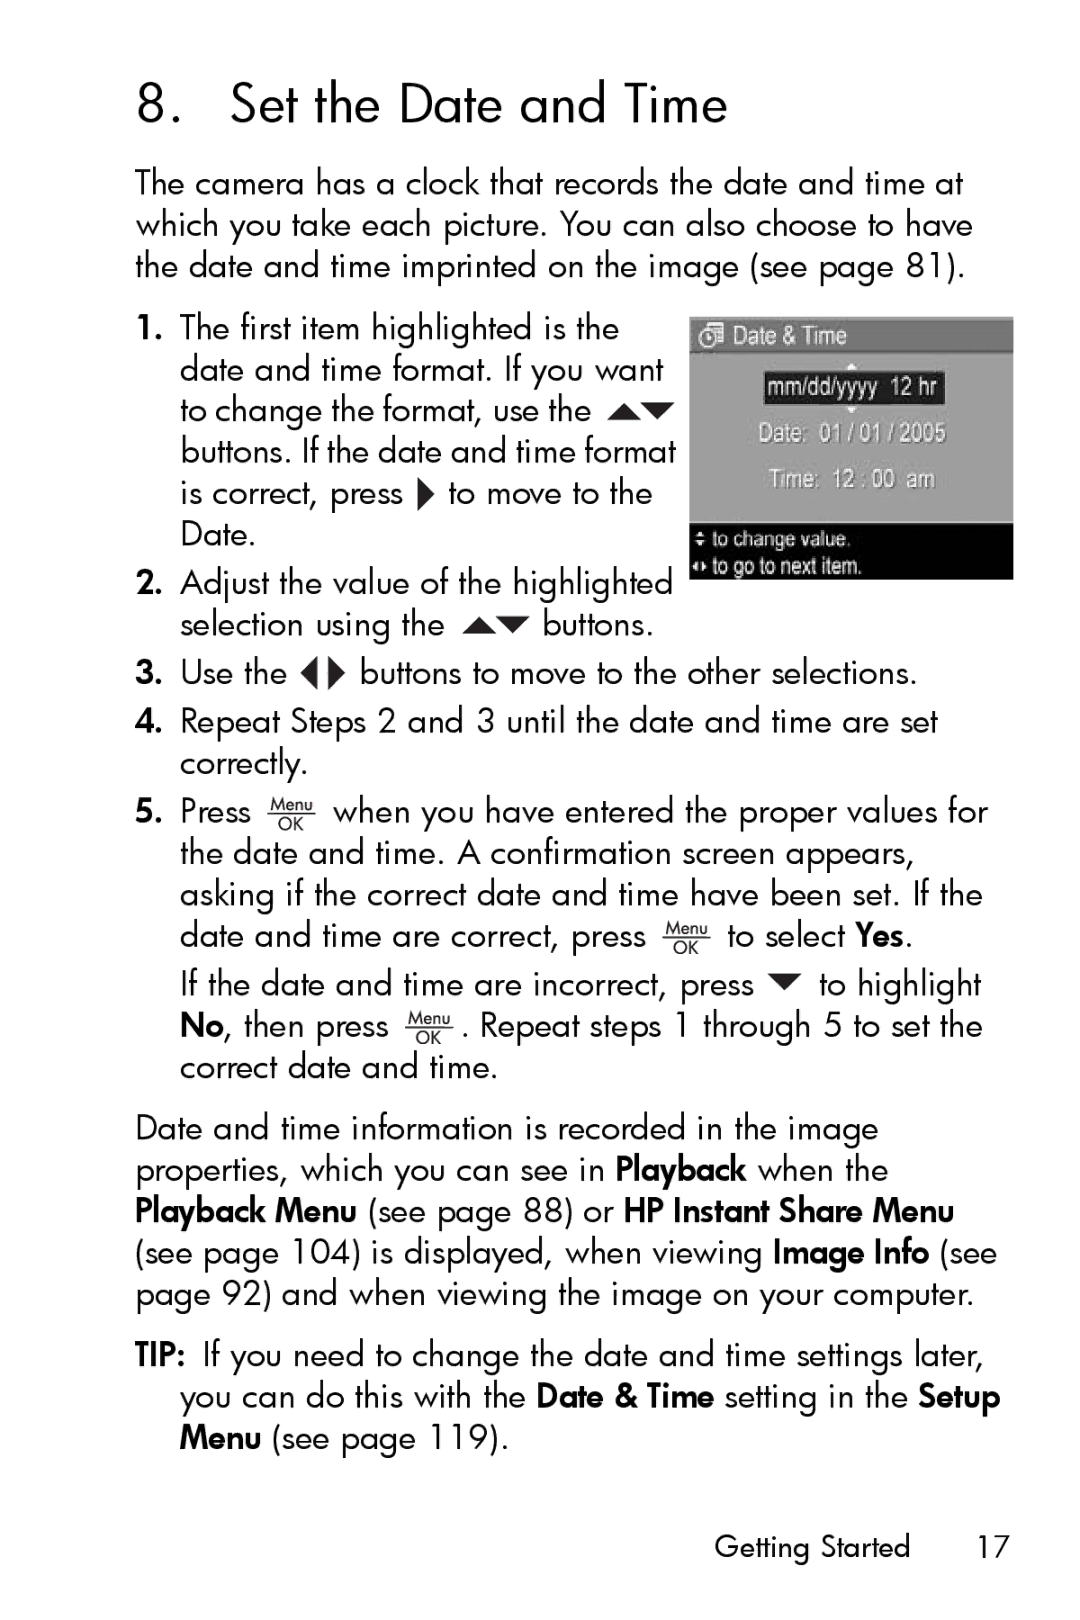
1.The first item highlighted is the date and time format. If you want to change the format, use the ![]() buttons. If the date and time format is correct, press
buttons. If the date and time format is correct, press ![]() to move to the Date.
to move to the Date.
2.Adjust the value of the highlighted
selection using the ![]() buttons.
buttons.
3.Use the ![]()
![]() buttons to move to the other selections.
buttons to move to the other selections.
4.Repeat Steps 2 and 3 until the date and time are set correctly.
5.Press ![]() when you have entered the proper values for the date and time. A confirmation screen appears, asking if the correct date and time have been set. If the
when you have entered the proper values for the date and time. A confirmation screen appears, asking if the correct date and time have been set. If the
date and time are correct, press ![]() to select Yes.
to select Yes.
If the date and time are incorrect, press ![]() to highlight No, then press
to highlight No, then press ![]() . Repeat steps 1 through 5 to set the correct date and time.
. Repeat steps 1 through 5 to set the correct date and time.
Date and time information is recorded in the image properties, which you can see in Playback when the Playback Menu (see page 88) or HP Instant Share Menu (see page 104) is displayed, when viewing Image Info (see page 92) and when viewing the image on your computer.
TIP: If you need to change the date and time settings later, you can do this with the Date & Time setting in the Setup Menu (see page 119).
Getting Started | 17 |