/c/l3/ospf/if 35
/*
ena
/c/l3/ospf/if 36
/*
ena
/* also turn RIP (from previous sample) off /cfg/l3/rip/off
Example
Example 7-34 Configuration for Core switch 1
router ospf 9
network 10.35.0.0 0.0.255.255 area 0.0.0.9 network 10.45.0.0 0.0.255.255 area 0.0.0.9
!turn RIP off no router rip
Example 7-35 Configuration for Core switch 2
router ospf 9
network 10.36.0.0 0.0.255.255 area 0.0.0.9 network 10.46.0.0 0.0.255.255 area 0.0.0.9 !turn rip off
no router rip
Verifying operation of this configuration
The following commands verify that the environment is working as advertised. As with the configuration examples, you can use the ping and tracert/traceroute commands to test
GbESM commands to verify RIP
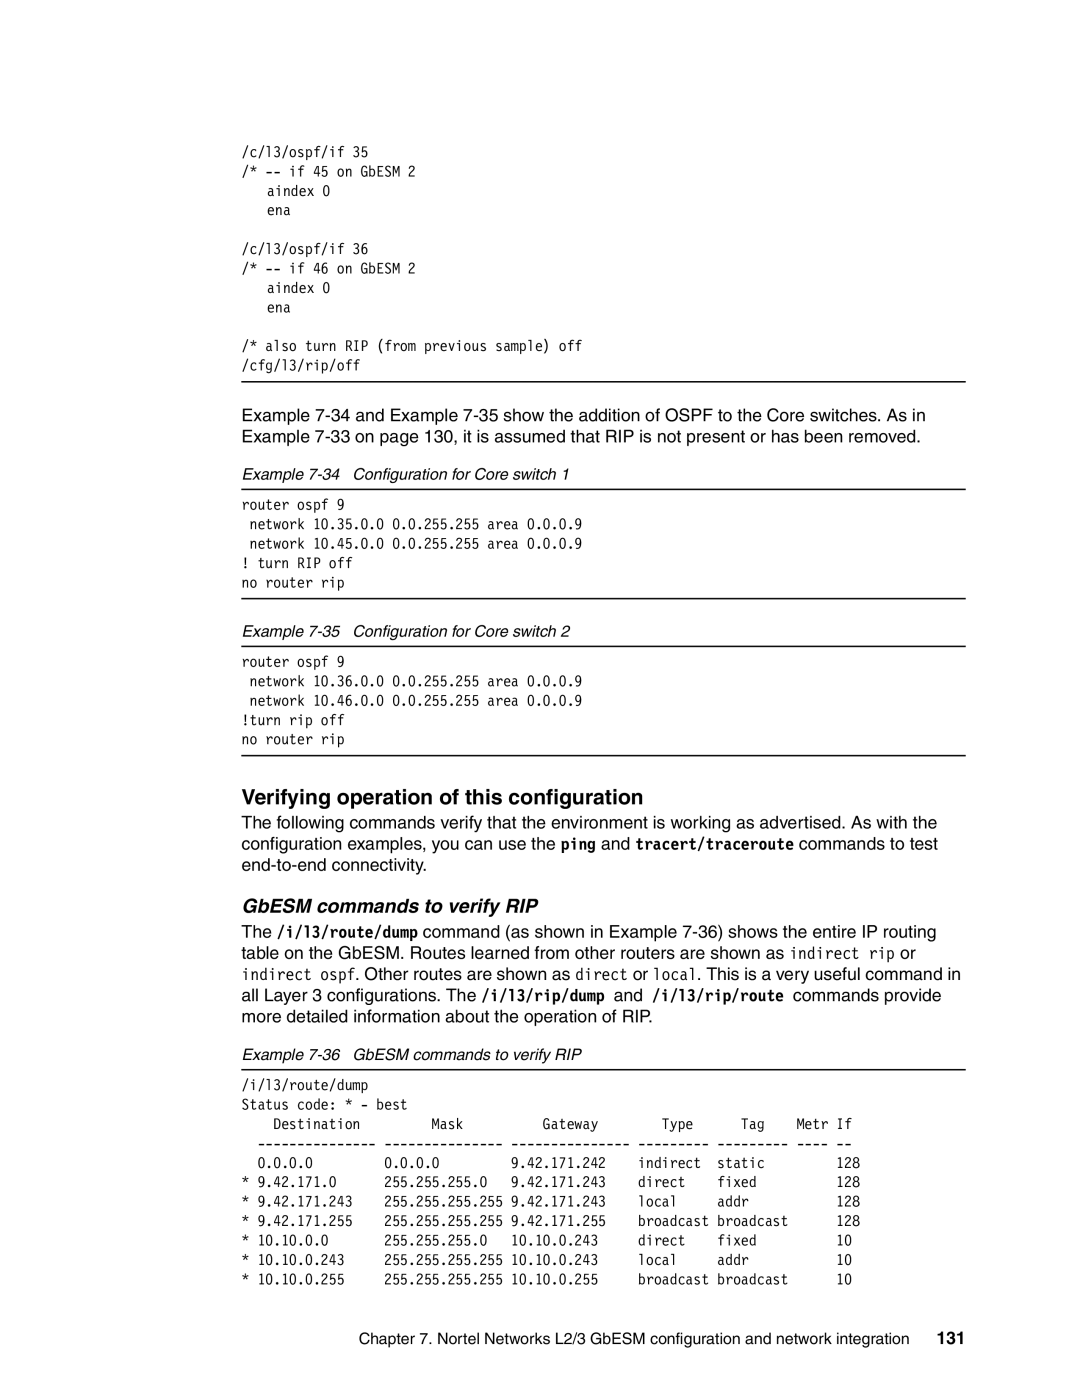
The /i/l3/route/dump command (as shown in Example
Example 7-36 GbESM commands to verify RIP
/i/l3/route/dump |
|
|
|
|
|
|
Status code: * - best |
|
|
|
|
| |
Destination | Mask | Gateway | Type | Tag | Metr | If |
0.0.0.0 | 0.0.0.0 | 9.42.171.242 | indirect | static |
| 128 |
* 9.42.171.0 | 255.255.255.0 | 9.42.171.243 | direct | fixed |
| 128 |
* 9.42.171.243 | 255.255.255.255 | 9.42.171.243 | local | addr |
| 128 |
* 9.42.171.255 | 255.255.255.255 | 9.42.171.255 | broadcast | broadcast |
| 128 |
* 10.10.0.0 | 255.255.255.0 | 10.10.0.243 | direct | fixed |
| 10 |
* 10.10.0.243 | 255.255.255.255 | 10.10.0.243 | local | addr |
| 10 |
* 10.10.0.255 | 255.255.255.255 | 10.10.0.255 | broadcast | broadcast |
| 10 |
Chapter 7. Nortel Networks L2/3 GbESM configuration and network integration 131
