6-16 Firmware User Guide
Connection Profiles and Default Profile
The Default Profile Leased and Switched menus are the same as the Connection Profile RIP option and associated menus. For brevity, the following example shows only the Connection Profile RIP option and associated menus.
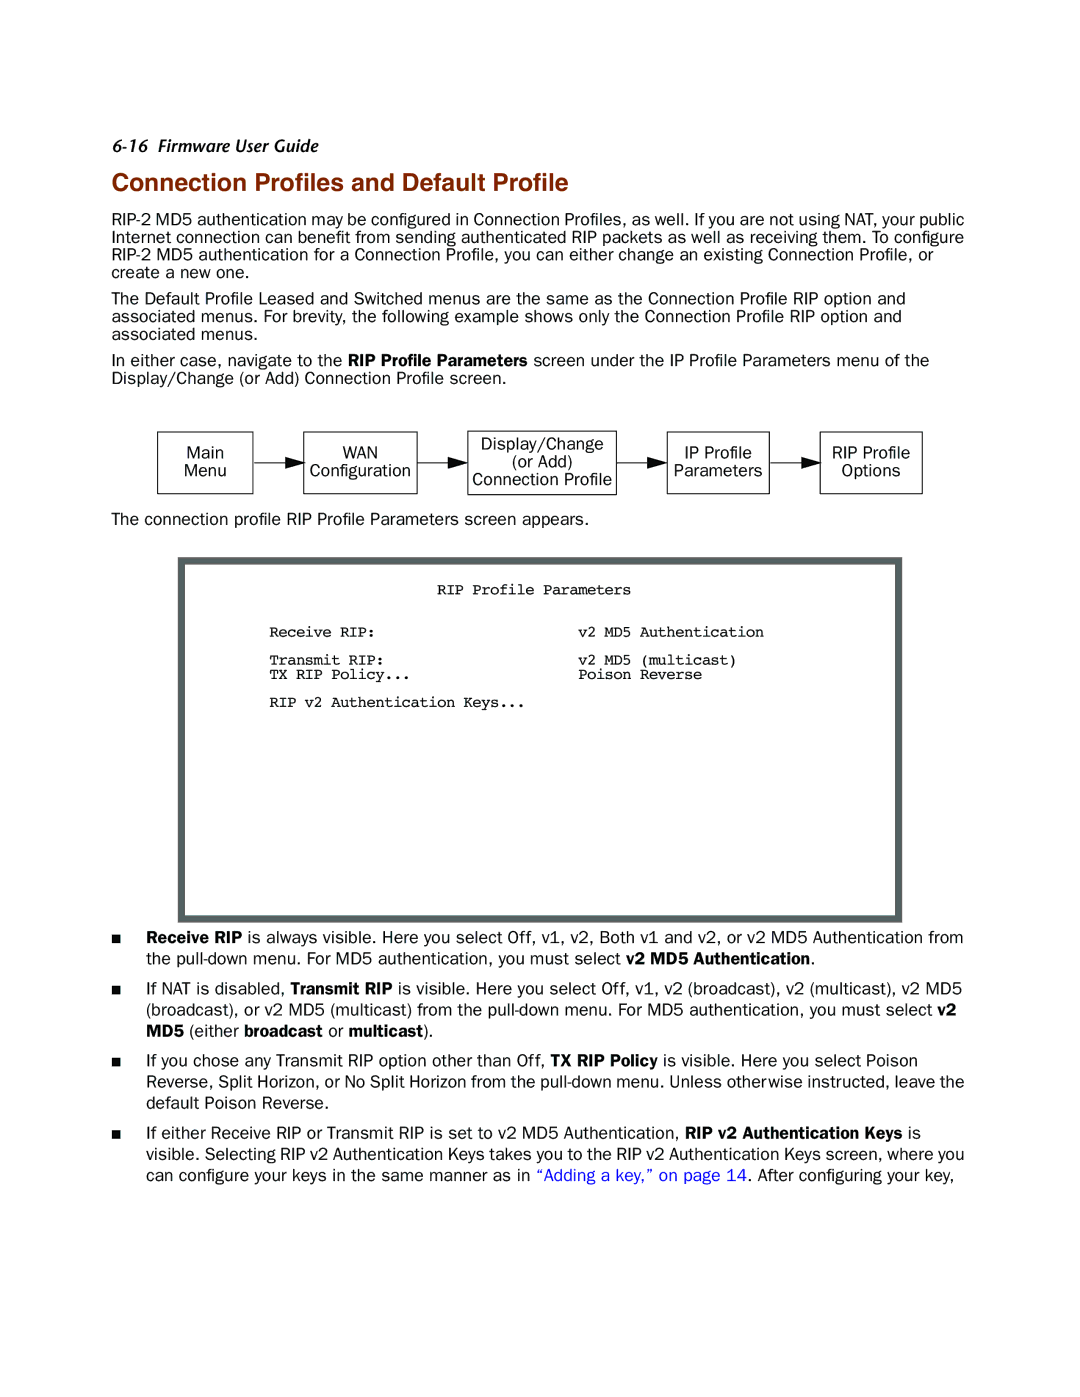
In either case, navigate to the RIP Profile Parameters screen under the IP Profile Parameters menu of the Display/Change (or Add) Connection Profile screen.
Main |
|
| WAN |
|
| Display/Change |
|
| IP Profile |
|
|
|
| (or Add) |
|
| |||
Menu |
|
| Configuration |
|
|
|
| Parameters | |
|
|
|
| Connection Profile |
|
| |||
|
|
|
|
|
|
|
|
| |
|
|
|
|
|
|
|
|
|
|
The connection profile RIP Profile Parameters screen appears.
RIP Profile
Options
| RIP Profile Parameters | |
Receive RIP: | v2 | MD5 Authentication |
Transmit RIP: | v2 | MD5 (multicast) |
TX RIP Policy... | Poison Reverse | |
RIP v2 Authentication Keys...
■Receive RIP is always visible. Here you select Off, v1, v2, Both v1 and v2, or v2 MD5 Authentication from the
■If NAT is disabled, Transmit RIP is visible. Here you select Off, v1, v2 (broadcast), v2 (multicast), v2 MD5 (broadcast), or v2 MD5 (multicast) from the
■If you chose any Transmit RIP option other than Off, TX RIP Policy is visible. Here you select Poison Reverse, Split Horizon, or No Split Horizon from the
■If either Receive RIP or Transmit RIP is set to v2 MD5 Authentication, RIP v2 Authentication Keys is visible. Selecting RIP v2 Authentication Keys takes you to the RIP v2 Authentication Keys screen, where you can configure your keys in the same manner as in “Adding a key,” on page 14. After configuring your key,
