Virtual Private Networks (VPNs)
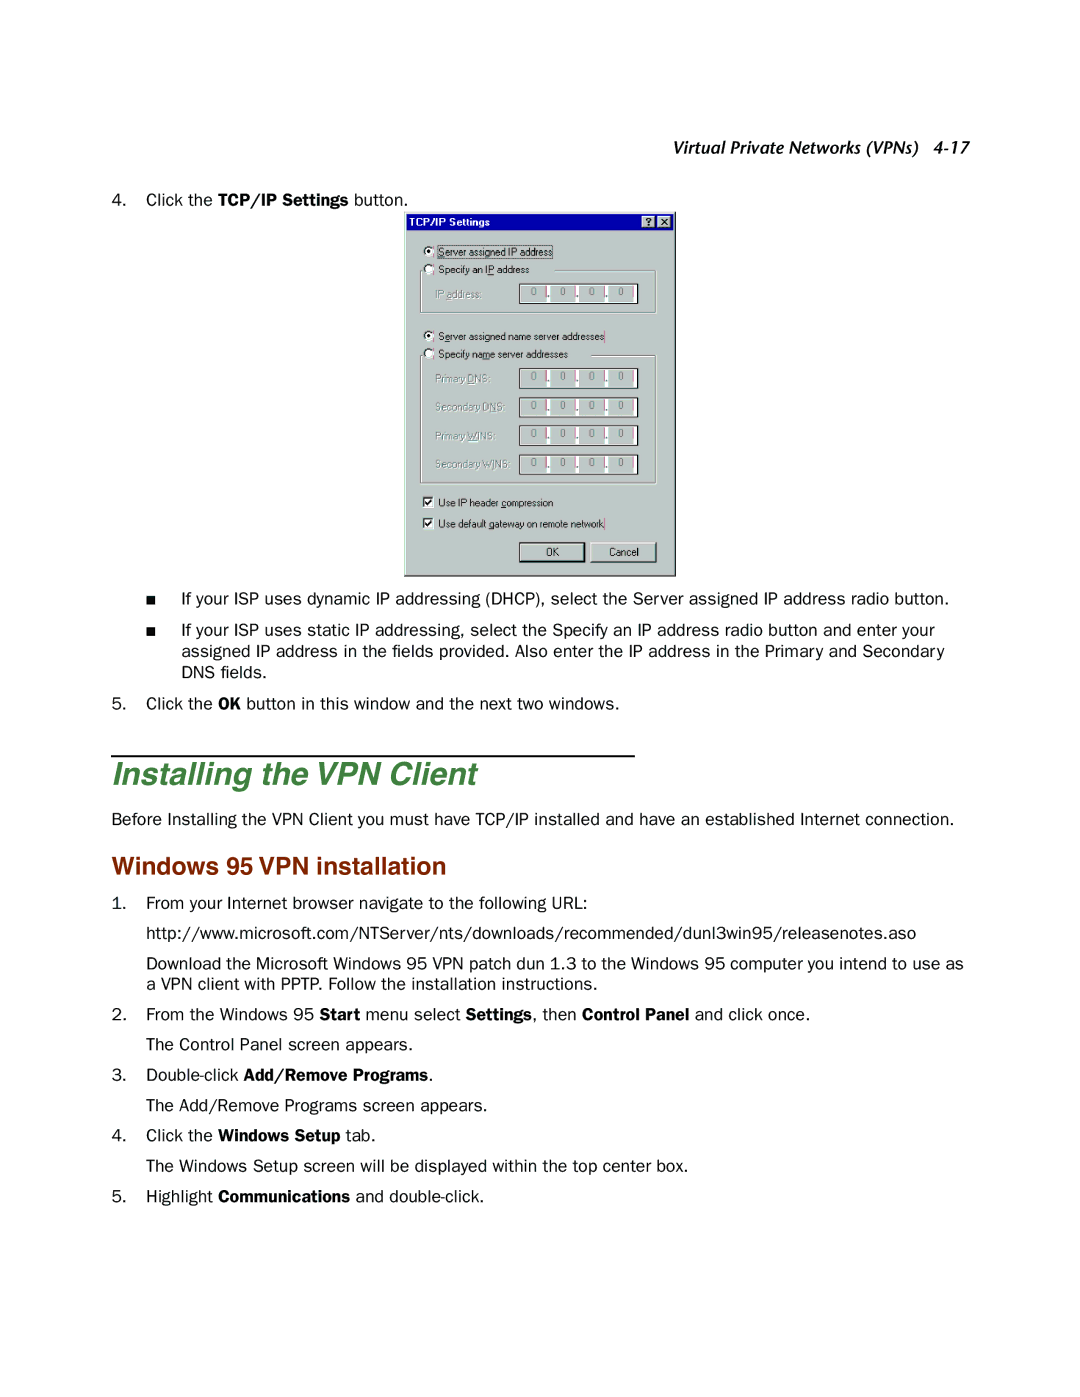
4.Click the TCP/IP Settings button.
■If your ISP uses dynamic IP addressing (DHCP), select the Server assigned IP address radio button.
■If your ISP uses static IP addressing, select the Specify an IP address radio button and enter your assigned IP address in the fields provided. Also enter the IP address in the Primary and Secondary DNS fields.
5.Click the OK button in this window and the next two windows.
Installing the VPN Client
Before Installing the VPN Client you must have TCP/IP installed and have an established Internet connection.
Windows 95 VPN installation
1.From your Internet browser navigate to the following URL: http://www.microsoft.com/NTServer/nts/downloads/recommended/dunl3win95/releasenotes.aso
Download the Microsoft Windows 95 VPN patch dun 1.3 to the Windows 95 computer you intend to use as a VPN client with PPTP. Follow the installation instructions.
2.From the Windows 95 Start menu select Settings, then Control Panel and click once. The Control Panel screen appears.
3.
The Add/Remove Programs screen appears.
4.Click the Windows Setup tab.
The Windows Setup screen will be displayed within the top center box.
5.Highlight Communications and