WAN and System Configuration
provider agrees to transfer from a given PVC (Permanent Virtual Circuit) or DLCI (Data Link Connection Identifier). The setting defaults to 64000, but you may modify the committed burst size by toggling the selection in the Use Default field to No. You can then enter a different committed burst size in the Value field.
■The Be (Excess Burst Size) represents the maximum amount of data that your Frame Relay service provider will attempt to deliver to a given PVC (Permanent Virtual Circuit) or DLCI (Data Link Connection Identifier). The setting defaults to 0, but you may modify the excess burst size by toggling the selection in the Use Default field to No. You can then enter a different excess burst size in the Value field.
Note: Some Frame Relay service providers allow for
5.Select ADD DLCI NOW to save the current static Frame Relay DLCI profile that you have just entered, and press Return to go back to the Frame Relay DLCI Configuration screen. Alternately, you can cancel the Frame Relay DLCI profile you have just created by selecting CANCEL to exit the Add DLCI screen.
Deleting a Frame Relay DLCI configuration
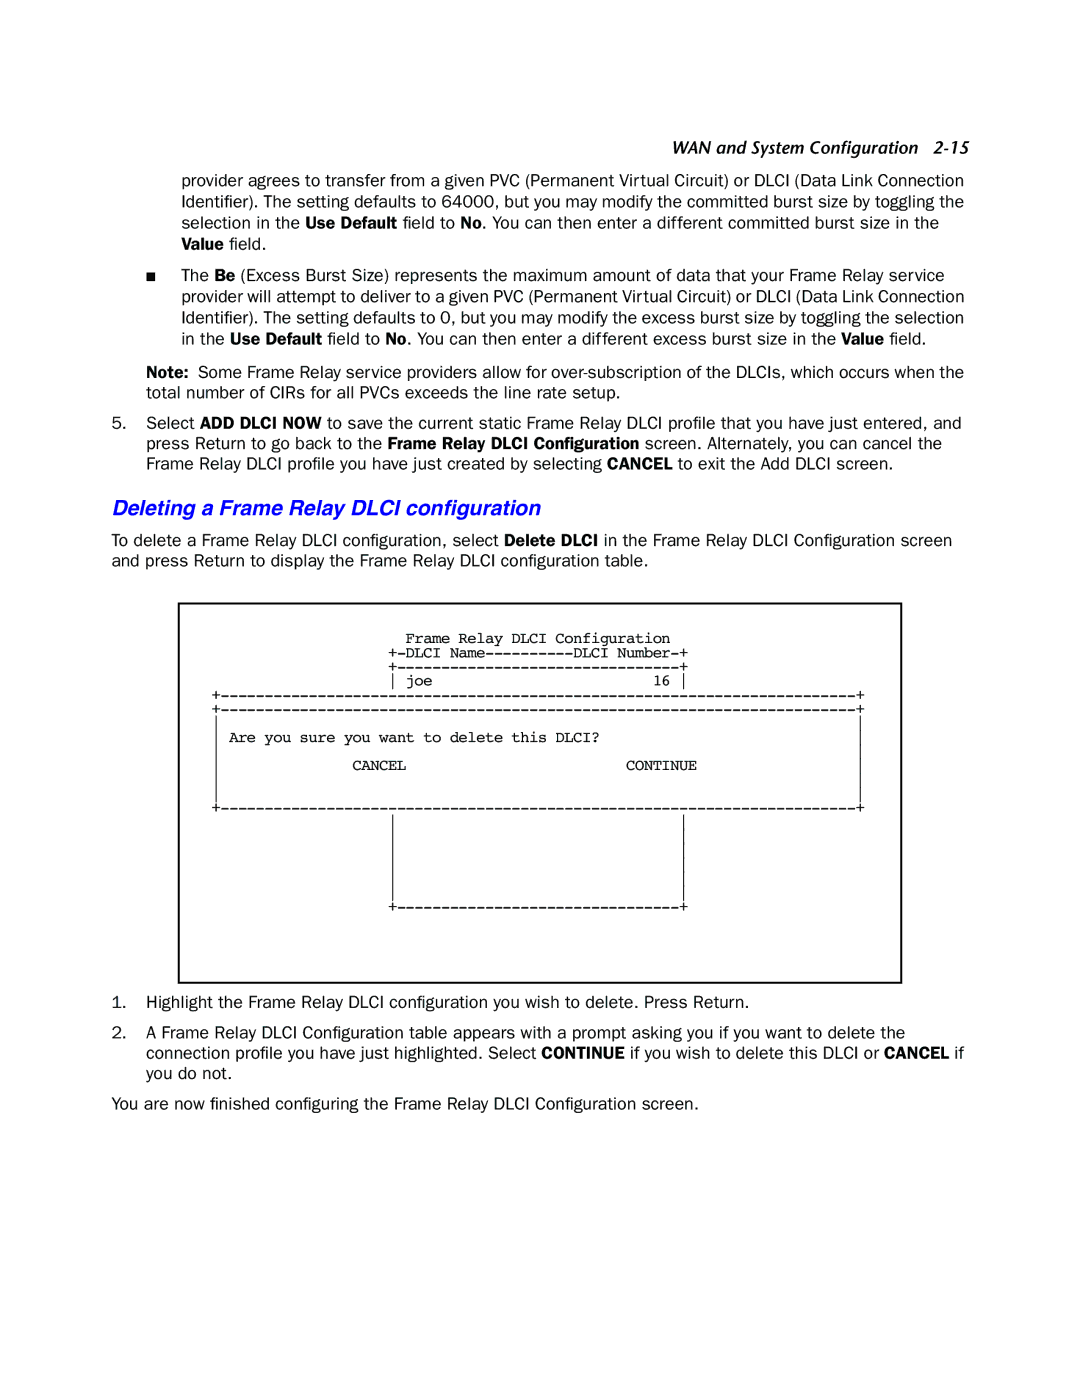
To delete a Frame Relay DLCI configuration, select Delete DLCI in the Frame Relay DLCI Configuration screen and press Return to display the Frame Relay DLCI configuration table.
Frame Relay DLCI Configuration |
| |
DLCI | ||
+ | ||
joe | 16 | |
| + | ||
| + | ||
|
| ||
Are you sure you want to delete this DLCI? |
| ||
|
| ||
CANCEL | CONTINUE | ||
|
| ||
|
| ||
| + | ||
+ |
1.Highlight the Frame Relay DLCI configuration you wish to delete. Press Return.
2.A Frame Relay DLCI Configuration table appears with a prompt asking you if you want to delete the connection profile you have just highlighted. Select CONTINUE if you wish to delete this DLCI or CANCEL if you do not.
You are now finished configuring the Frame Relay DLCI Configuration screen.
