13The PhotoViewer
ENTER |
|
|
|
|
|
|
|
|
4 | Select ‘Lock’ or ‘Lock Folder | 2 | Display the command menu. | |||||
Contents’. |
|
|
|
| ||||
|
|
|
|
|
|
|
| |
PhotoViewer | HDD |
|
|
|
|
|
| |
| Folder2 | Folder Size 999 MB |
| ENTER |
|
|
| |
| 001 | PIOR0000 | Start Slideshow | 3 | Select ‘Print’ from the menu. | |||
| 002 | PIOR0001 | Erase | Slideshow |
|
|
|
|
File | Copy |
|
|
|
| |||
003 | PIOR0002 |
|
|
|
|
| ||
| Rename File |
|
|
|
|
| ||
| 004 | PIOR0003 |
| PhotoViewer | HDD |
| ||
| 005 | PIOR0004 |
|
| ||||
| Lock |
|
| Folder2 | Folder Size 999 MB | |||
12 Files | 006 PIOR0005 |
| MENU |
| ||||
| 007 | PIOR0006 | Detailed Information |
|
|
|
| |
|
|
| 001 | PIOR0000 | Start Slideshow | |||
| 008 | PIOR0007 |
|
| ||||
| Cancel |
|
| 002 | PIOR0001 | Start Audio Slideshow | ||
| 009 | PIOR0008 |
|
| File | |||
|
|
| 003 | PIOR0002 | File Options | |||
| 010 | PIOR0009 |
|
|
| |||
HDD |
|
|
| 004 | PIOR0003 | |||
011 | PIOR0010 |
|
|
| ||||
|
|
|
| 005 | PIOR0004 | Copy to DVD | ||
Remain | 012 | PIOR0011 |
|
|
| |||
| 1/84 | 12 Files | 006 PIOR0005 | MENU | ||||
100.0 G |
|
|
|
|
| 007 | PIOR0006 | Detailed Information |
|
|
|
|
|
| |||
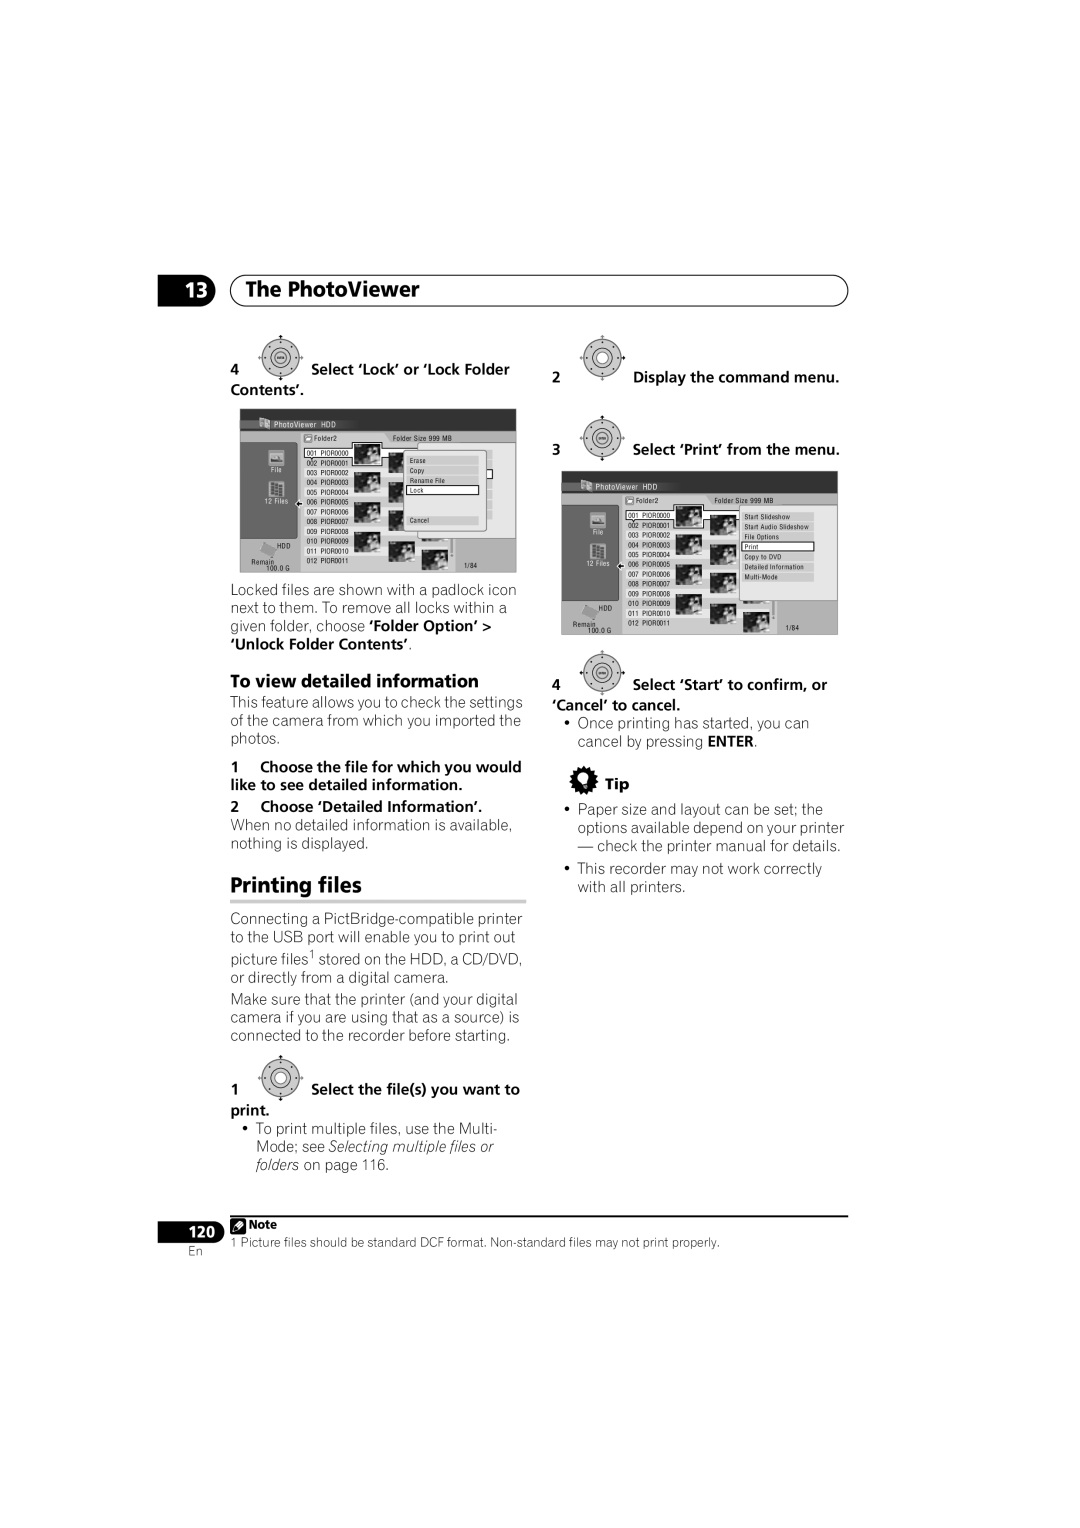
Locked files are shown with a padlock icon |
| 008 | PIOR0007 | |||||
|
| |||||||
| 009 | PIOR0008 |
| |||||
next to them. To remove all locks within a | HDD | 010 | PIOR0009 |
| ||||
011 | PIOR0010 |
| ||||||
given folder, choose ‘Folder Option’ > | 100.0 G | 012 PIOR0011 | 1/84 | |||||
|
|
|
|
| Remain |
| ||
‘Unlock Folder Contents’. |
|
|
|
|
| |||
To view detailed information | ENTER |
|
|
| ||||
4 | Select ‘Start’ to confirm, or | |||||||
This feature allows you to check the settings | ‘Cancel’ to cancel. |
| ||||||
of the camera from which you imported the | • Once printing has started, you can | |||||||
photos. |
|
|
|
| cancel by pressing ENTER. | |||
1 Choose the file for which you would | Tip |
|
| |||||
like to see detailed information. |
|
| ||||||
2Choose ‘Detailed Information’.
When no detailed information is available, nothing is displayed.
Printing files
Connecting a
picture files1 stored on the HDD, a CD/DVD, or directly from a digital camera.
Make sure that the printer (and your digital camera if you are using that as a source) is connected to the recorder before starting.
•Paper size and layout can be set; the options available depend on your printer
— check the printer manual for details.
•This recorder may not work correctly with all printers.
120
En
1 Select the file(s) you want to print.
•To print multiple files, use the Multi- Mode; see Selecting multiple files or folders on page 116.
![]() Note
Note
1 Picture files should be standard DCF format.
