2 • Setting Up the DA300 Printer
Assembling the DA300 (continued)
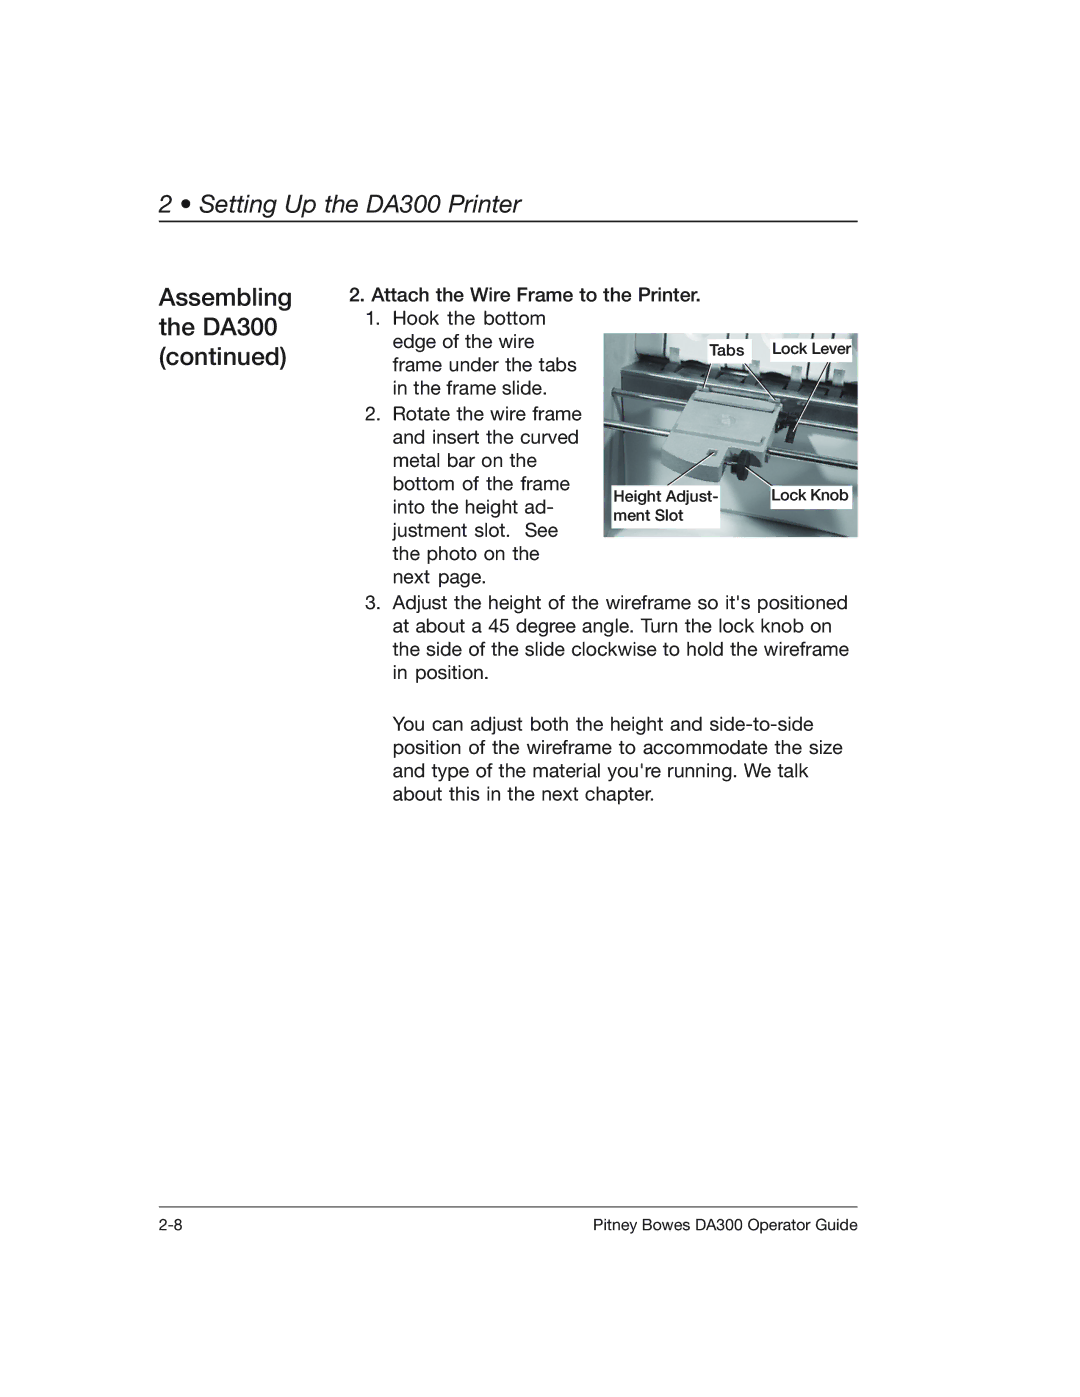
2.Attach the Wire Frame to the Printer.
1.Hook the bottom
edge of the wire | Tabs | Lock Lever | |
frame under the tabs | |||
|
| ||
in the frame slide. |
|
| |
2. Rotate the wire frame |
|
| |
and insert the curved |
|
| |
metal bar on the |
|
| |
bottom of the frame | Height Adjust- | Lock Knob | |
into the height ad- | |||
ment Slot |
| ||
justment slot. See |
| ||
|
| ||
the photo on the |
|
| |
next page. |
|
|
3.Adjust the height of the wireframe so it's positioned at about a 45 degree angle. Turn the lock knob on the side of the slide clockwise to hold the wireframe in position.
You can adjust both the height and
Pitney Bowes DA300 Operator Guide |