3 • DA300 Basics
Setting Up A Job (continued)
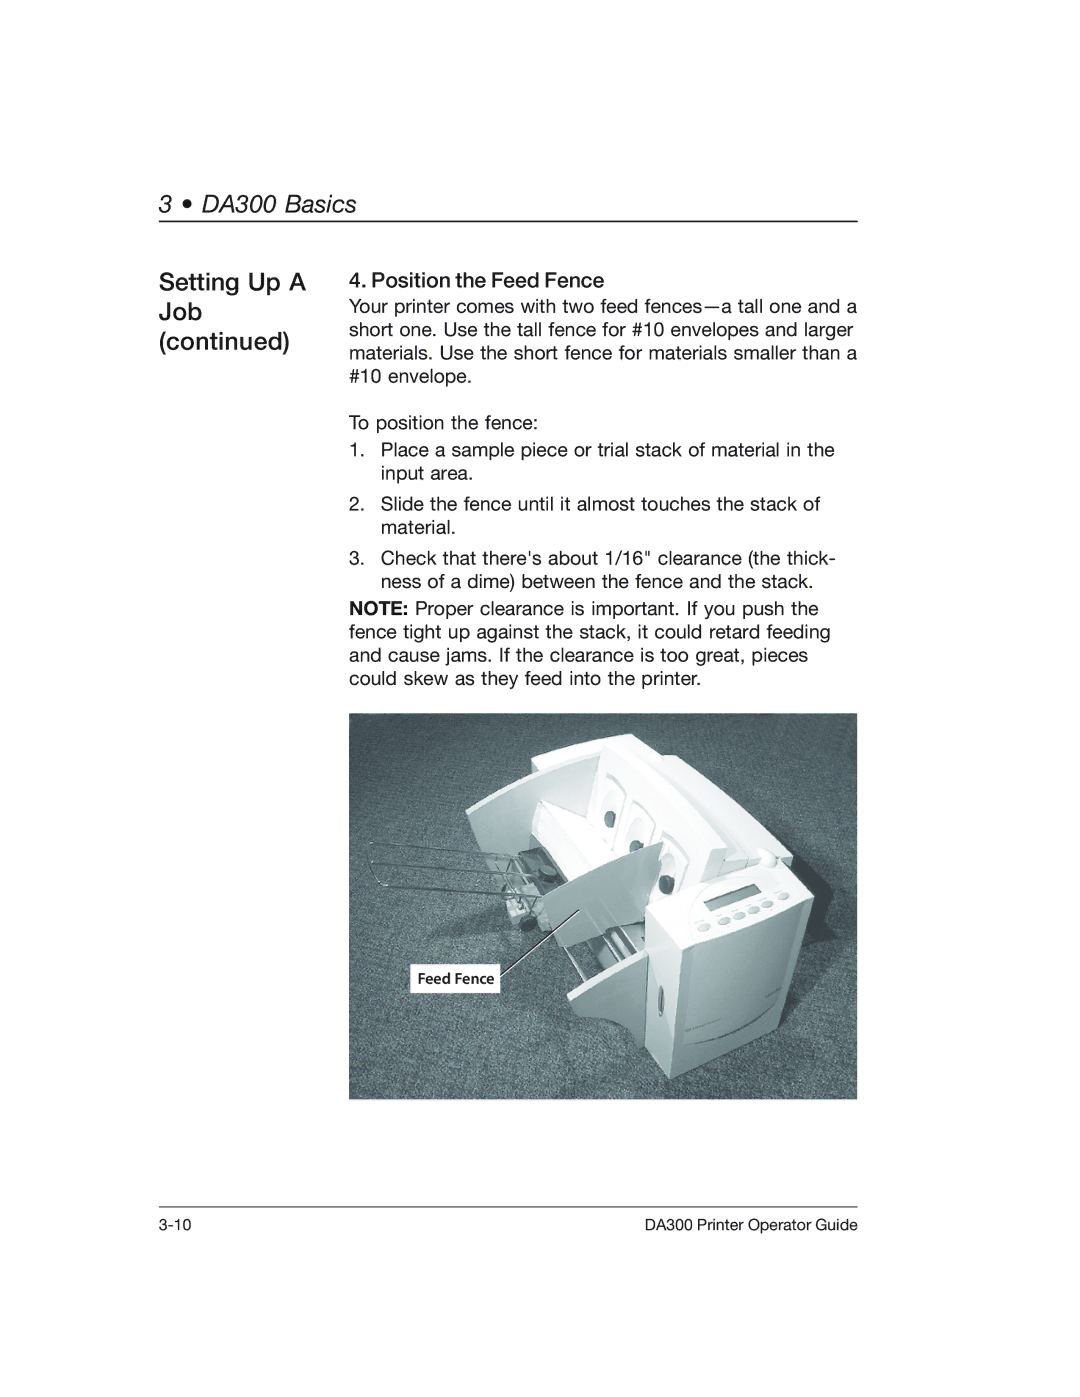
4. Position the Feed Fence
Your printer comes with two feed
To position the fence:
1.Place a sample piece or trial stack of material in the input area.
2.Slide the fence until it almost touches the stack of material.
3.Check that there's about 1/16" clearance (the thick- ness of a dime) between the fence and the stack.
NOTE: Proper clearance is important. If you push the fence tight up against the stack, it could retard feeding and cause jams. If the clearance is too great, pieces could skew as they feed into the printer.
Feed Fence
DA300 Printer Operator Guide |