Setting Up the DA300 Printer • 2
Connecting the DA300 to Your Computer
5. Connect the Printer Cable
Use either the a parallel cable supplied or a serial cable of your own to connect the DA300 to your computer.
1.Parallel Cable - Align the end of the cable connector labelled “Printer” with the parallel port on the printer's interface panel and push the cable connec- tor into the port.
Serial Cable - Align one end of the cable connector to the serial port on the printer's interface panel and push the cable connector into the port.
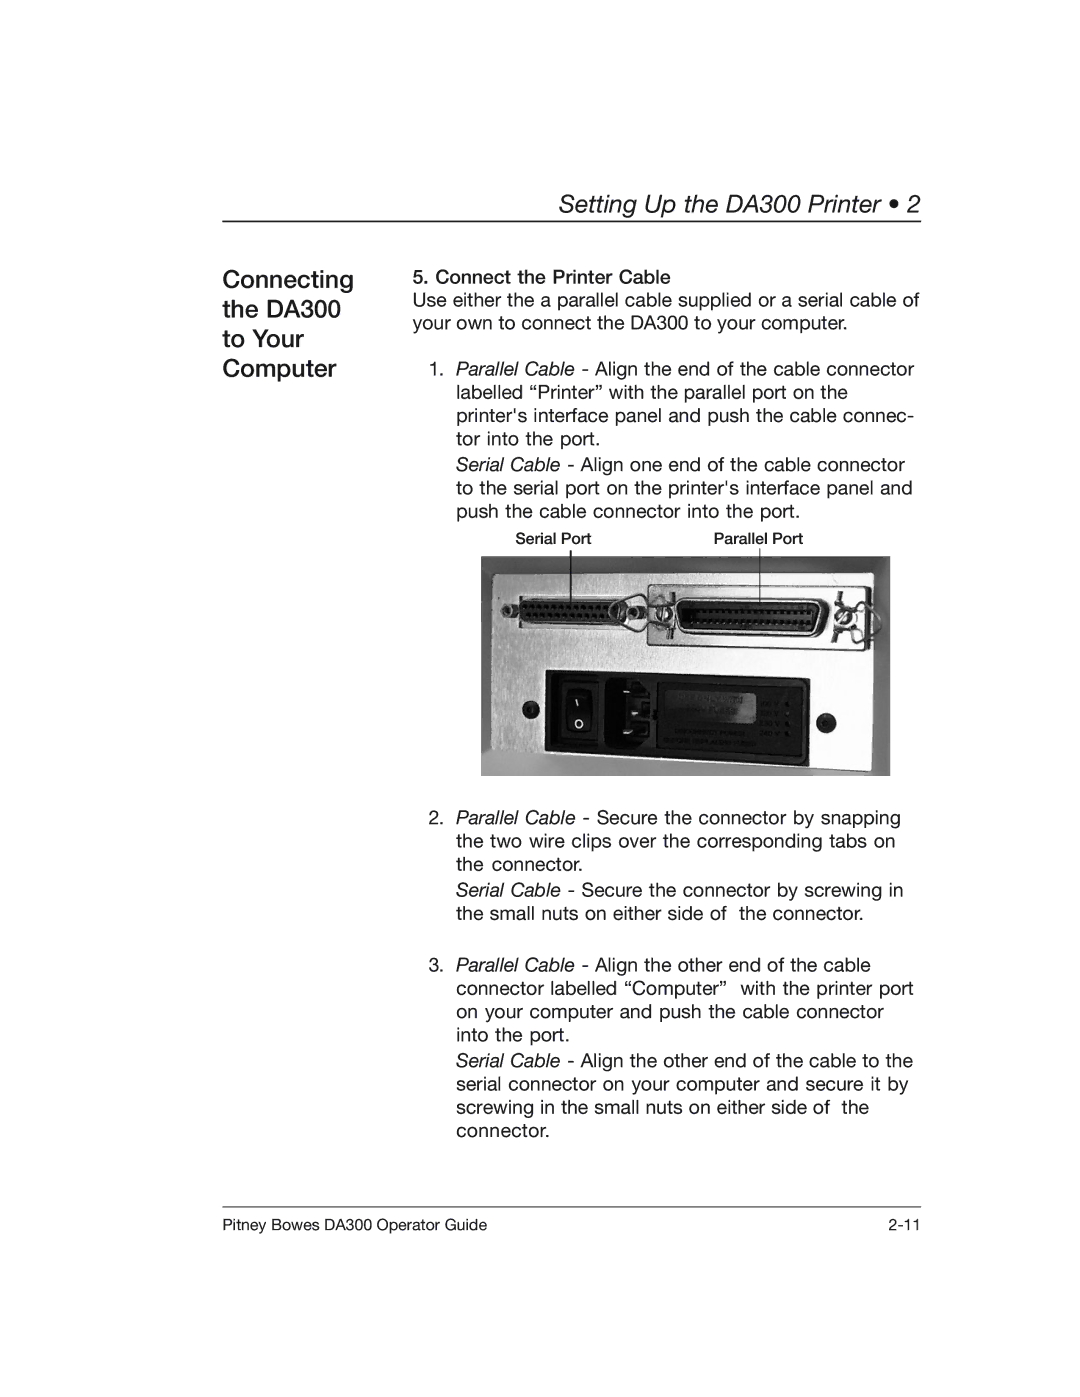
Serial Port | Parallel Port |
2.Parallel Cable - Secure the connector by snapping the two wire clips over the corresponding tabs on the connector.
Serial Cable - Secure the connector by screwing in the small nuts on either side of the connector.
3.Parallel Cable - Align the other end of the cable connector labelled “Computer” with the printer port on your computer and push the cable connector into the port.
Serial Cable - Align the other end of the cable to the serial connector on your computer and secure it by screwing in the small nuts on either side of the connector.
Pitney Bowes DA300 Operator Guide |