Chapter
Installing the RMX 4000
The following procedures have to be performed to install the RMX 4000 in your site:
•Mounting the RMX in a rack
•Connecting the RMX 4000 to the power source
•Connecting the network (LAN, IP and ISDN) cables to the RMX
Mounting the RMX 4000 in a Rack
Either place the RMX 4000 on a hard, flat surface such as a desktop or mount it on a 19”/23” rack.
For a detailed description of the safety requirements and precautions and the installation of the RMX 4000 as a standalone, in a 23” rack, or reverse mounting the RMX 4000 on a 19” rack, see the RMX 4000 Hardware Guide.
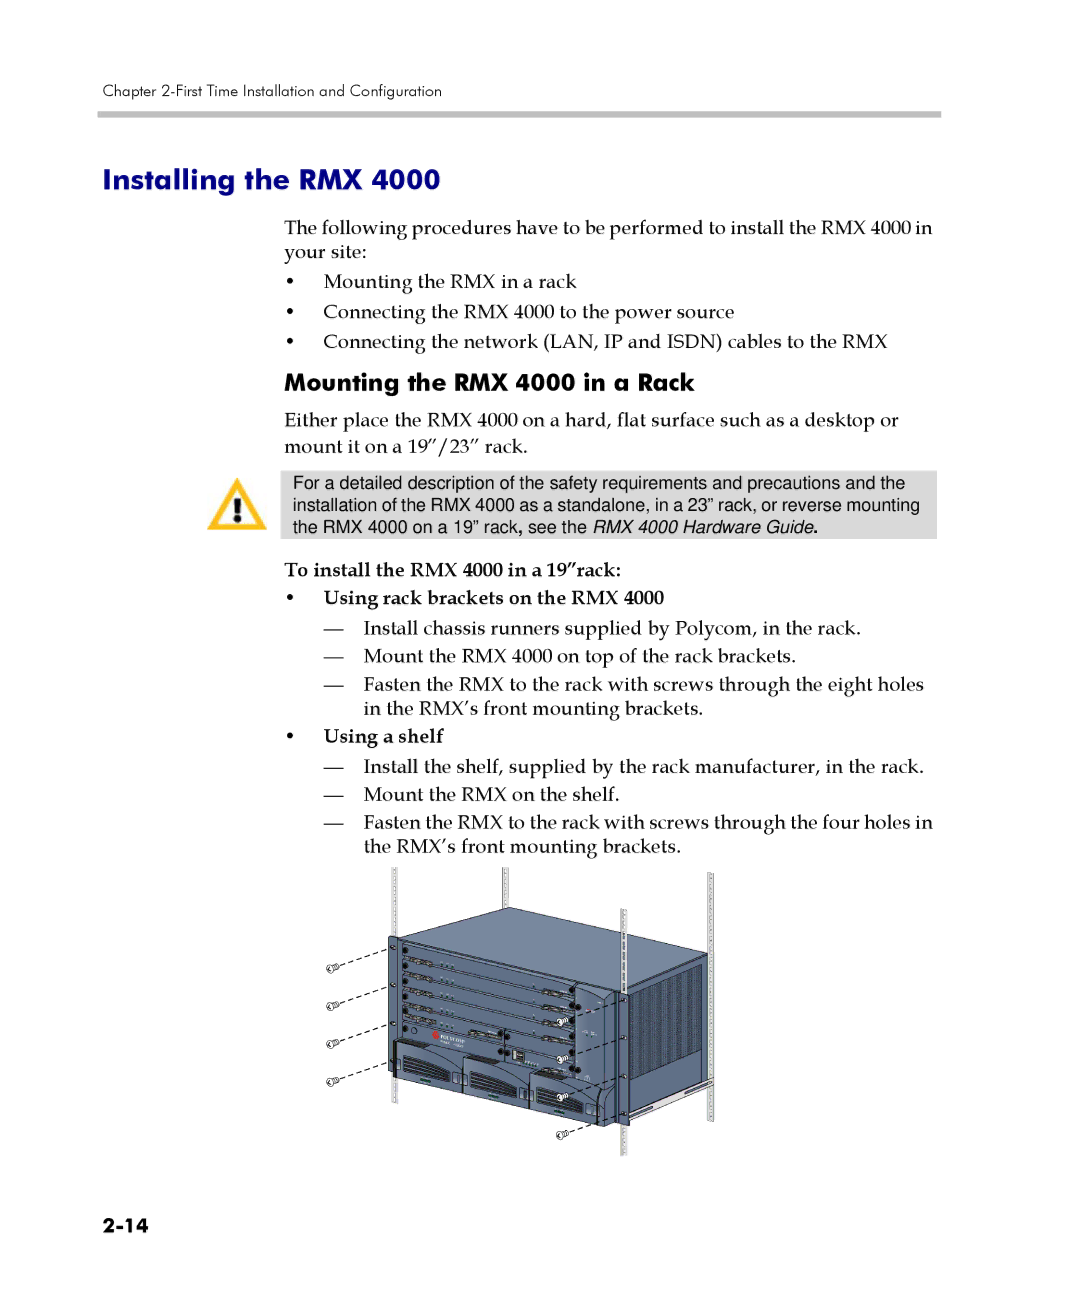
To install the RMX 4000 in a 19”rack:
•Using rack brackets on the RMX 4000
—Install chassis runners supplied by Polycom, in the rack.
—Mount the RMX 4000 on top of the rack brackets.
—Fasten the RMX to the rack with screws through the eight holes in the RMX’s front mounting brackets.
•Using a shelf
—Install the shelf, supplied by the rack manufacturer, in the rack.
—Mount the RMX on the shelf.
—Fasten the RMX to the rack with screws through the four holes in the RMX’s front mounting brackets.