Cable Connections
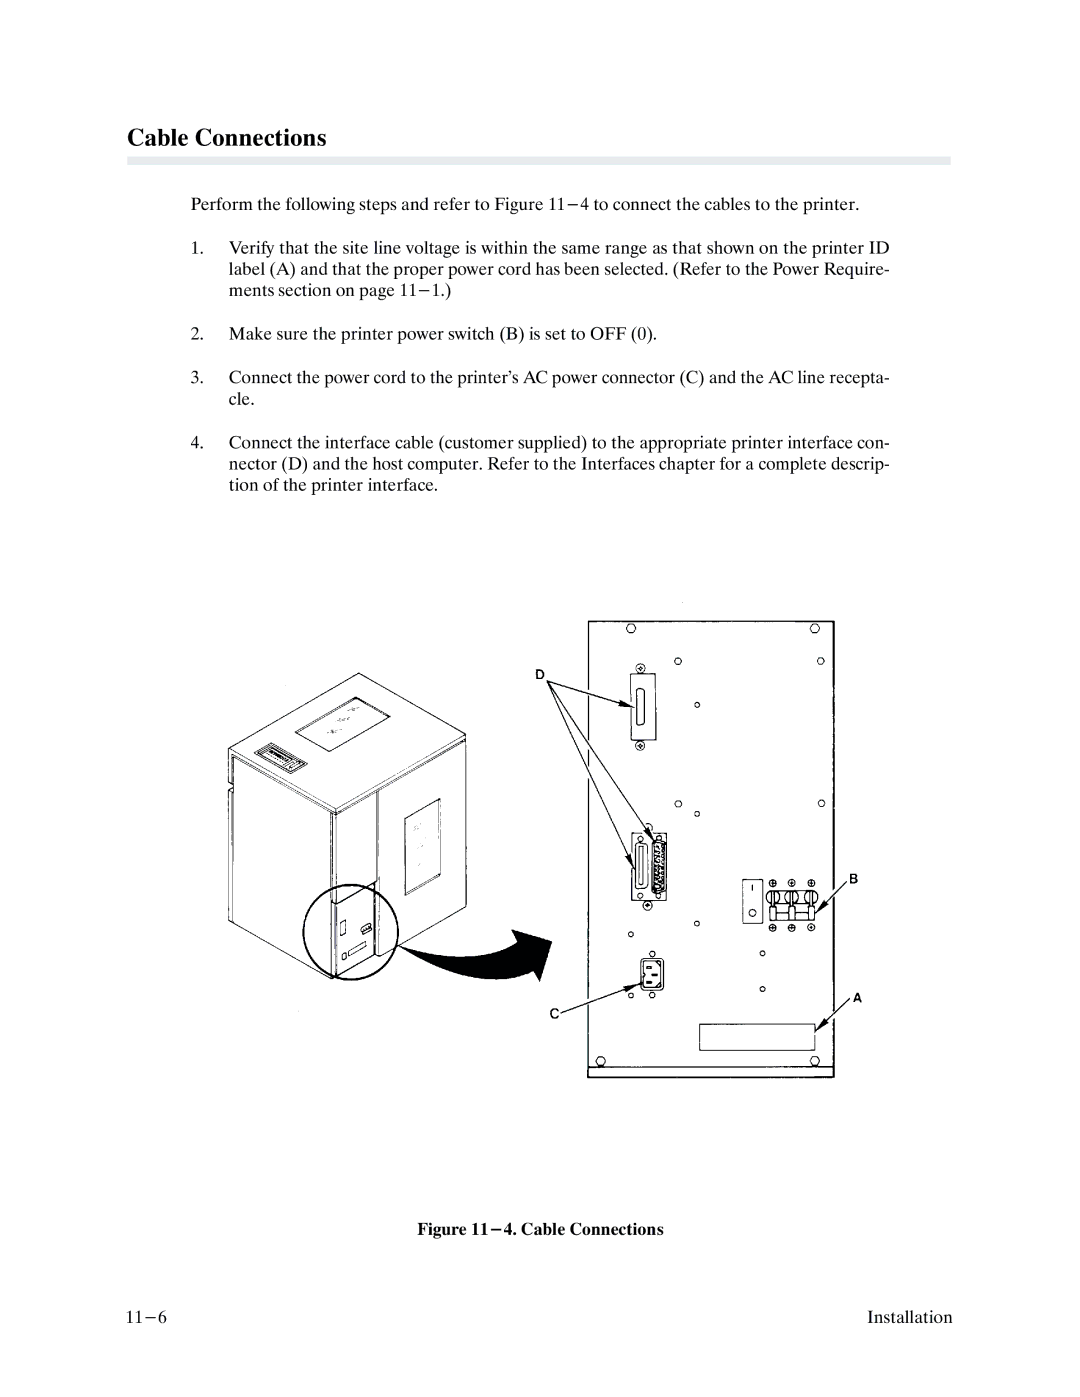
Perform the following steps and refer to Figure
1.Verify that the site line voltage is within the same range as that shown on the printer ID label (A) and that the proper power cord has been selected. (Refer to the Power RequireF ments section on page
2.Make sure the printer power switch (B) is set to OFF (0).
3.Connect the power cord to the printer's AC power connector (C) and the AC line receptaF cle.
4.Connect the interface cable (customer supplied) to the appropriate printer interface conF nector (D) and the host computer. Refer to the Interfaces chapter for a complete descripF tion of the printer interface.
Figure 11-4. Cable Connections
| Installation |
