B Enter the user (destination) name or key name, and then press the [OK] key.
![]()
![]() Note
Note
❒You can use the user name when selecting an address to send an
❒You can register the user code following the user name. For more details, see p.96 “User Codes”.

 Reference
⇒p.110 “Entering Text”
To select the title
A To classify the user with the ti- tle, press the title key from “Se- lect Title”.
![]()
![]() Note
Note
❒The keys you can select are as follows.
•[Freq.]… Added to the page that is displayed first.
•[AB], [CD], [EF], [GH], [IJK], [LMN], [OPQ], [RST], [UVW], [XYZ],… Added to the list of items in the title selected.
❒You can only select one page for “Select Title”.
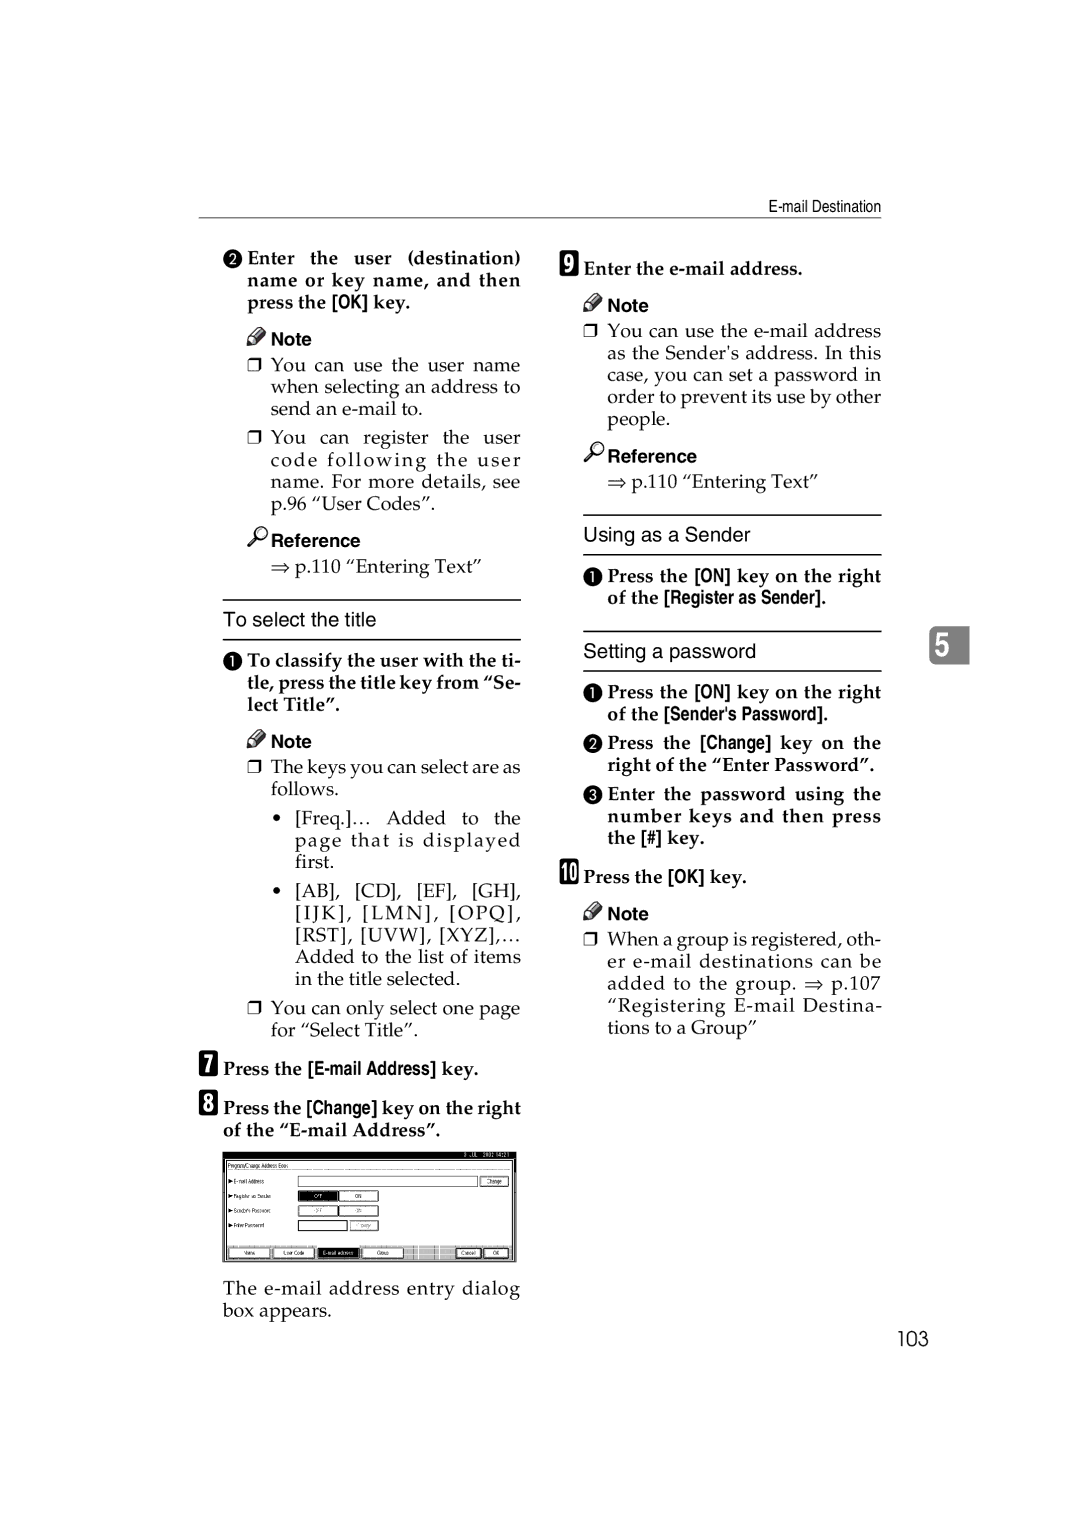
G Press the [E-mail Address] key.
H Press the [Change] key on the right of the
I Enter the
![]()
![]() Note
Note
❒You can use the

 Reference
⇒p.110 “Entering Text”
Using as a Sender
A Press the [ON] key on the right of the [Register as Sender].
Setting a password |
| 5 |
|
|
|
A Press the [ON] key on the right of the [Sender's Password].
B Press the [Change] key on the right of the “Enter Password”.
C Enter the password using the number keys and then press the [#] key.
J Press the [OK] key.
![]()
![]() Note
Note
❒When a group is registered, oth-
er
The
