User Tools (System Settings)
Registering E-mail Destinations to a Group
By registering groups, you can use them as follows;
•You can easily control the regis- tered
•You can send the same messages to multiple addresses in a group in bulk.
To divide

 Reference
5 istered into groups using Smart- NetMonitor for Admin (printer option required). ⇒ Network Printing Guide
Registering a New Group
D Press the [Address Book: Pro- gram/Change/Delete Group] key.
E Press the [New Program] key.
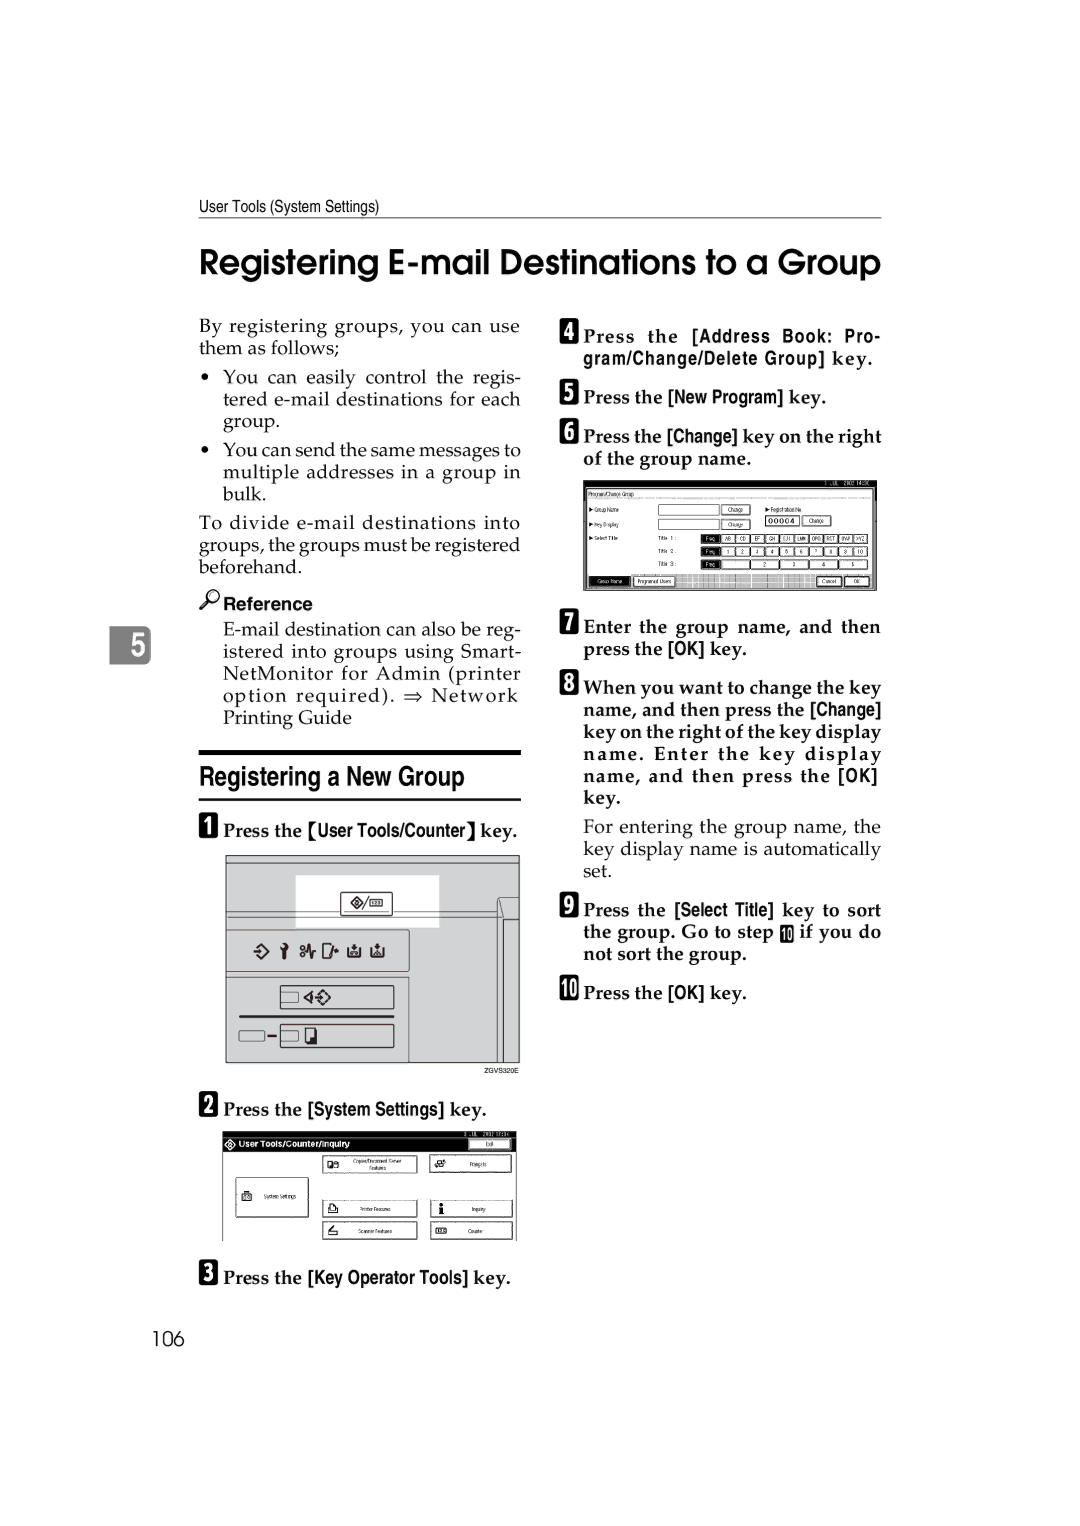
F Press the [Change] key on the right of the group name.
G Enter the group name, and then press the [OK] key.
H When you want to change the key name, and then press the [Change] key on the right of the key display name. Enter the key display name, and then press the [OK] key.
A Press the {User Tools/Counter} key. | For entering the group name, the | |||||||||
|
|
|
|
|
|
|
|
|
| key display name is automatically |
|
|
|
|
|
|
|
|
|
| set. |
|
|
|
|
|
|
|
|
|
| |
|
|
|
|
|
|
|
|
|
| I Press the [Select Title] key to sort |
|
|
|
|
|
|
|
|
|
| the group. Go to step J if you do |
|
|
|
|
|
|
|
|
|
| |
|
|
|
|
|
|
|
|
|
| not sort the group. |
|
|
|
|
|
|
|
|
|
| J Press the [OK] key. |
|
|
|
|
|
|
|
|
|
|
|
B Press the [System Settings] key.
C Press the [Key Operator Tools] key.