3.6 Setting Up and Using the EMAP
EMAP can hold up to 8 maps in *.bmp/*.jpg format. You may locate the camera, sensor and relay on the map.
3.6.1To Set Up the EMAP
1.Click EMAP.
2.When the EMAP screen appears, click the area number (1 to 8 buttons) on where you want to insert the map.
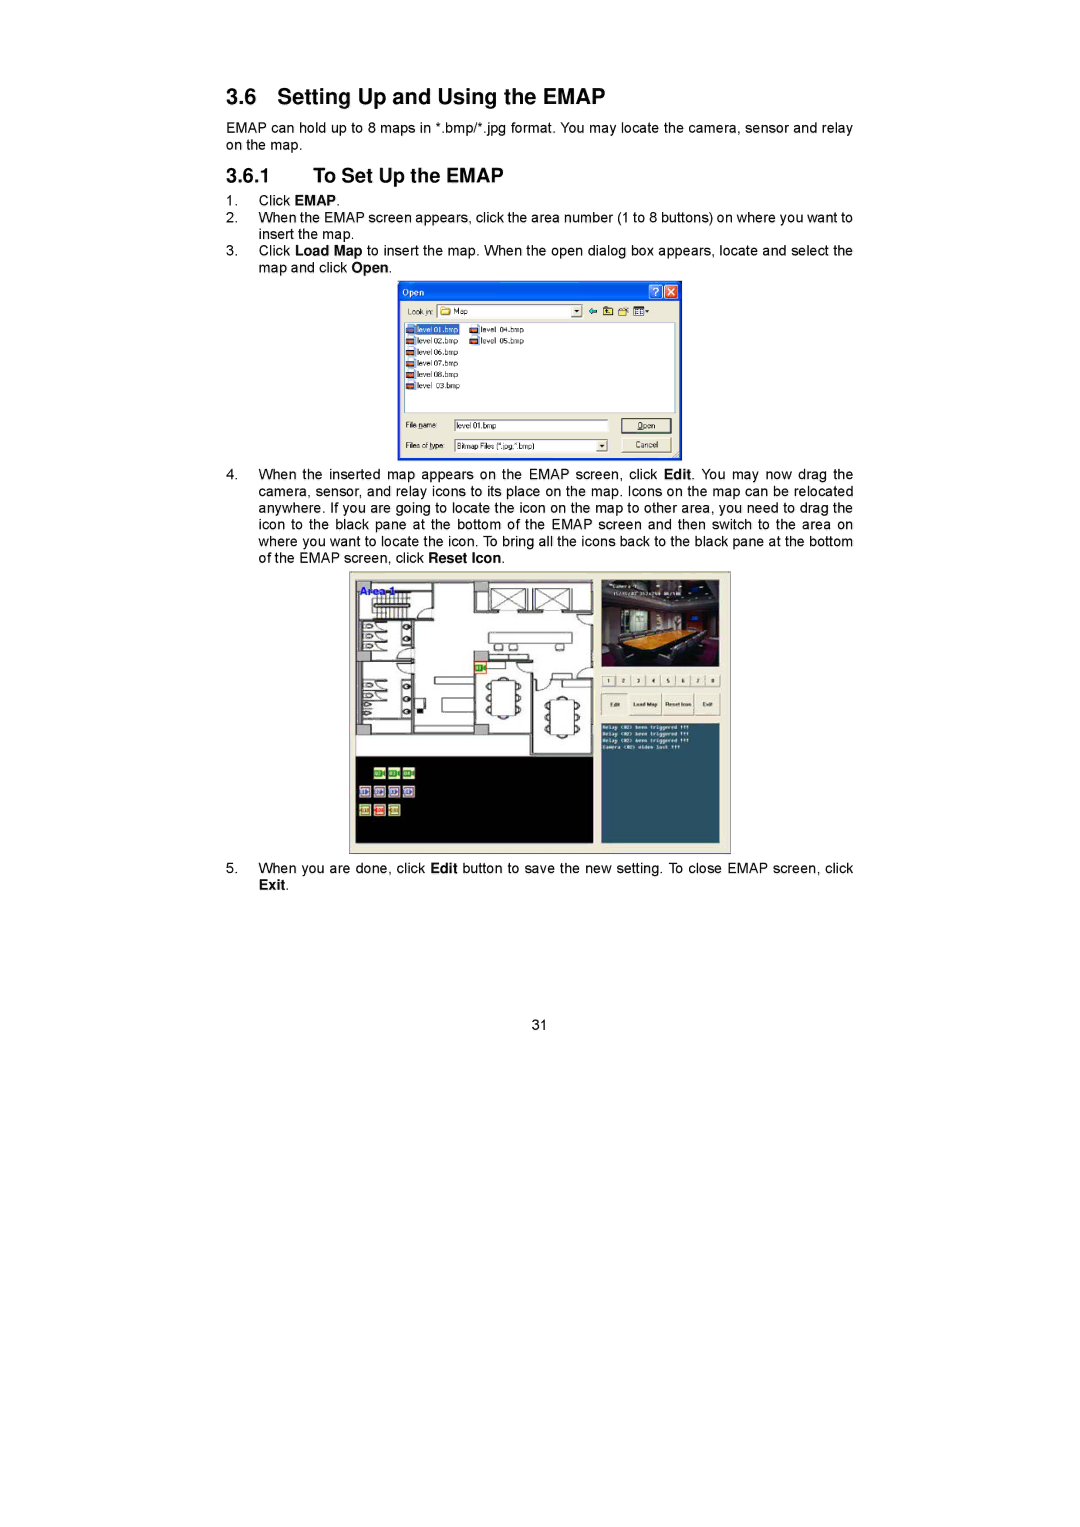
3.Click Load Map to insert the map. When the open dialog box appears, locate and select the map and click Open.
4.When the inserted map appears on the EMAP screen, click Edit. You may now drag the camera, sensor, and relay icons to its place on the map. Icons on the map can be relocated anywhere. If you are going to locate the icon on the map to other area, you need to drag the icon to the black pane at the bottom of the EMAP screen and then switch to the area on where you want to locate the icon. To bring all the icons back to the black pane at the bottom of the EMAP screen, click Reset Icon.
5.When you are done, click Edit button to save the new setting. To close EMAP screen, click Exit.
31