the specific time,
3.Check the information beside the calendar.
Selected Files | : Show the number of files selected. |
Require Space | : Show the total size of the selected file. |
4.Enable Auto partition and select to divide the file size into
5.If you do NOT want to keep the recorded file in the storage folder, enable Delete files after Backup check box.
6.Click ![]() to set the path on where to store the backup file.
to set the path on where to store the backup file.
7.Click ![]() to start archiving the selected file.
to start archiving the selected file.
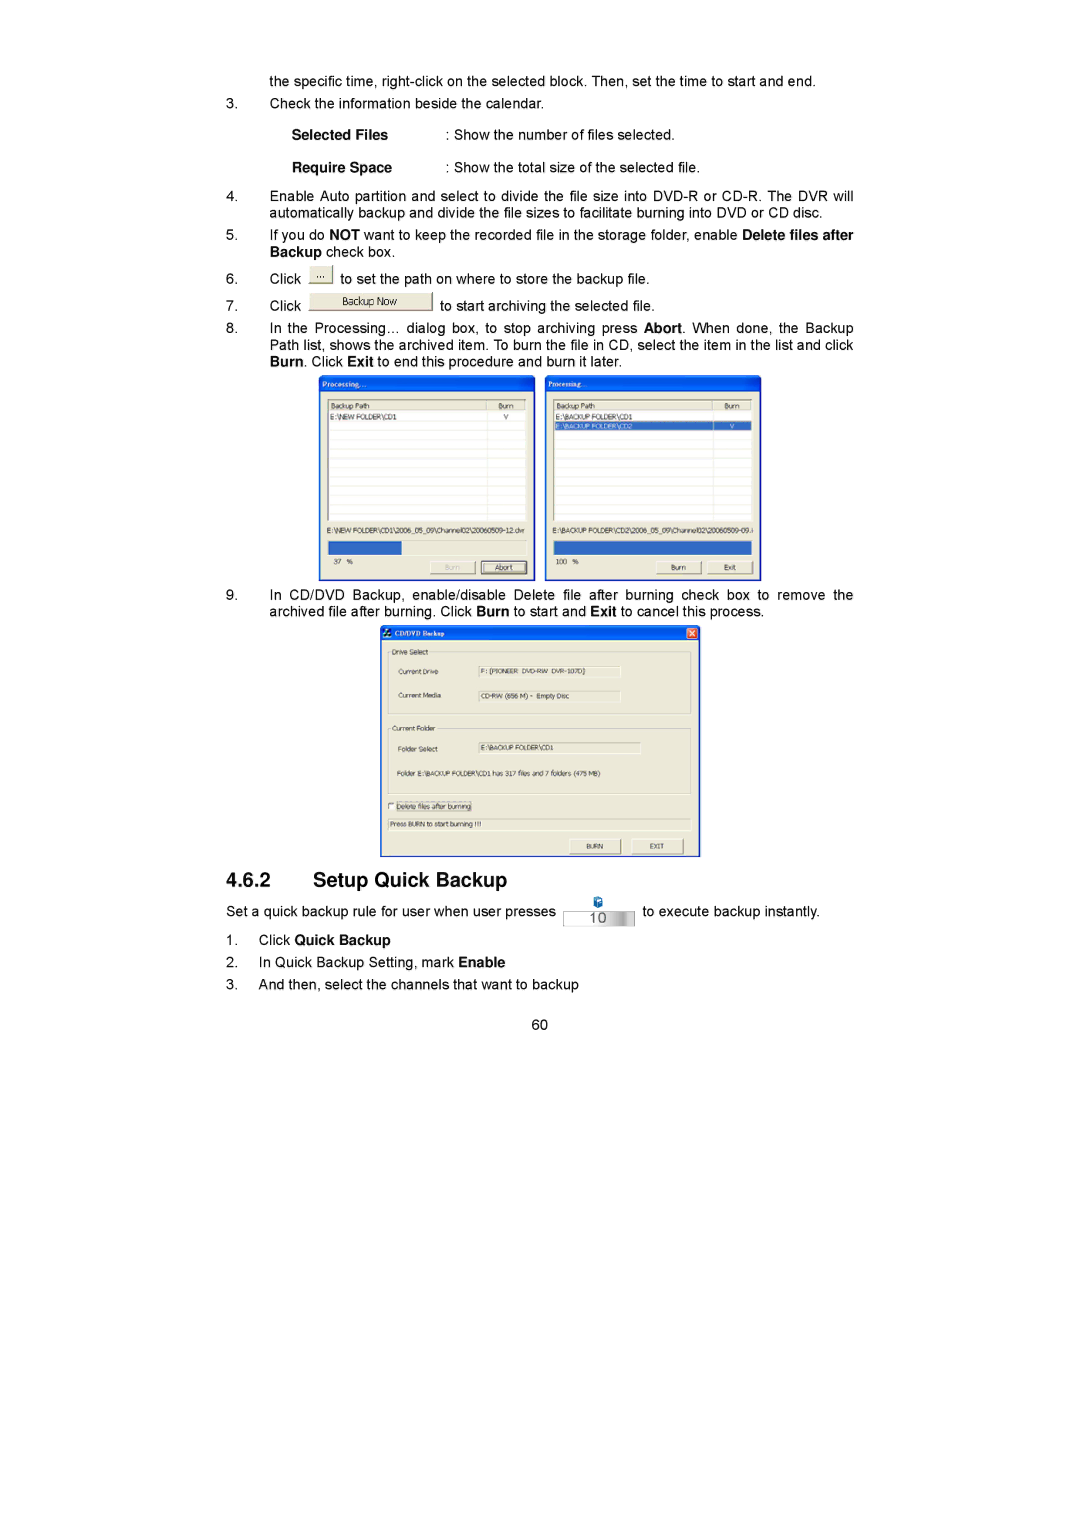
8.In the Processing… dialog box, to stop archiving press Abort. When done, the Backup Path list, shows the archived item. To burn the file in CD, select the item in the list and click Burn. Click Exit to end this procedure and burn it later.
9.In CD/DVD Backup, enable/disable Delete file after burning check box to remove the archived file after burning. Click Burn to start and Exit to cancel this process.
4.6.2Setup Quick Backup
Set a quick backup rule for user when user presses | 10 | to execute backup instantly. |
|
|
1.Click Quick Backup
2.In Quick Backup Setting, mark Enable
3.And then, select the channels that want to backup
60