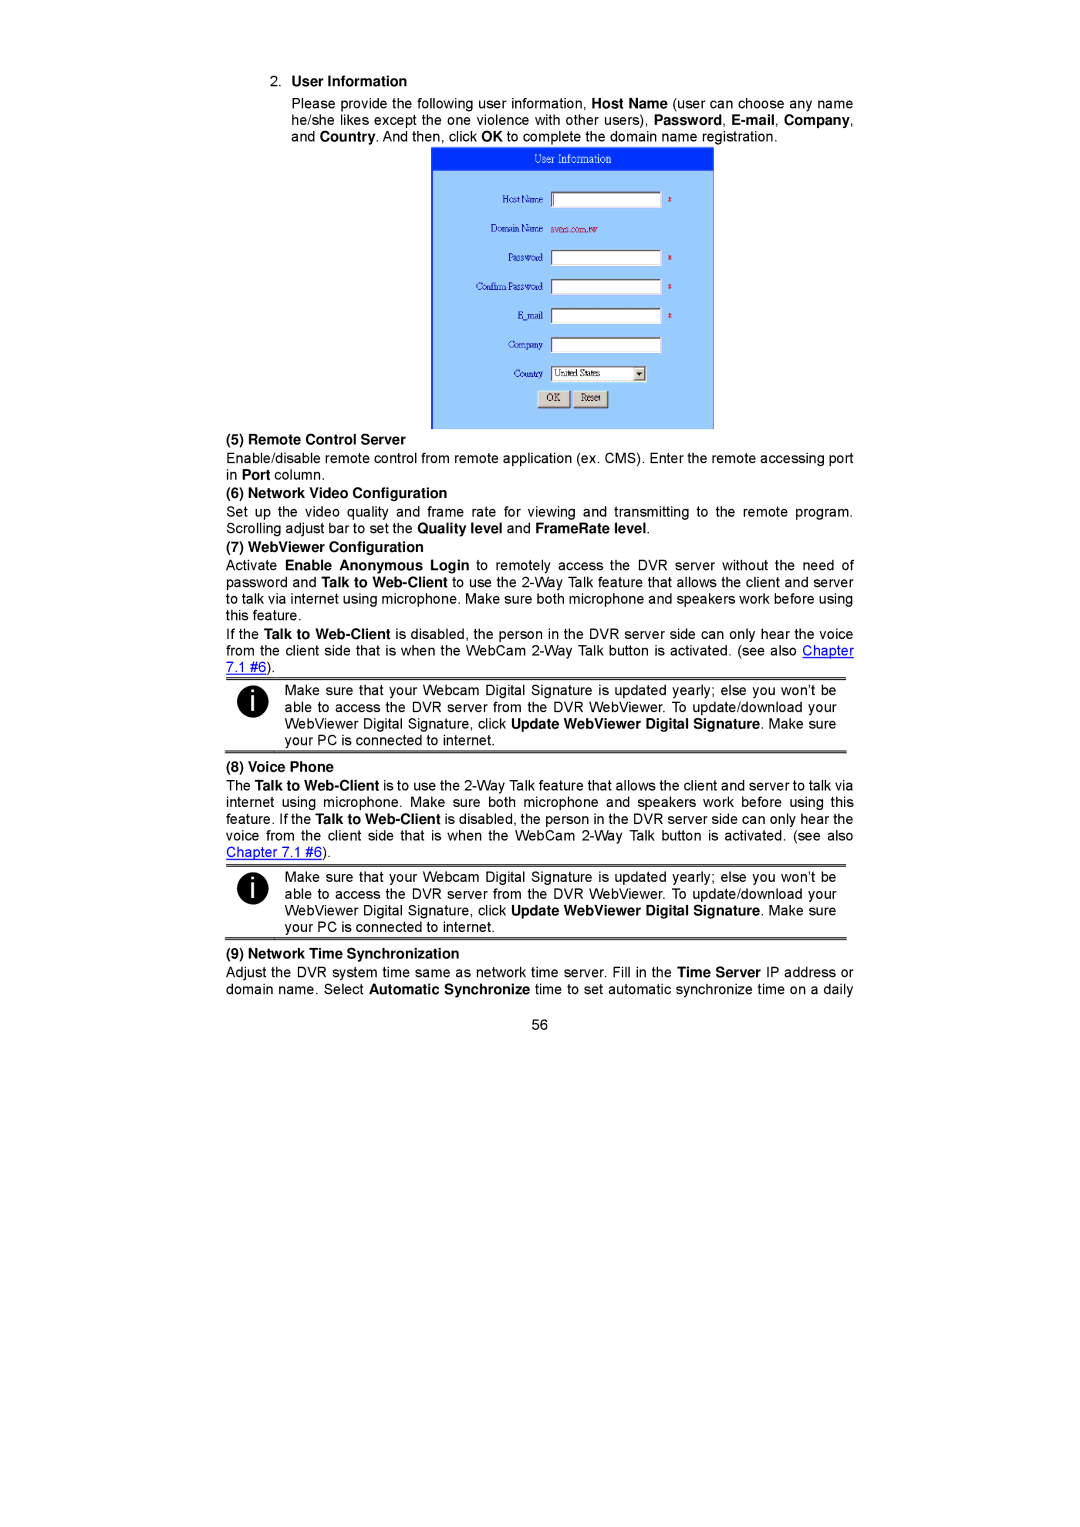
2.User Information
Please provide the following user information, Host Name (user can choose any name he/she likes except the one violence with other users), Password,
(5) Remote Control Server
Enable/disable remote control from remote application (ex. CMS). Enter the remote accessing port in Port column.
(6) Network Video Configuration
Set up the video quality and frame rate for viewing and transmitting to the remote program. Scrolling adjust bar to set the Quality level and FrameRate level.
(7) WebViewer Configuration
Activate Enable Anonymous Login to remotely access the DVR server without the need of password and Talk to
If the Talk to
7.1#6).
iMake sure that your Webcam Digital Signature is updated yearly; else you won’t be able to access the DVR server from the DVR WebViewer. To update/download your WebViewer Digital Signature, click Update WebViewer Digital Signature. Make sure your PC is connected to internet.
(8) Voice Phone
The Talk to
i | Make sure that your Webcam Digital Signature is updated yearly; else you won’t be |
able to access the DVR server from the DVR WebViewer. To update/download your | |
| WebViewer Digital Signature, click Update WebViewer Digital Signature. Make sure |
| your PC is connected to internet. |
(9) Network Time Synchronization
Adjust the DVR system time same as network time server. Fill in the Time Server IP address or domain name. Select Automatic Synchronize time to set automatic synchronize time on a daily
56