(2) Mail
To check if it is working, click Test Account button.
From : Enter the sender
To and CC : Enter the recipient email address and separate it with comma or a semicolon (;).
Subject | : Enter the message title. |
Message | :Type the message. |
(3) Email Notice Setting | |
Notice Interval Set the period of time before it sends another
Attach image when sensor is triggered When the sensor is triggered, the system will capture the image and send the image to the certain
(4) Modem Dial up Setting
If you are using dial up modem, enable Auto Dial up check box and select the modem name. You may also set the time to disconnect automatically, just enable the Auto Disconnect after check box and set time.
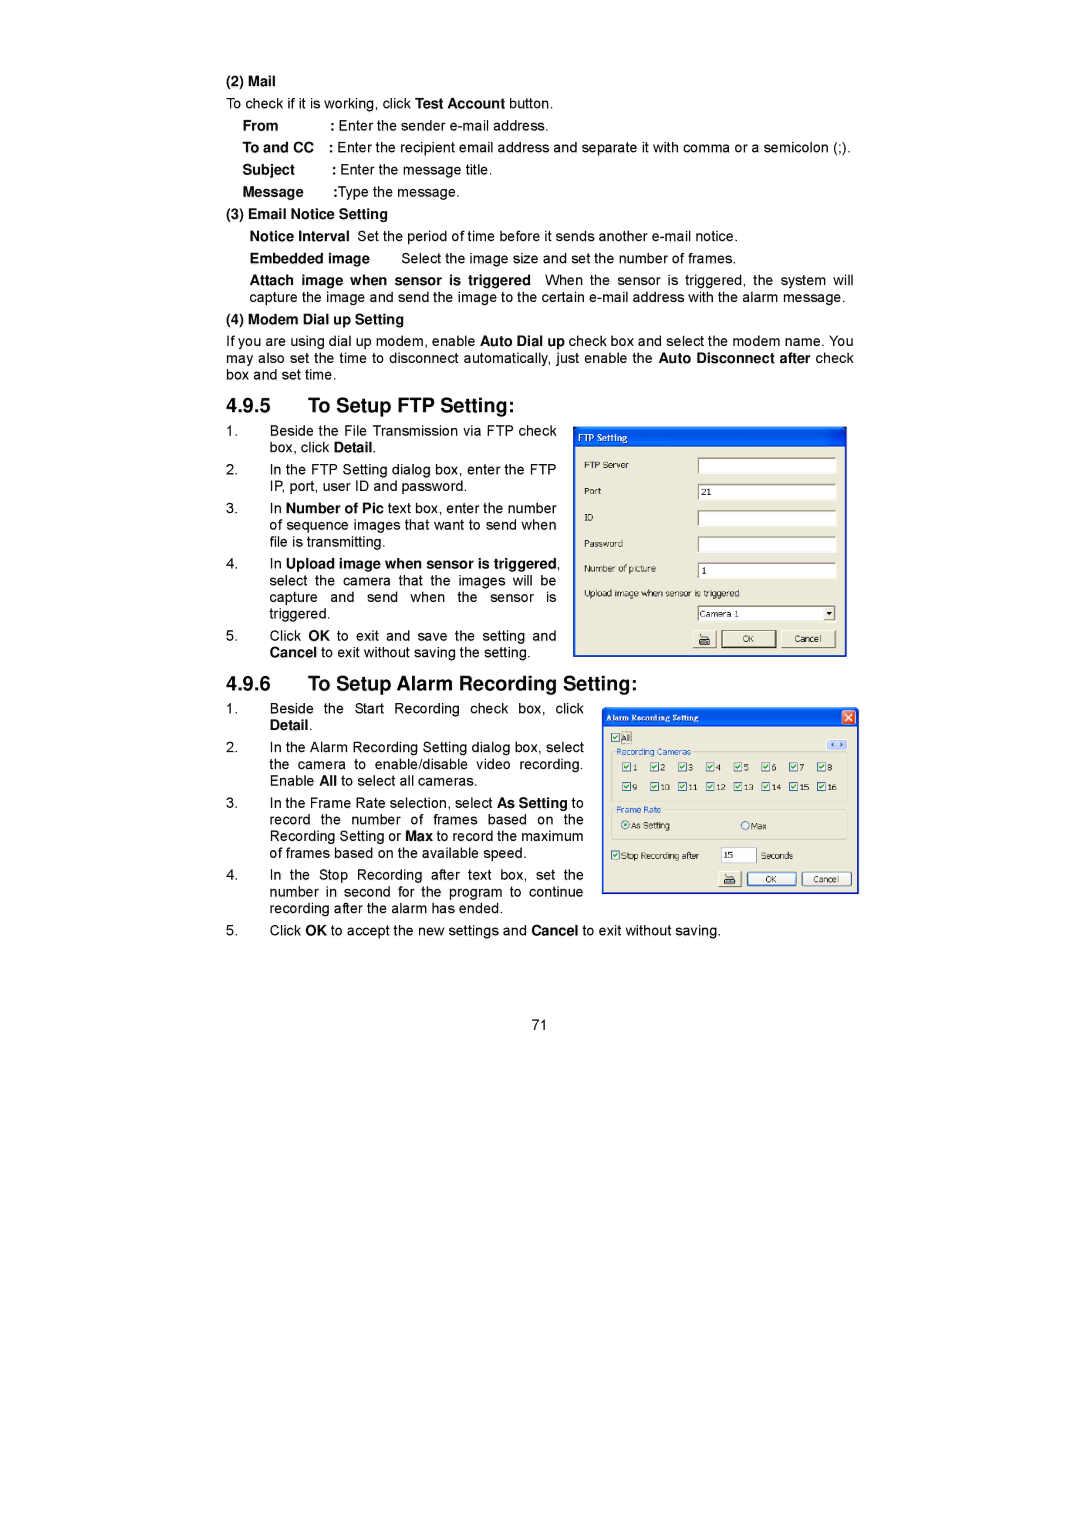
4.9.5To Setup FTP Setting:
1.Beside the File Transmission via FTP check box, click Detail.
2.In the FTP Setting dialog box, enter the FTP IP, port, user ID and password.
3.In Number of Pic text box, enter the number of sequence images that want to send when file is transmitting.
4.In Upload image when sensor is triggered, select the camera that the images will be capture and send when the sensor is triggered.
5.Click OK to exit and save the setting and Cancel to exit without saving the setting.
4.9.6To Setup Alarm Recording Setting:
1.Beside the Start Recording check box, click Detail.
2.In the Alarm Recording Setting dialog box, select the camera to enable/disable video recording. Enable All to select all cameras.
3.In the Frame Rate selection, select As Setting to record the number of frames based on the Recording Setting or Max to record the maximum of frames based on the available speed.
4.In the Stop Recording after text box, set the number in second for the program to continue recording after the alarm has ended.
5.Click OK to accept the new settings and Cancel to exit without saving.
71