NameFunction
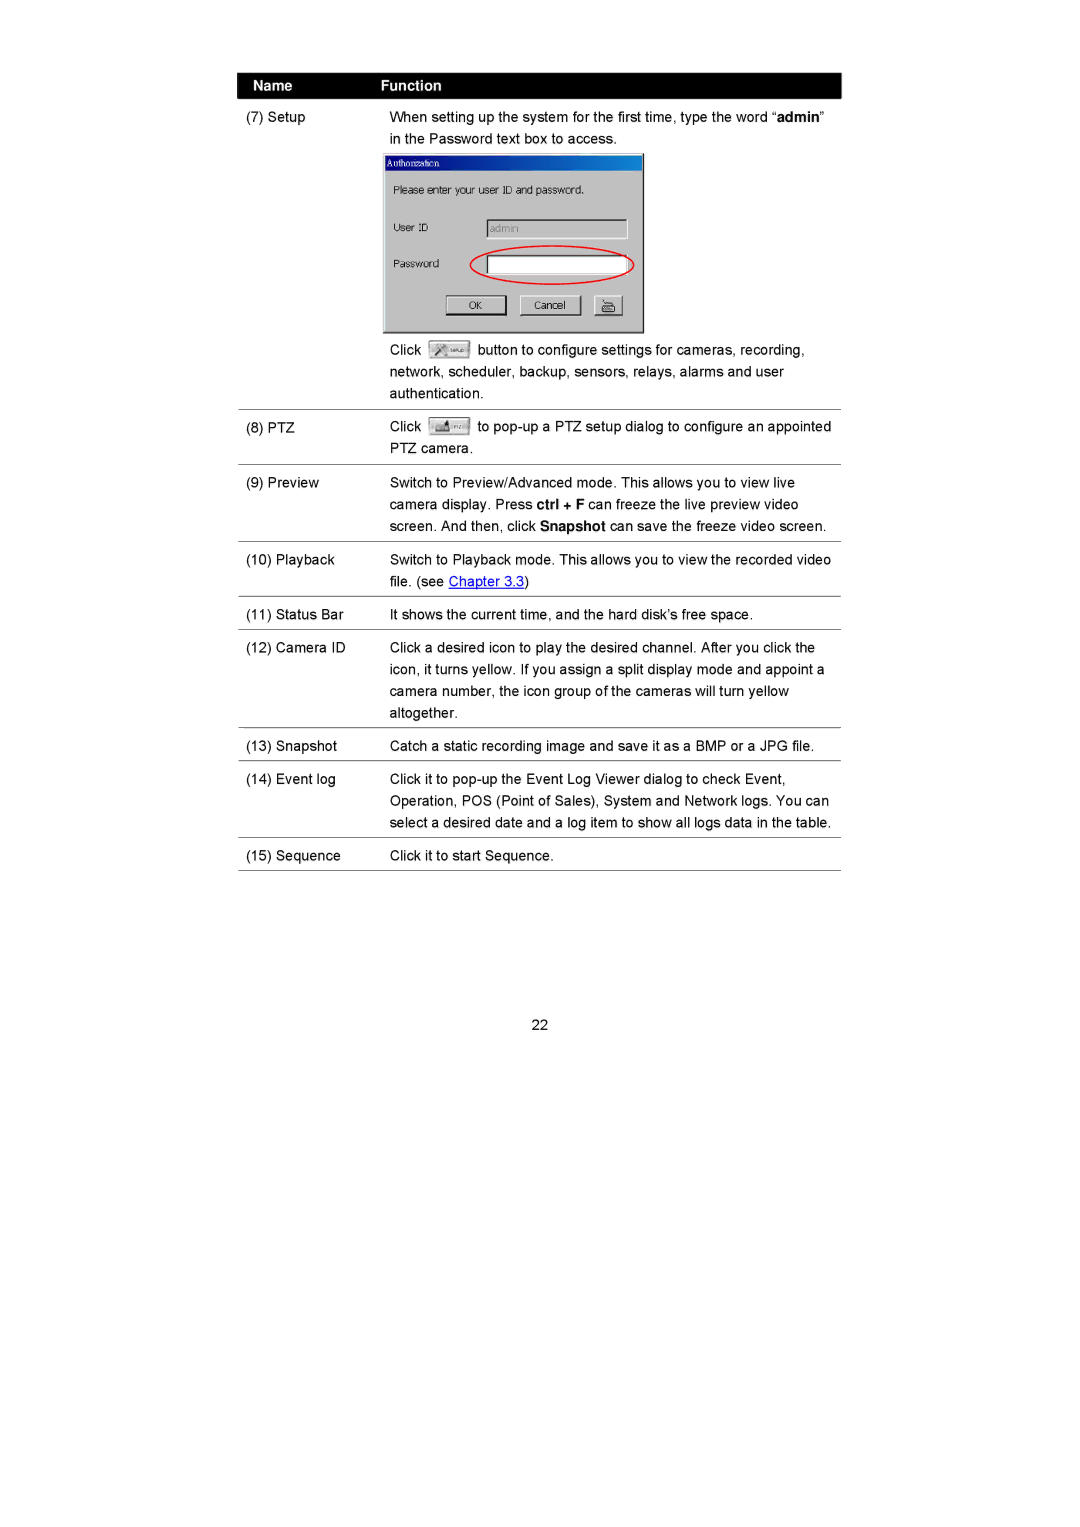
(7) Setup | When setting up the system for the first time, type the word “admin” |
| in the Password text box to access. |
|
| Click | button to configure settings for cameras, recording, |
|
| network, scheduler, backup, sensors, relays, alarms and user | |
|
| authentication. | |
|
|
| |
(8) PTZ | Click | to | |
|
| PTZ camera. |
|
|
| ||
(9) Preview | Switch to Preview/Advanced mode. This allows you to view live | ||
|
| camera display. Press ctrl + F can freeze the live preview video | |
|
| screen. And then, click Snapshot can save the freeze video screen. | |
|
|
| |
(10) | Playback | Switch to Playback mode. This allows you to view the recorded video | |
|
| file. (see Chapter 3.3) | |
|
|
| |
(11) | Status Bar | It shows the current time, and the hard disk’s free space. | |
|
|
| |
(12) | Camera ID | Click a desired icon to play the desired channel. After you click the | |
|
| icon, it turns yellow. If you assign a split display mode and appoint a | |
|
| camera number, the icon group of the cameras will turn yellow | |
|
| altogether. |
|
|
|
| |
(13) | Snapshot | Catch a static recording image and save it as a BMP or a JPG file. | |
|
|
| |
(14) | Event log | Click it to | |
|
| Operation, POS (Point of Sales), System and Network logs. You can | |
|
| select a desired date and a log item to show all logs data in the table. | |
|
|
| |
(15) | Sequence | Click it to start Sequence. | |
|
|
|
|
22