2

Installation and Start-Up

2.1Site Preparation

2.1.1Mounting Instructions

To securely mount TimeVault in any EIA standard 19-inch (48.26-cm) rack system, use the equipment supplied in Symmetricom’s Rack Mount Kit and follow the steps outlined below.

The Rack Mount Kit contains:

2 mounting brackets (part number 206-719)

4 flat-head, Phillips screws (part number 241-008-005, 8-32 x 5/8)

To rack mount TimeVault:

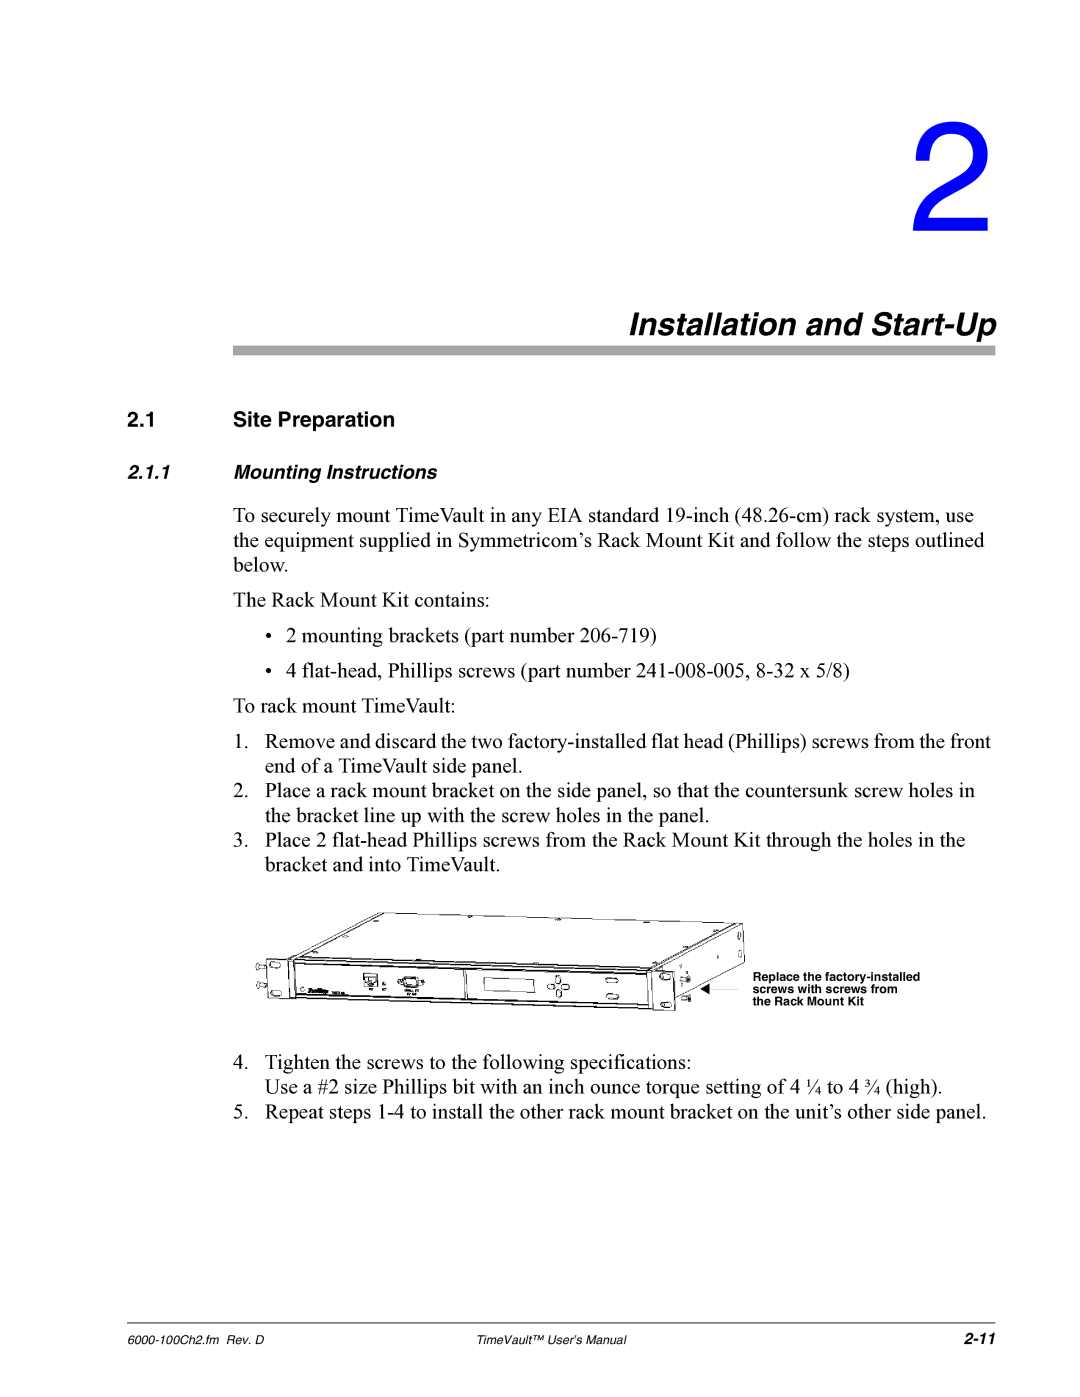
1.Remove and discard the two factory-installed flat head (Phillips) screws from the front end of a TimeVault side panel.

2.Place a rack mount bracket on the side panel, so that the countersunk screw holes in the bracket line up with the screw holes in the panel.

3.Place 2 flat-head Phillips screws from the Rack Mount Kit through the holes in the bracket and into TimeVault.

Replace the factory-installed screws with screws from the Rack Mount Kit

4.Tighten the screws to the following specifications:

Use a #2 size Phillips bit with an inch ounce torque setting of 4 ¼ to 4 ¾ (high).

5.Repeat steps 1-4 to install the other rack mount bracket on the unit’s other side panel.

6000-100Ch2.fm Rev. D

TimeVault™ User’s Manual

2-11

Page 25
Image 25
Symmetricom Time Server user manual Installation and Start-Up, Site Preparation