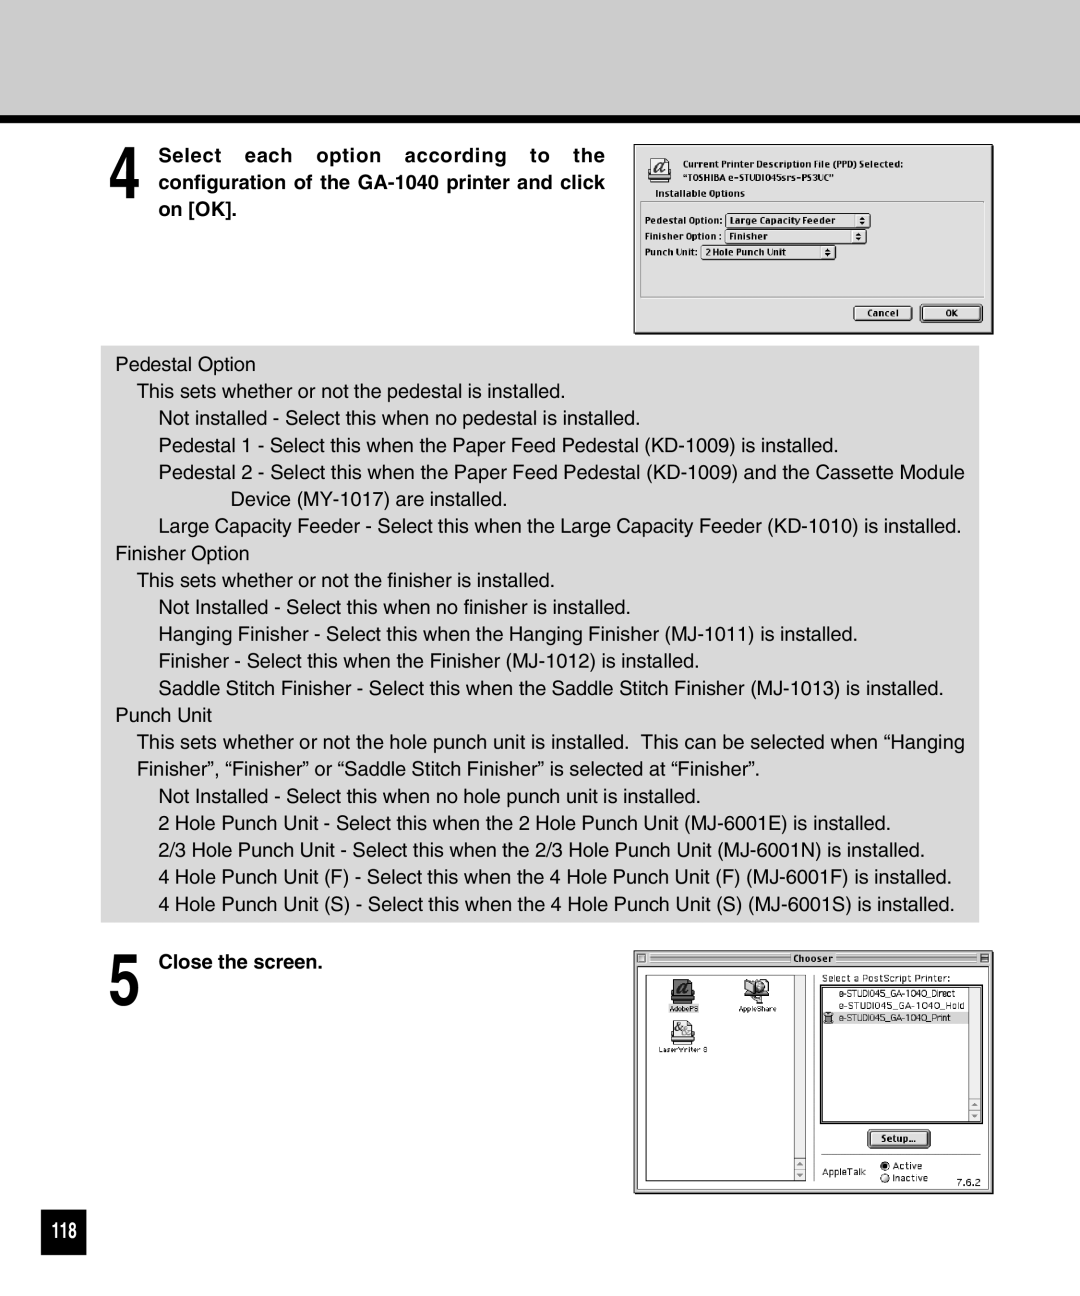
4 Select each option according to the configuration of the
Pedestal Option
This sets whether or not the pedestal is installed.
Not installed - Select this when no pedestal is installed.
Pedestal 1 - Select this when the Paper Feed Pedestal
Pedestal 2 - Select this when the Paper Feed Pedestal
Large Capacity Feeder - Select this when the Large Capacity Feeder
This sets whether or not the finisher is installed.
Not Installed - Select this when no finisher is installed.
Hanging Finisher - Select this when the Hanging Finisher
Saddle Stitch Finisher - Select this when the Saddle Stitch Finisher
This sets whether or not the hole punch unit is installed. This can be selected when “Hanging Finisher”, “Finisher” or “Saddle Stitch Finisher” is selected at “Finisher”.
Not Installed - Select this when no hole punch unit is installed.
2 Hole Punch Unit - Select this when the 2 Hole Punch Unit
4 Hole Punch Unit (F) - Select this when the 4 Hole Punch Unit (F)
4 Hole Punch Unit (S) - Select this when the 4 Hole Punch Unit (S)
