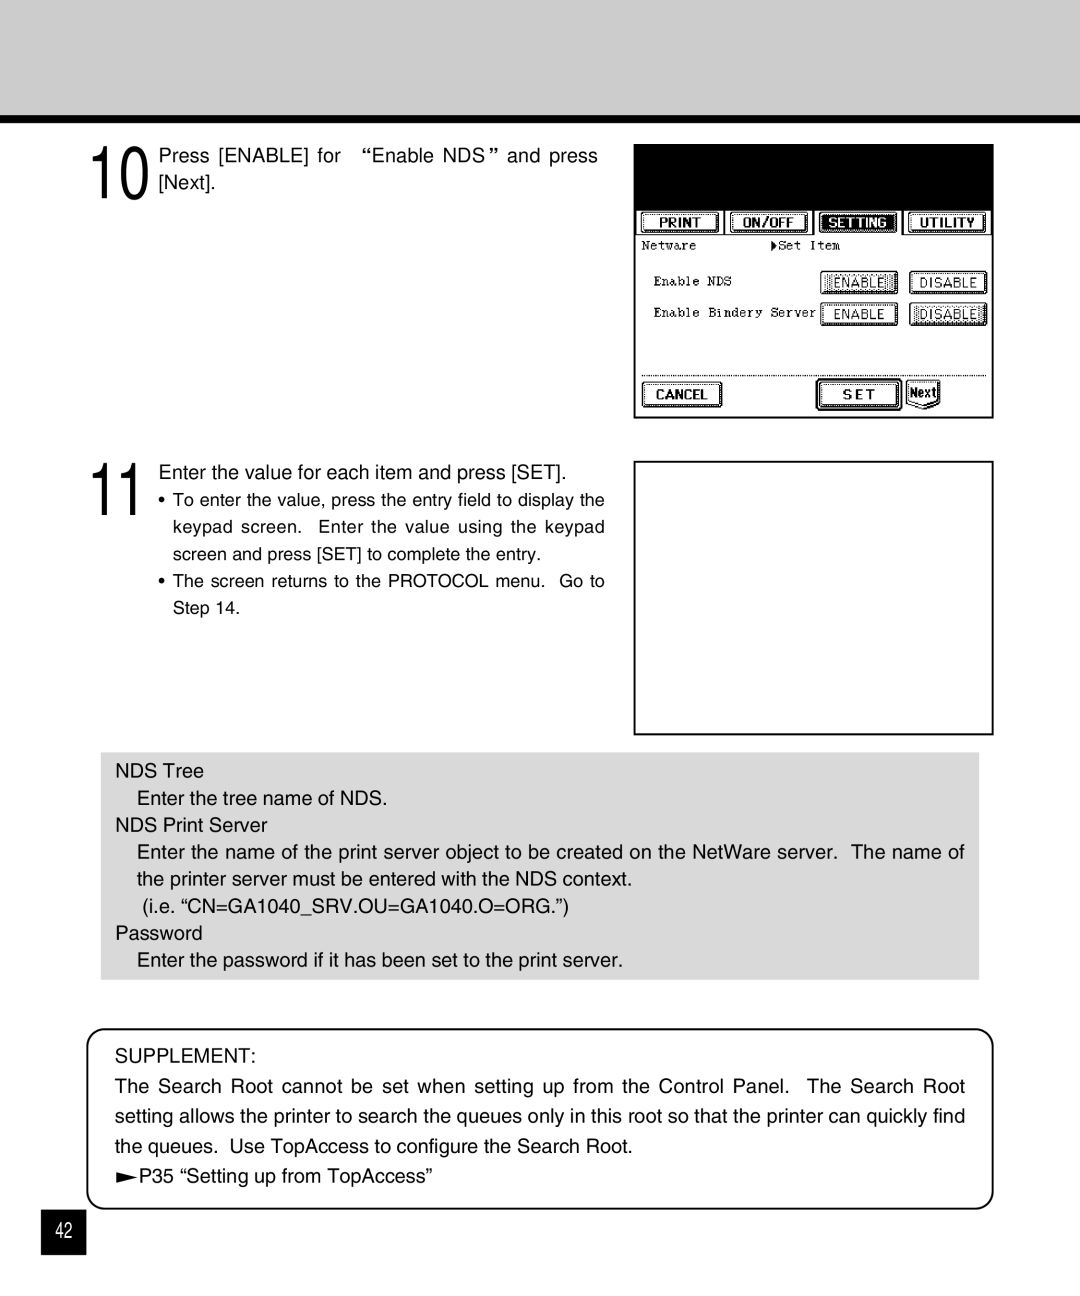
10 Press [ENABLE] for “Enable NDS” and press [Next].
11 Enter the value for each item and press [SET].
• To enter the value, press the entry field to display the keypad screen. Enter the value using the keypad screen and press [SET] to complete the entry.
• The screen returns to the PROTOCOL menu. Go to Step 14.
NDS Tree
Enter the tree name of NDS. NDS Print Server
Enter the name of the print server object to be created on the NetWare server. The name of the printer server must be entered with the NDS context.
(i.e. “CN=GA1040_SRV.OU=GA1040.O=ORG.”) Password
Enter the password if it has been set to the print server.
SUPPLEMENT:
The Search Root cannot be set when setting up from the Control Panel. The Search Root setting allows the printer to search the queues only in this root so that the printer can quickly find the queues. Use TopAccess to configure the Search Root.
![]() P35 “Setting up from TopAccess”
P35 “Setting up from TopAccess”
42