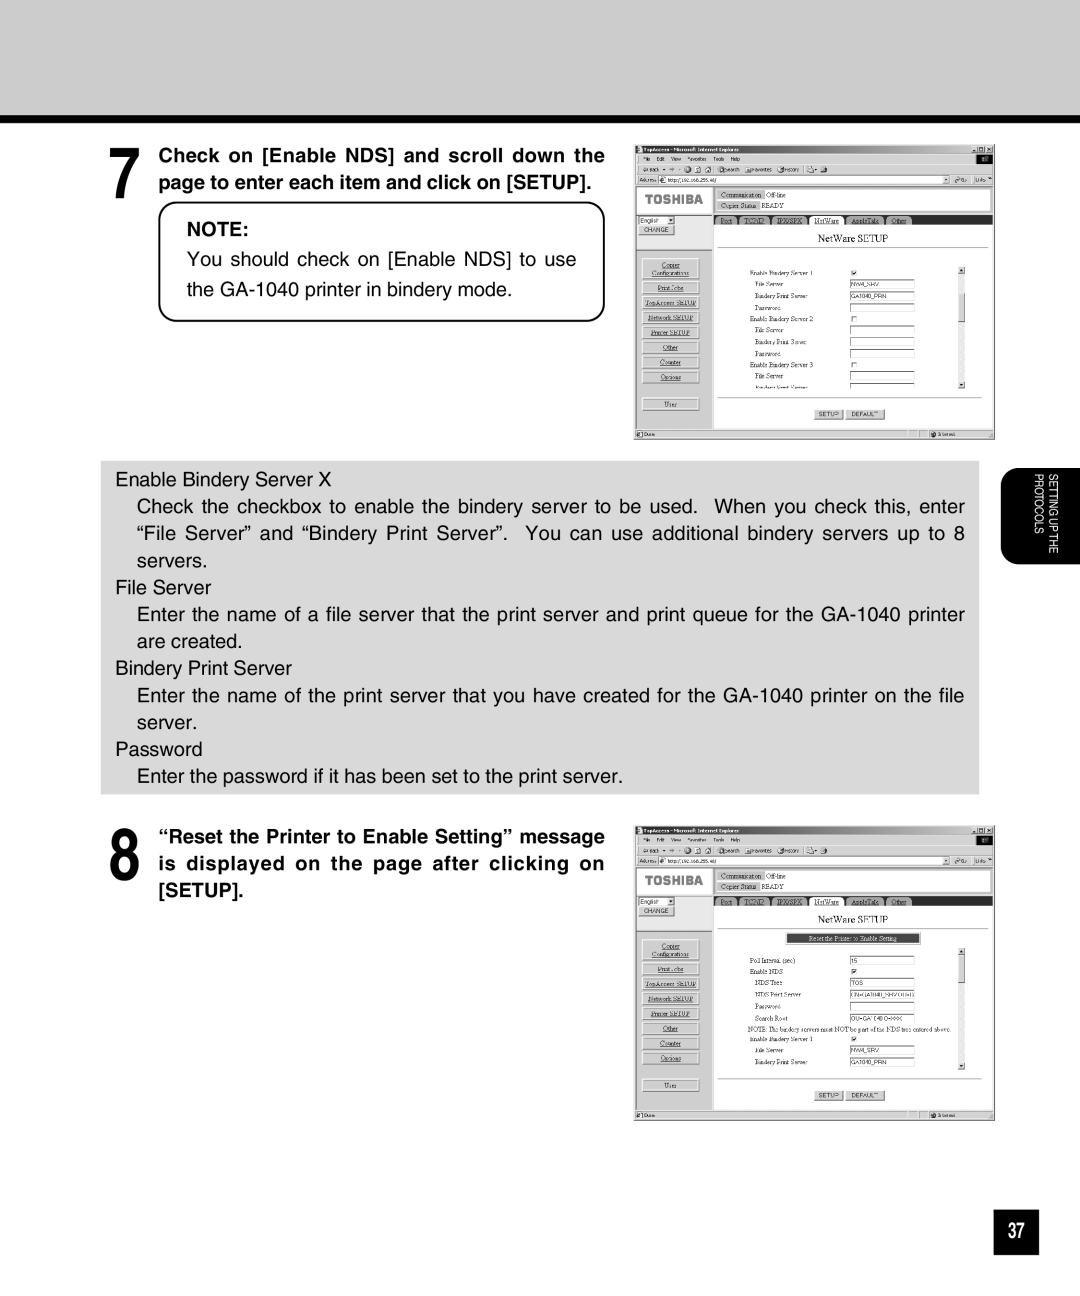
7 Check on [Enable NDS] and scroll down the page to enter each item and click on [SETUP].
NOTE:
You should check on [Enable NDS] to use the
Enable Bindery Server X
Check the checkbox to enable the bindery server to be used. When you check this, enter “File Server” and “Bindery Print Server”. You can use additional bindery servers up to 8 servers.
File Server
Enter the name of a file server that the print server and print queue for the
Bindery Print Server
Enter the name of the print server that you have created for the
Password
Enter the password if it has been set to the print server.
8 “Reset the Printer to Enable Setting” message is displayed on the page after clicking on [SETUP].
SETTING UP THE PROTOCOLS
37