1. Overview
Scanning a bound document
To scan a bound document:
1.Raise the document feeder.
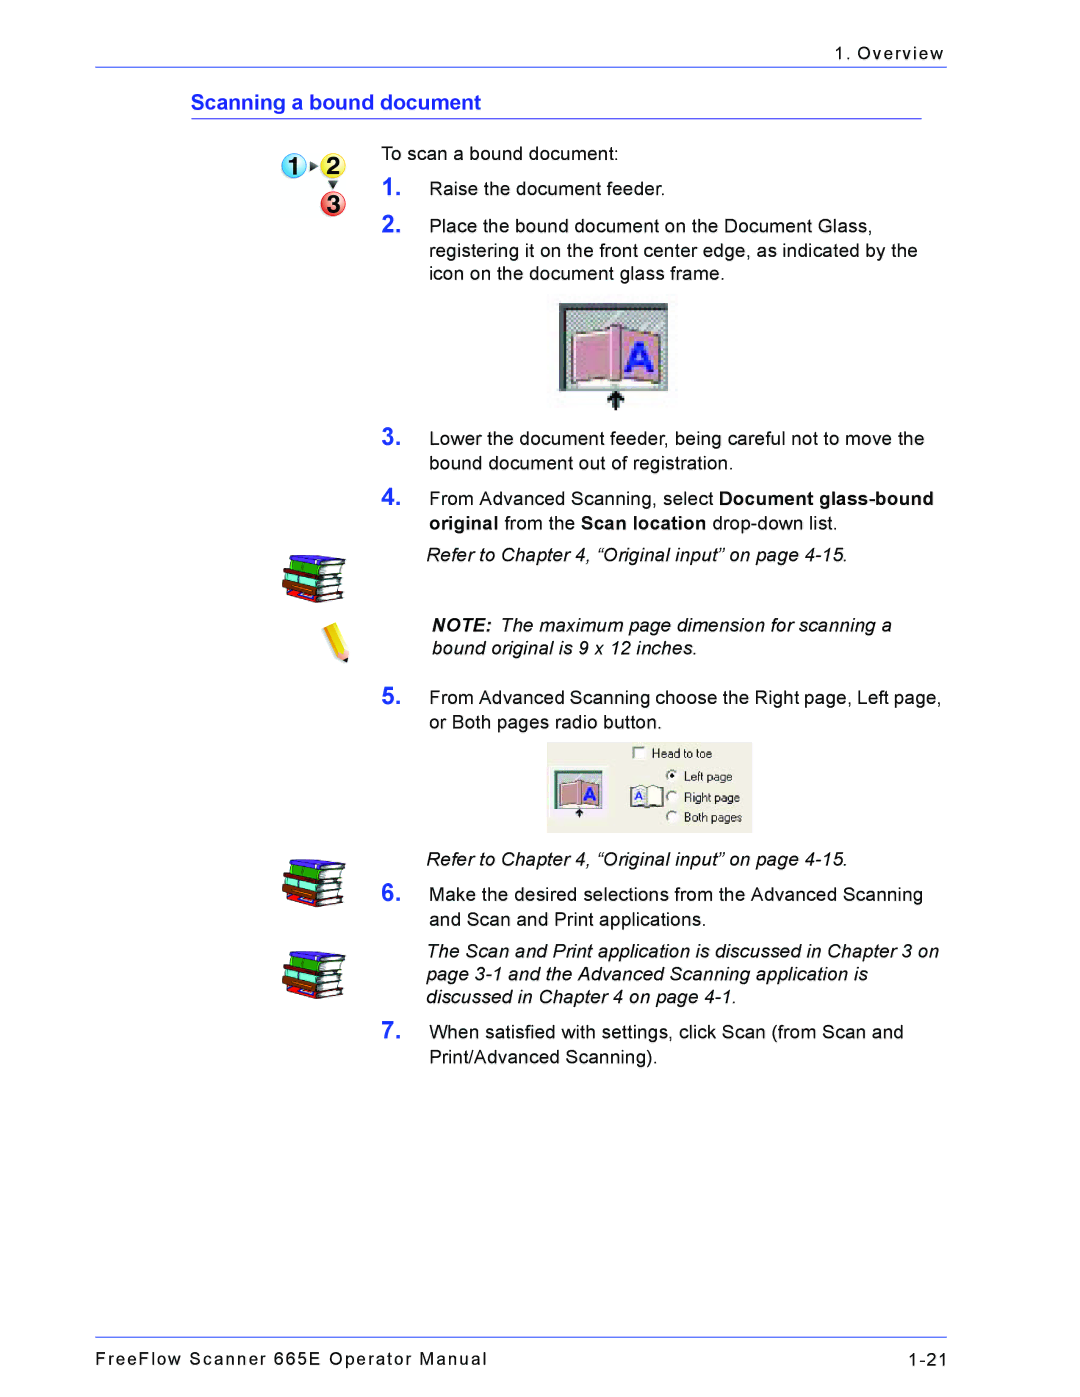
2.Place the bound document on the Document Glass, registering it on the front center edge, as indicated by the icon on the document glass frame.
3.Lower the document feeder, being careful not to move the bound document out of registration.
4.From Advanced Scanning, select Document
Refer to Chapter 4, “Original input” on page
NOTE: The maximum page dimension for scanning a bound original is 9 x 12 inches.
5.From Advanced Scanning choose the Right page, Left page, or Both pages radio button.
Refer to Chapter 4, “Original input” on page
6.Make the desired selections from the Advanced Scanning and Scan and Print applications.
The Scan and Print application is discussed in Chapter 3 on page
7.When satisfied with settings, click Scan (from Scan and Print/Advanced Scanning).
FreeFlow Scanner 665E Operator Manual |
