3. Scan and Print
View: This menu contains:
•Printer/Job Status: Opens the Job Manager dialog box so you can manage the jobs in the print queues.
•Quick Print: Opens the Quick Print dialog box.
•Inches: Select this option to change the measurement to inches.
•Millimeters: Select this option to change the measurement to millimeters.
Help: This menu contains:
•About Scan and Print: Displays version and copyright information for the Scan and Print application.
•Help: Contains the commands for using and learning about the online Help system.
Creating new user defaults
You can create user default settings to maintain your most frequently used feature settings.
1.
2.
3.
Set all features to your desired default settings.
Select File: Save User Defaults.
Click OK to save the settings.
Options
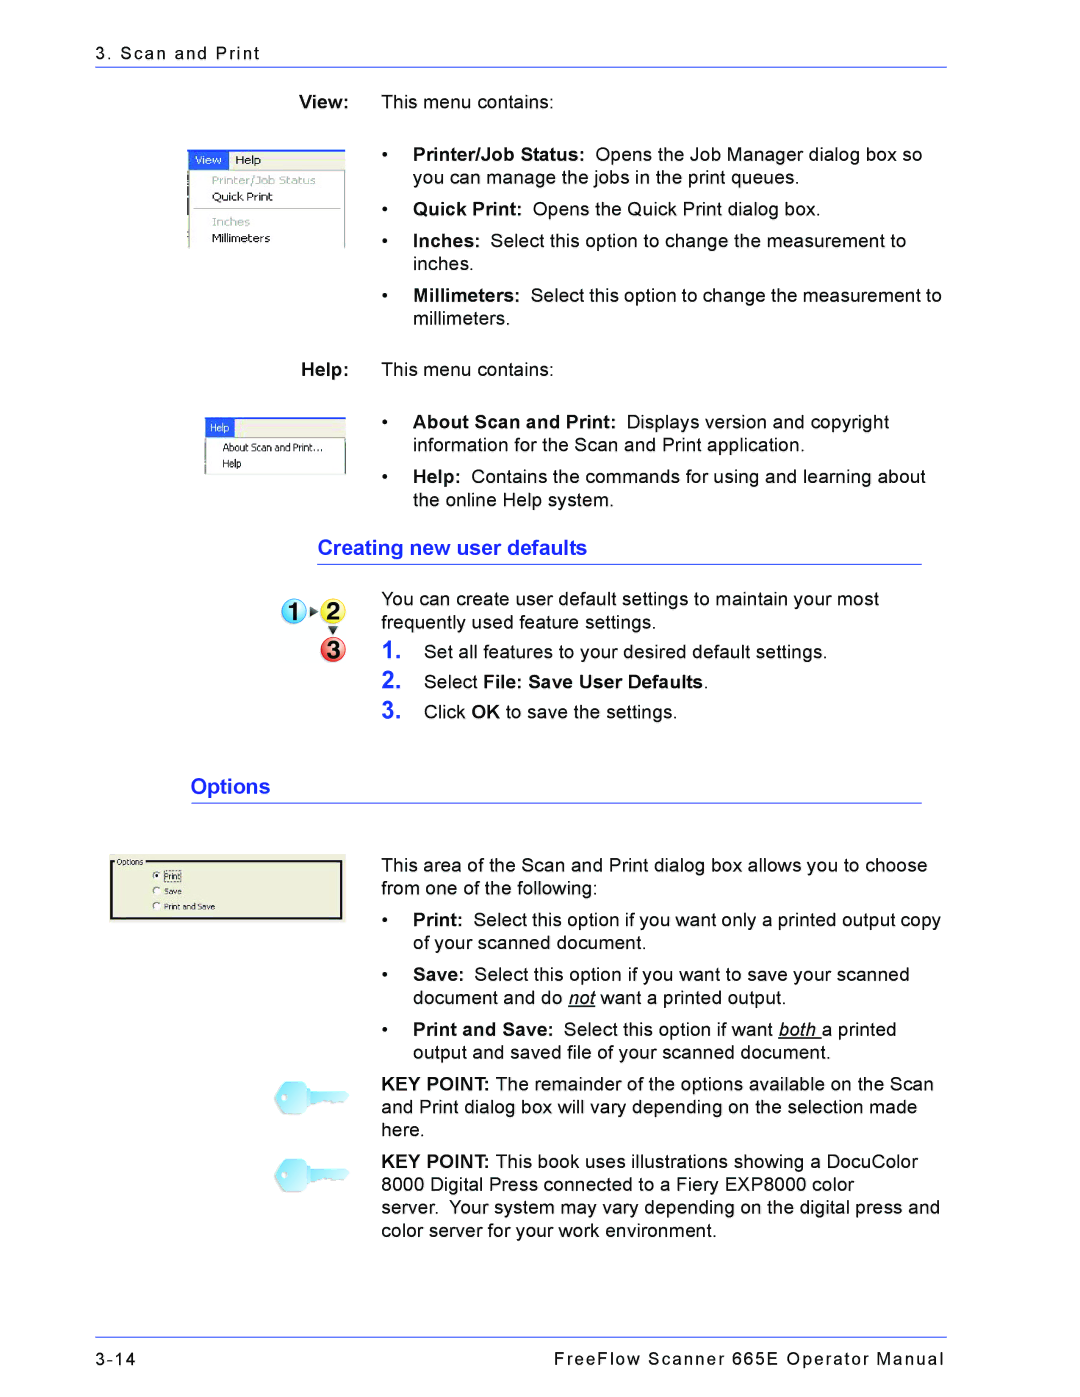
This area of the Scan and Print dialog box allows you to choose from one of the following:
•Print: Select this option if you want only a printed output copy of your scanned document.
•Save: Select this option if you want to save your scanned document and do not want a printed output.
•Print and Save: Select this option if want both a printed output and saved file of your scanned document.
KEY POINT: The remainder of the options available on the Scan and Print dialog box will vary depending on the selection made here.
KEY POINT: This book uses illustrations showing a DocuColor 8000 Digital Press connected to a Fiery EXP8000 color
server. Your system may vary depending on the digital press and color server for your work environment.
FreeFlow Scanner 665E Operator Manual |
