4. Advanced Scanning
Control menus
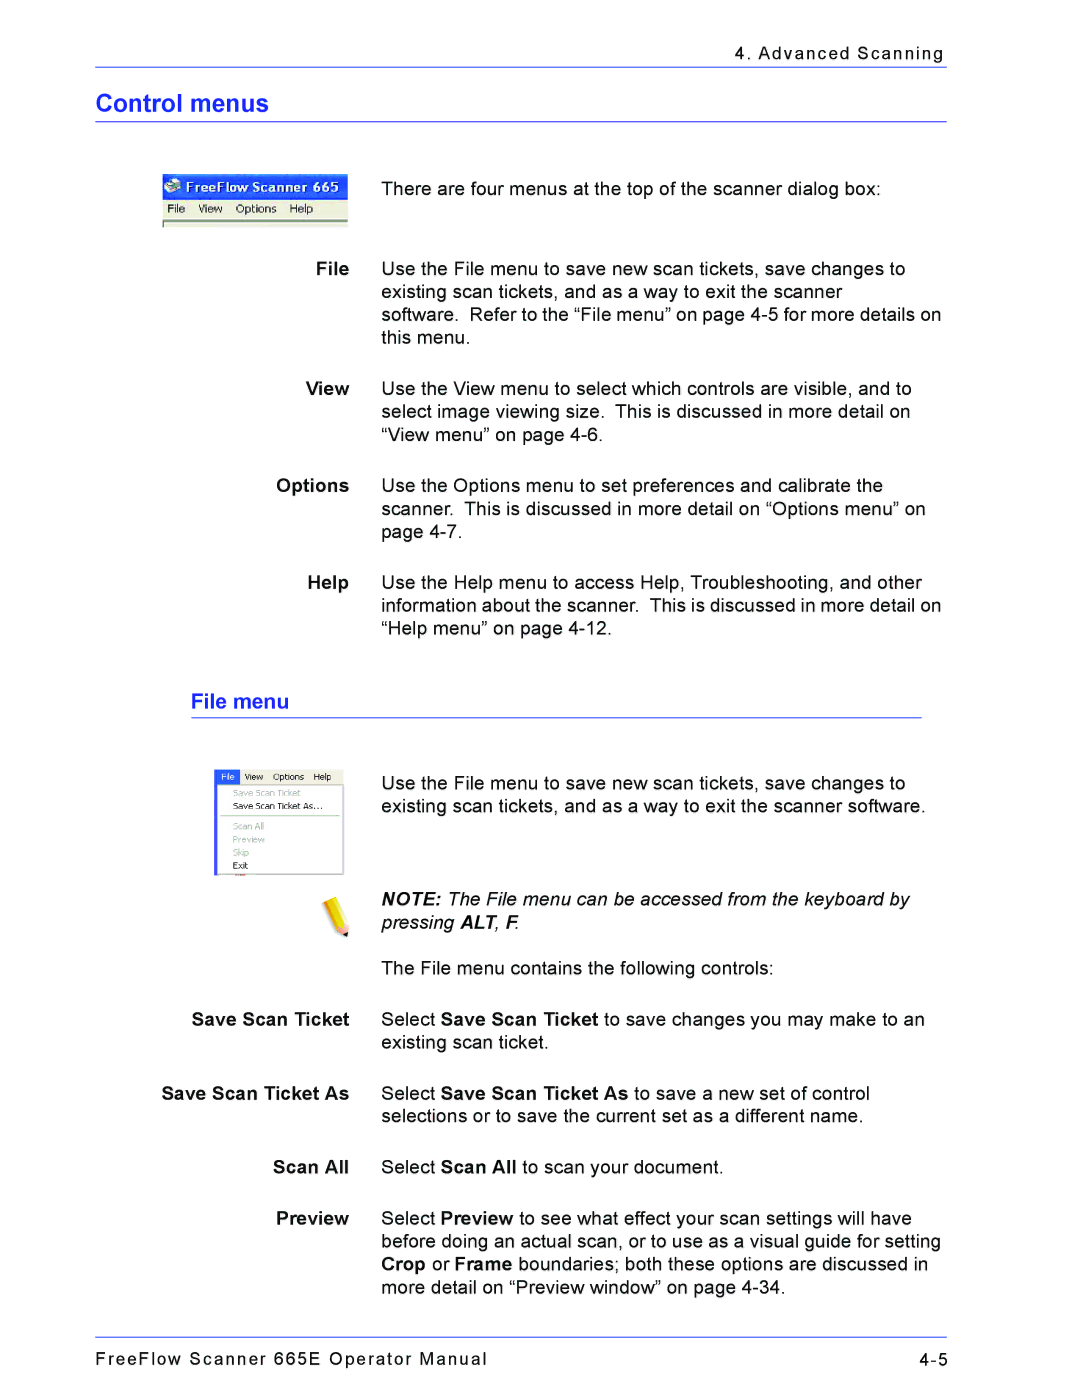
There are four menus at the top of the scanner dialog box:
File Use the File menu to save new scan tickets, save changes to
existing scan tickets, and as a way to exit the scanner
software. Refer to the “File menu” on page
View Use the View menu to select which controls are visible, and to select image viewing size. This is discussed in more detail on “View menu” on page
Options Use the Options menu to set preferences and calibrate the scanner. This is discussed in more detail on “Options menu” on page
Help Use the Help menu to access Help, Troubleshooting, and other information about the scanner. This is discussed in more detail on “Help menu” on page
File menu
Use the File menu to save new scan tickets, save changes to existing scan tickets, and as a way to exit the scanner software.
NOTE: The File menu can be accessed from the keyboard by pressing ALT, F.
The File menu contains the following controls:
Save Scan Ticket Select Save Scan Ticket to save changes you may make to an existing scan ticket.
Save Scan Ticket As Select Save Scan Ticket As to save a new set of control selections or to save the current set as a different name.
Scan All Select Scan All to scan your document.
Preview Select Preview to see what effect your scan settings will have before doing an actual scan, or to use as a visual guide for setting Crop or Frame boundaries; both these options are discussed in more detail on “Preview window” on page
FreeFlow Scanner 665E Operator Manual |
