|
| 3. Scan and Print |
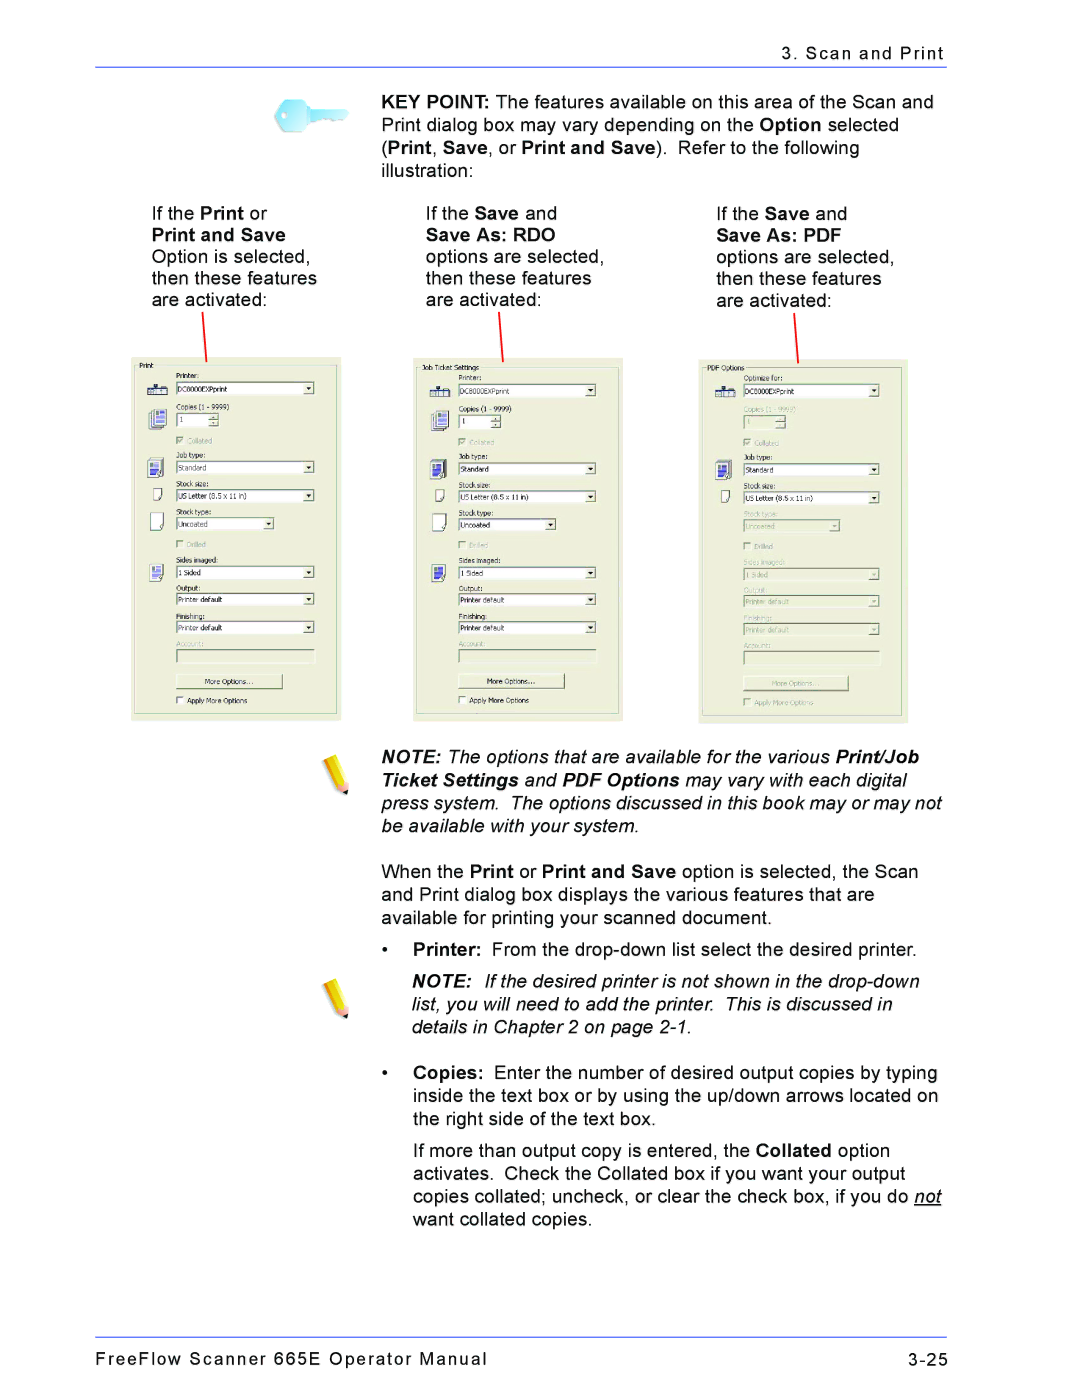
| KEY POINT: The features available on this area of the Scan and | |
| Print dialog box may vary depending on the Option selected | |
| (Print, Save, or Print and Save). Refer to the following | |
| illustration: |
|
If the Print or | If the Save and | If the Save and |
Print and Save | Save As: RDO | Save As: PDF |
Option is selected, | options are selected, | options are selected, |
then these features | then these features | then these features |
are activated: | are activated: | are activated: |
NOTE: The options that are available for the various Print/Job Ticket Settings and PDF Options may vary with each digital press system. The options discussed in this book may or may not be available with your system.
When the Print or Print and Save option is selected, the Scan and Print dialog box displays the various features that are available for printing your scanned document.
•Printer: From the
NOTE: If the desired printer is not shown in the
•Copies: Enter the number of desired output copies by typing inside the text box or by using the up/down arrows located on the right side of the text box.
If more than output copy is entered, the Collated option activates. Check the Collated box if you want your output copies collated; uncheck, or clear the check box, if you do not want collated copies.
FreeFlow Scanner 665E Operator Manual |