Keypad & Display, QL220/220 Plus/220 Cost Reduced-
You must use an ESD strap and work at a properly grounded workstation (antistatic mat or tray). All electronic components must be placed on an ESD protective tray. If stored, any elec- tronic components must be placed in antistatic bags.
Preparation
1.Turn the printer off and remove the battery pack
2.Remove the Upper and Lower Housings.
Removing the Keypad
1.Unlock J6 on the MLB, and unplug the cable.
2.Unlock J1 on the MLB and unplug the ground cable.
3.Carefully peel the Keypad away from the QL 220 Chassis.
Removing the LCD module
1.Unlock J8 on the MLB and unplug the flex cable.
2.Insert the corner of a credit card or a similar thin, flexible and
3.Using a small flat bladed screwdriver, lift each side of the LCD module clear of the printer Chassis.
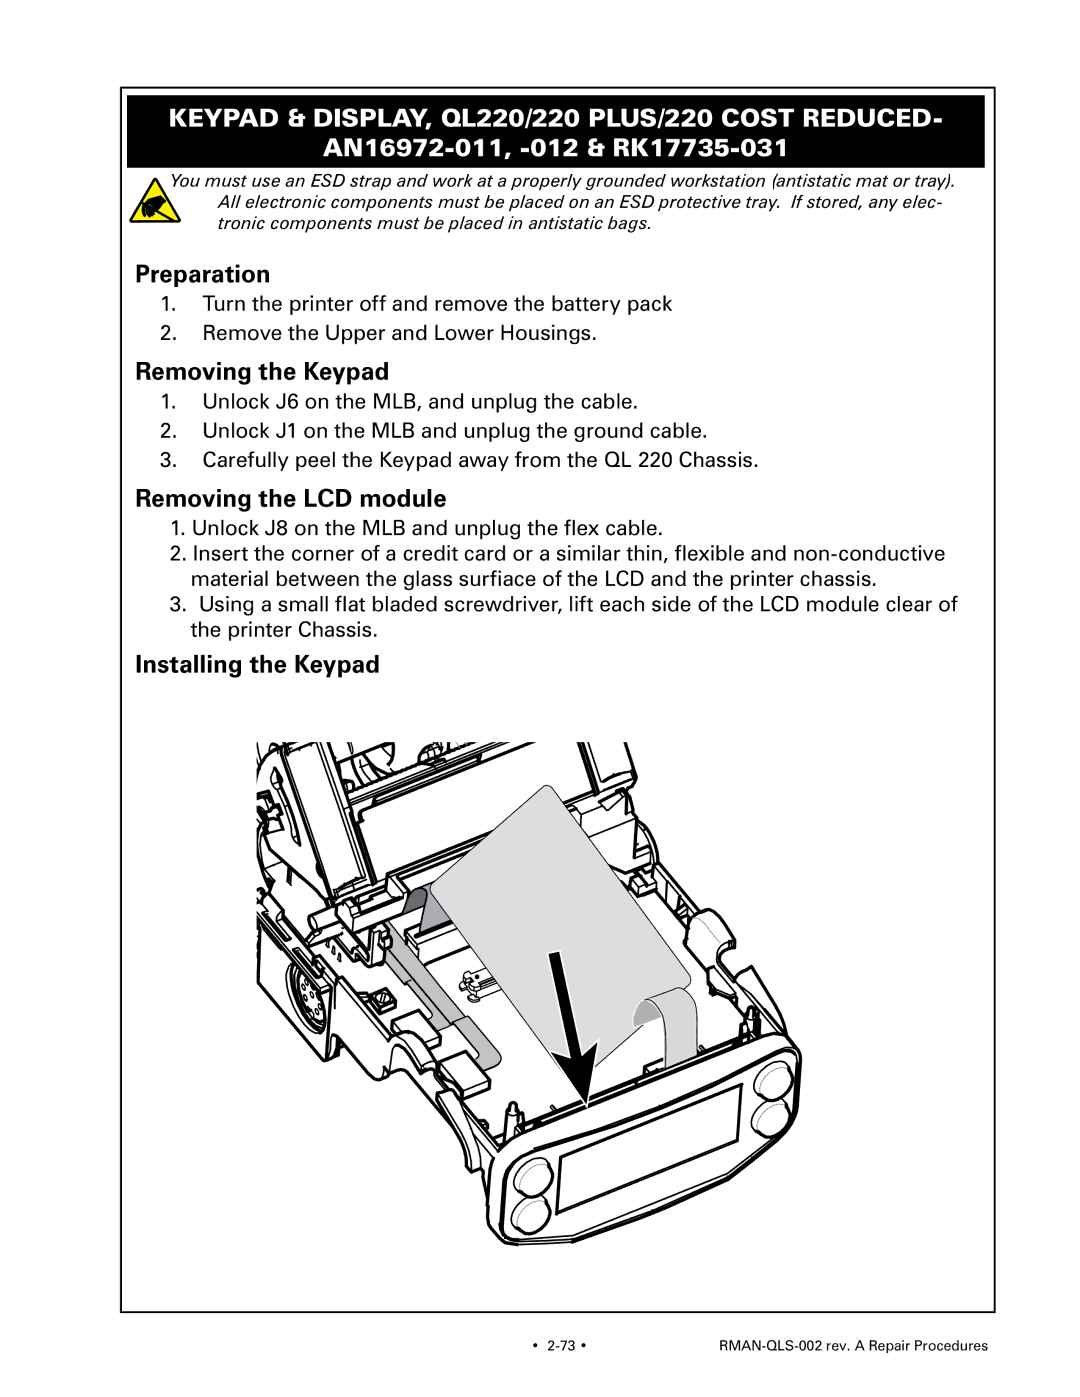
Installing the Keypad
• |
|